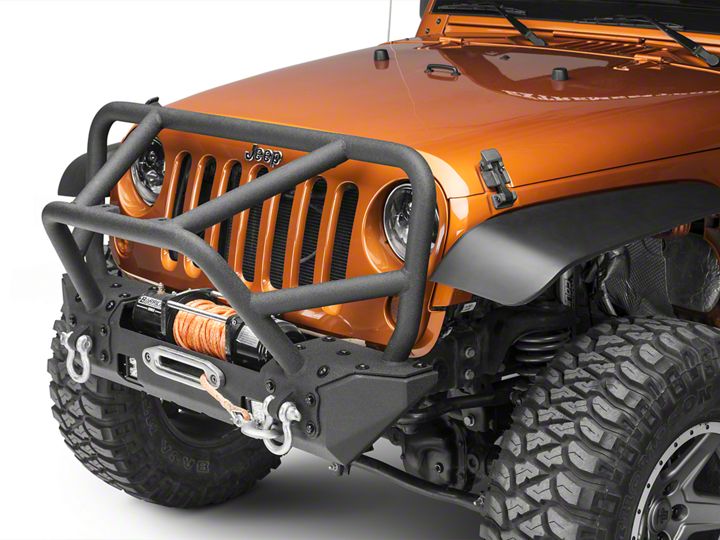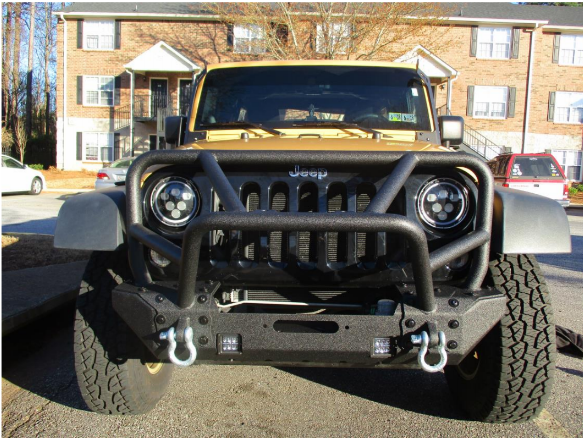

How to Install RedRock 4x4 Stubby Juggernaut Front Bumper w/ LED (07-18 Jeep Wrangler JK) on your Jeep Wrangler
Tools Required
- 1⁄2” Deep Well Socket
- 5/8” Deep Well Socket
- 5/8” Closed-end Wrench
- 18mm Deep Well Socket
- Allen Key Set
- Flathead Screwdriver

Shop Parts in this Guide
Installation Instructions:
1.) Attach provided light pods to the new bumper using the 1⁄2” deep well socket. Hardware provided in packaging with light pods. Single bolt and 1⁄2” nut.


2.) Remove trim plugs from lower balance/guard. There are 4 on the bottom of the
balance/guard, 2 on the top, and 1 on each side of the bumper’s frame mount. The
plugs are plastic and can easily be removed with a flat head screwdriver.


3.) Once guards are removed you need to disconnect both fog lights. Each has a plug on the backside. Simply pinch the lever/retaining clip and pull the plug away.

4.) Remove the 8 bolts holding the OEM bumper to the frame. 4 bolts per side. Nuts can be removed with an 18mm socket. Only remove the 4 bolts around the frame mounts (8 nuts total, 2 frame mounts total).


5.) Attach the Grille Guard to the new bumper. You need the provided 14 bolts with the
Allen head, 28 washers, 14, split lock washers, and 14 nuts. Pattern for install will be
bolt, washer, grille guard plate, bumper, washer, split lock washer, and then bolt. Attach provided D rings.

6.) Attached the completed Juggernaut bumper to the bumper mounting frame using the remaining 8 hex bolts, 16 washers, 8 split lock washers, and 8 nuts. The hex bolts and nuts are both 5/8”. Use a 5/8 deep well socket and a 5/8 closed-end wrench. You will use the original mounting points.


Attach bumper to mounting points in the same pattern as the one used to attach grille guard to bumper. Bolt, washer, mounting plate, washer, split lock washer, and bolt.
7.) Optional. Wire the light pods to the OEM fog light wires or purchase a wire harness
that will allow hardwiring.

Before

After
Installation instructions written by Extreme Terrain customer Brian O’Neill on 2/27/18

