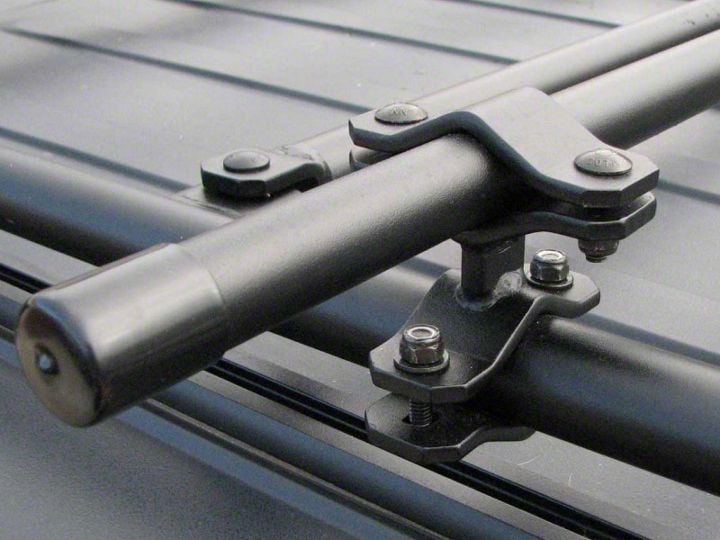

How to Install Garvin Adventure Rack Crossbar Adapters (07-11 Wrangler JK) on your Jeep Wrangler
Installation Time
1 hours
Tools Required
- Box Cutter
- Pliers
- 13mm Socket
- Socket Wrench
- 13mm Wrench

Shop Parts in this Guide
Note: This product requires the Garvin Adventure Rack to have previously been installed.
1. Carefully open the package using a box cutter or knife (Figure A) and pliers (Figure B). Ensure the crossbars and hardware are included and undamaged.
2. Place the mounting bracket (with round holes) over the Adventure Rack tube with a mounting support bracket (with square holes) under the same Adventure Rack tube and run a 5/16" x 2" carriage bolt (supplied) through both sides (Figure C).
3. Placae a 5/16" flatwasher and 5/16" nylon locknut (supplied) over each 5/16" x 2" carriage bolt (Figure D).
4. Tighten both locknuts down using a 13mm socket wrench (Figure E).
5. Mount another mounting bracket the same distance on the opposite side of the Adventure Rack, following Steps 2-4 (Figure F).
6. Place a cross tube (provided) over the top of both mounts and place a mounting support bracket (with square holes) over the cross tube (Figure G).
7. Place a 5/16" x 1 3/4" carriage bolt (supplied) through each hole and a 5/16" flatwasher and 5/16" nylon locknut (supplied) on the other end (Figure H). Do the same on the opposite end.
8. Tighten the locknuts on both ends using a 13mm wrench (Figure I).
9. Add the vinyl end covers (provided) to both sides of the cross tube (Figure J).
10. Repeat Steps 2-9 to install the other cross tube.
Installation Instructions Written by ExtremeTerrain Customer J. Sandlin 02/12/2018.
