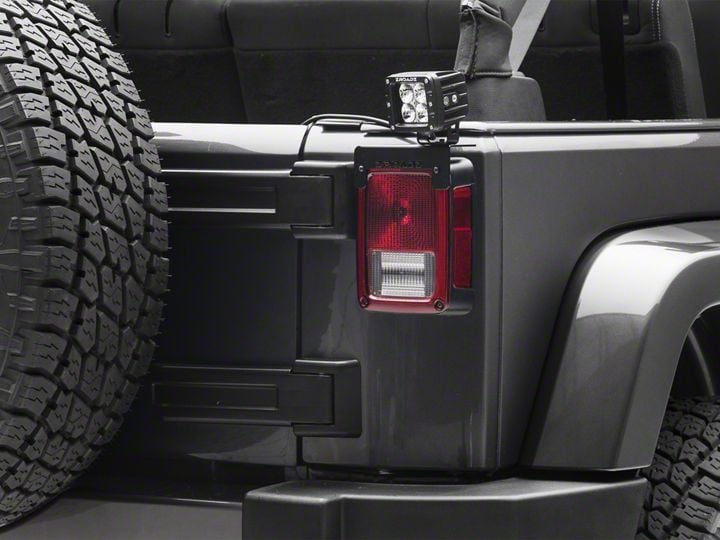

How to Install ZRoadz 3 in. LED Light Cubes w/ Rear Tail Light Mounting Brackets (07-18 Wrangler JK) on your Jeep Wrangler
Installation Time
1 hours
Tools Required
- Box Cutter/Knife
- 10mm Socket
- 13mm Socket
- Socket Wrench
- Allen Wrench
- Philips Head Screwdriver

Shop Parts in this Guide
1. Carefully open the package using a box cutter or knife (Figure A) and ensure the hardware and lights are included and undamaged.
2. Disconnect the negative (-) battery terminal using a 10mm socket wrench.
3. Mount the LED light pods onto the mounting brackets using the M8 x 20 Hex Head Cap Bolts, M8 Split Lock Washers, and M8 Stainless Steel Nuts and an Allen wrench(Figures B & C).
4. Tighten using a 13mm socket wrench (Figure D).
5. Remove the screws on the tail light lens using a Philips head screwdriver (Figure E).
6. Place the mounting bracket (side-specific) onto the tail light, aligning the bracket holes with the lens holes (Figure F).
7. Secure the bracket in place by returning the screws removed in Step 5 on each tail light (Figure G).
8. Repeat Steps 5-7 on the other tail light.
9. Ground the black (ground) wire of the included wiring harness against the chassis of the vehicle (Figure H).
10. Connect the red (power) wire to a 12v source or the positive ( ) battery terminal (Figure I).
11. Connect each LED to the wiring harness ends (Figure J).
12. Reconnect the negative (-) battery terminal.
Installation Instructions Written by ExtremeTerrain Customer J. Sandlin 02/26/2018.