FREE 1 to 3-Day Delivery on Orders $119+ Details

How to Install Zone Offroad Tailgate Vent Cover (07-18 Wrangler JK) on your Jeep Wrangler
Tools Required
- 13mm Socket wrench
- 5mm Allen head socket*
- T20 Torx bit driver/socket
- Flat head screwdriver
Shop Parts in this Guide

Welcome
CONGRATULATIONS on purchasing the Tailgate Vent from JKS Manufacturing. We are committed to providing you with the best products available and your satisfaction is our first priority.
PLEASE READ these Installation Instructions carefully, and save them for future reference, as they contain important installation and maintenance information.
Notes
System will remove the 3rd brake light from the vehicle unless installed in conjunction with the factory spare tire mount.
Will fit horizontal and vertical tailgate vent openings.
Parts
Installation
1. Spare Tire mount DISSASSEMBLY
Remove the spare tire.
Open the tailgate to access the 4 screws mounting the 3rd brake light to the bracket. Remove the 4 screws (T20) and unplug the light.
Remove the spare tire mounting bracket from the tailgate by removing the 8 bolts using a 13mm socket.

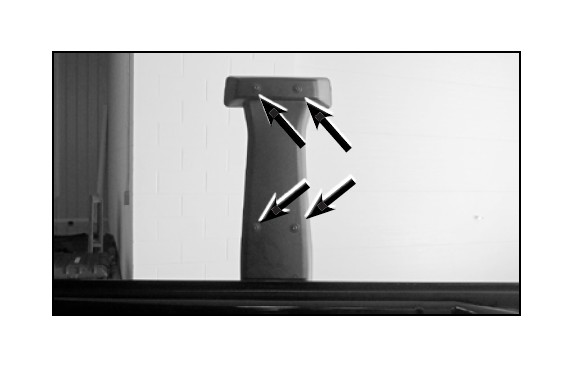
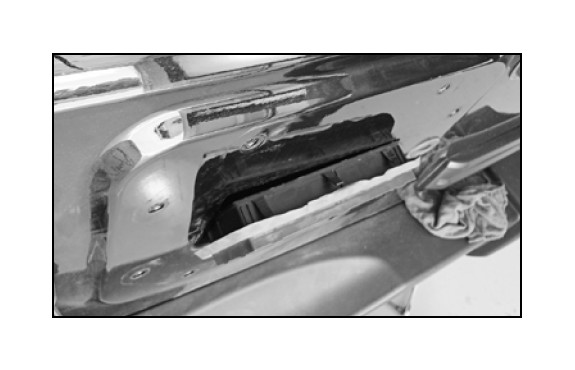
2. Tail gate vent removal
There are 3 tabs on top of the vent holding it into the tailgate. Gently pull out the vent until a screwdriver can be used to push down on each tab and push them past the tailgate opening.
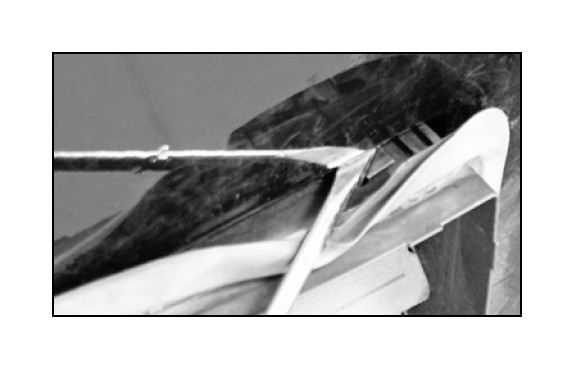
Once all 3 tabs are free, remove the vent from the tailgate. Also remove the plug to the right of the vent opening.
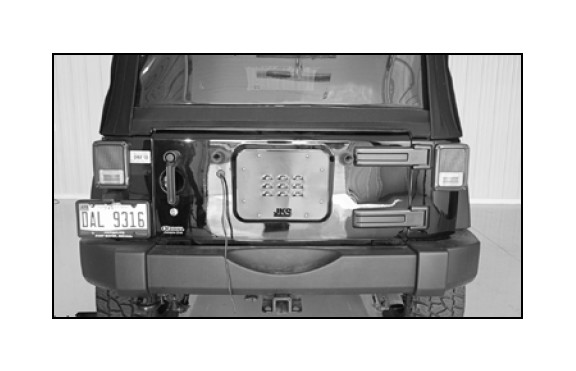
3. Louvered plate installation
It is normal for the plate to be slightly warped from the manufacturing process. Once the plate is tightened to the tailgate it will flatten.
Using the provided button head bolts, thread all of the bolts into the holes to get them started.
With all of the bolts started, tighten the bolts to 20 ft-lbs.
4. FINAL INSTALLATION STEPS
Pull out the factory tire bumpers from the tailgate and replace with the 2 small hole plugs provided in the bolt pack.
Pull out the wire grommet for the 3rd brake light harness and then push it back through the hole. Feed the wire into the tailgate.
Install the large plug into the hole.