

How to install a Daystar Dash Panel on your 2007-2010 Jeep Wrangler JK
Installation Time
30 minutes
Tools Required
- Flat head screwdriver
- Phillips head screwdriver
- Needle nose pliers
- Paper towel
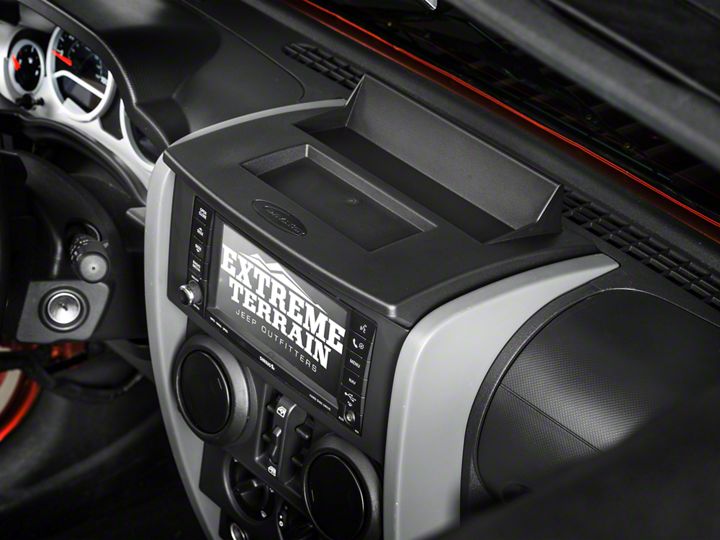
Shop Parts in this Guide
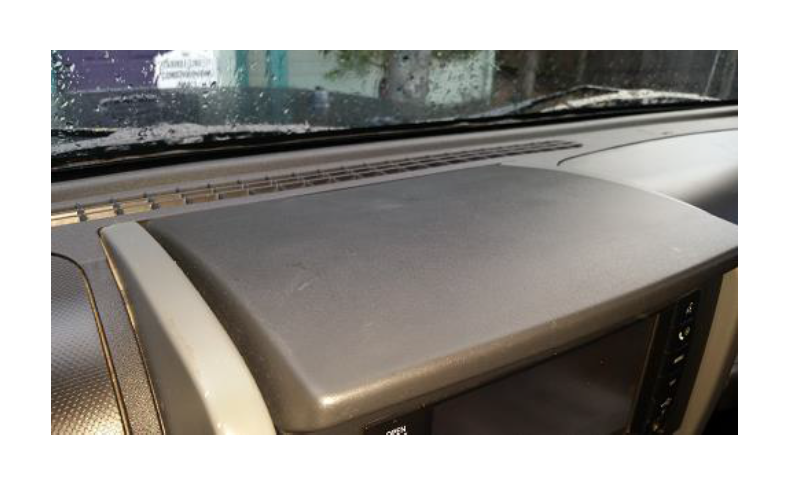
Before:
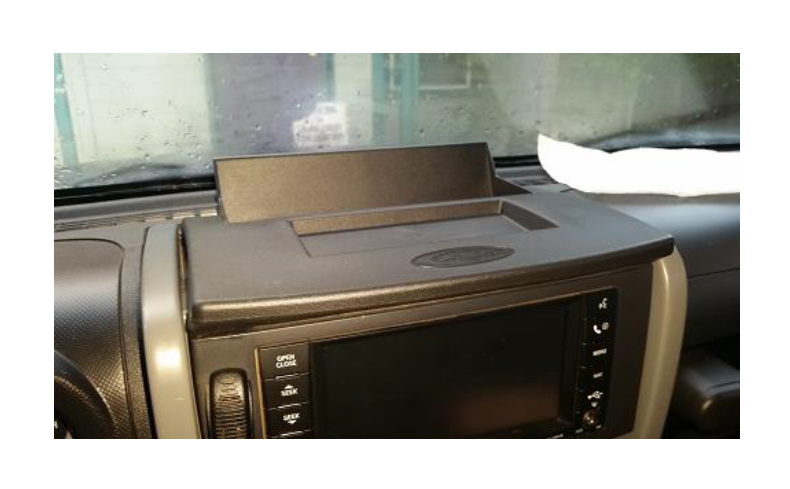
After:
Installation Instructions:
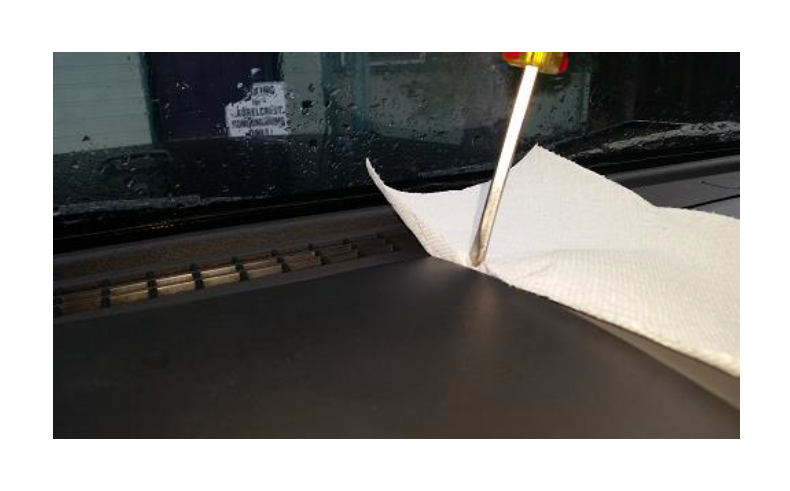
1. Using the paper towel for protection of the dash, insert the flathead screwdriver along the rear of the side edge and pry the old panel up to release the clips (do this on both sides).
2. Pull the panel towards the interior and then lift the front end up to expose the compass module (this may take some slight jiggling to release the front edge while pulling).
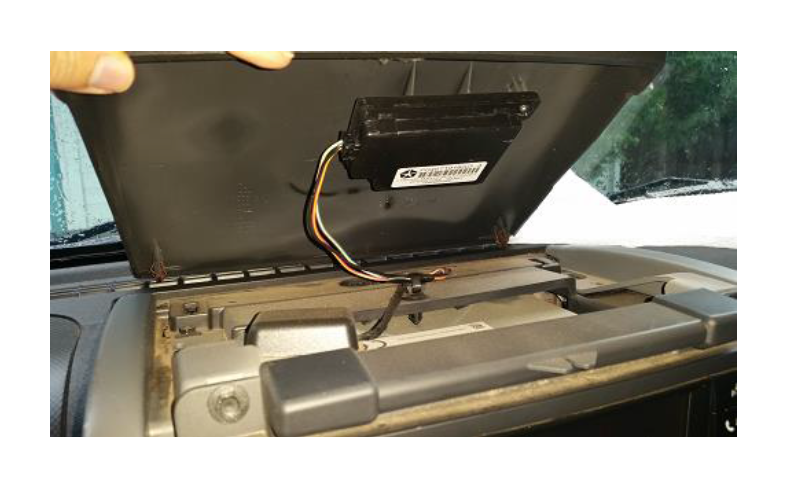
3. Using the Philips head screwdriver, remove the two screws holding the compass unit to the old panel.
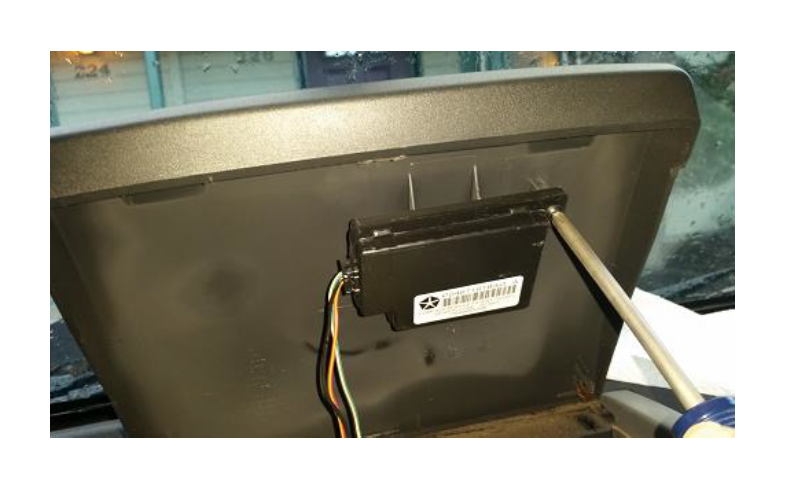
4. Locate the clips on the old panel.
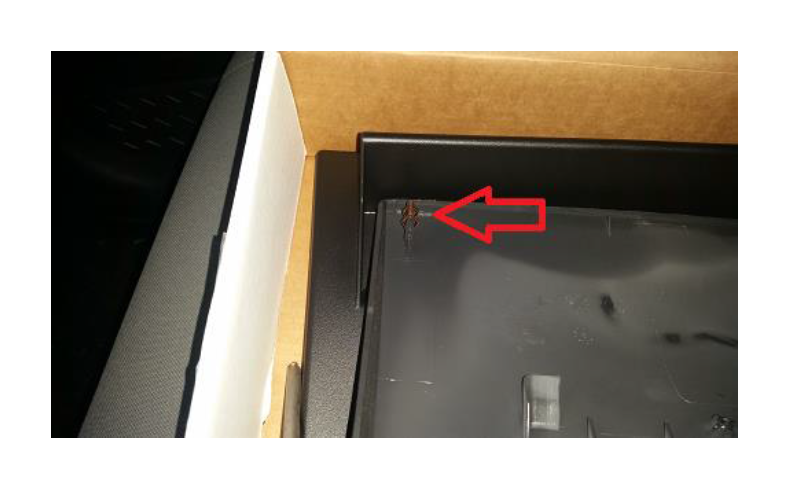
5. Using the flathead screwdriver, remove the clips from the old panel.
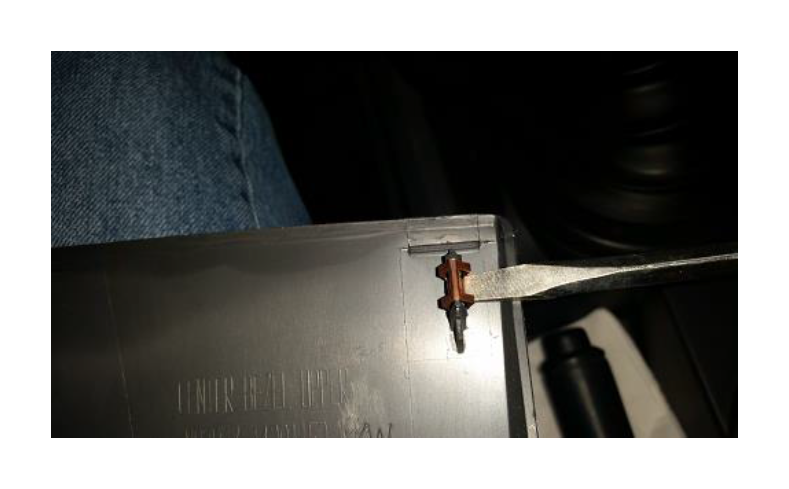
6. Using the needle nose pliers, squeeze the clips back to form for re-use.
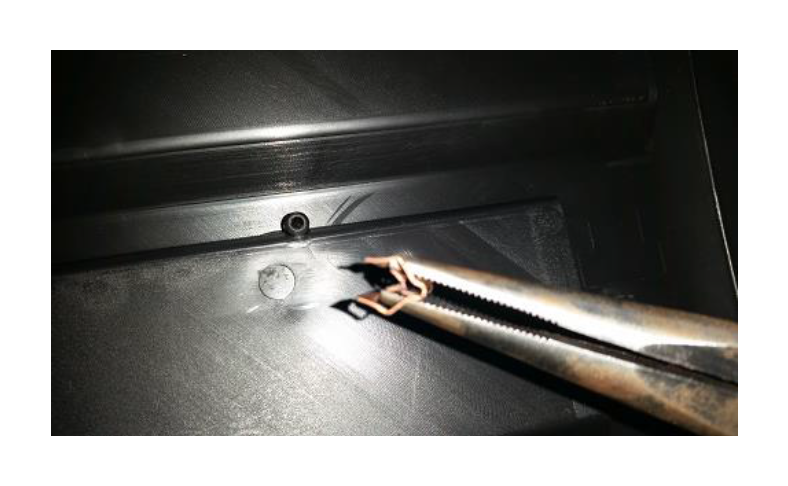
7. Push the clips onto the mounts on the new panel.
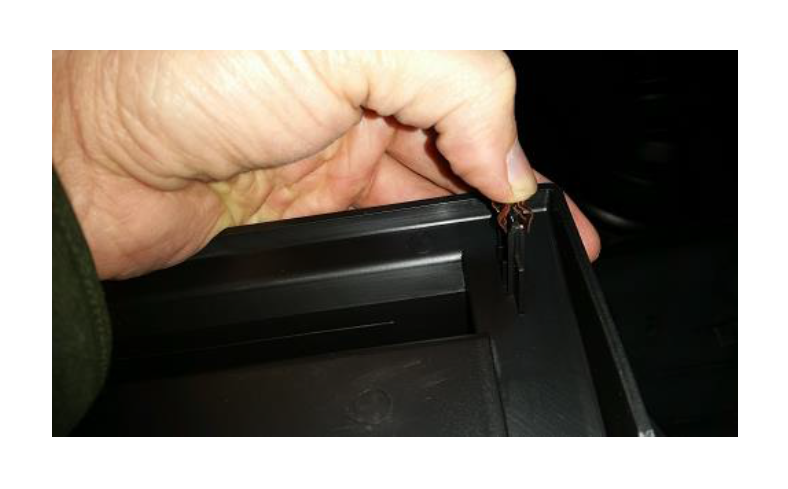
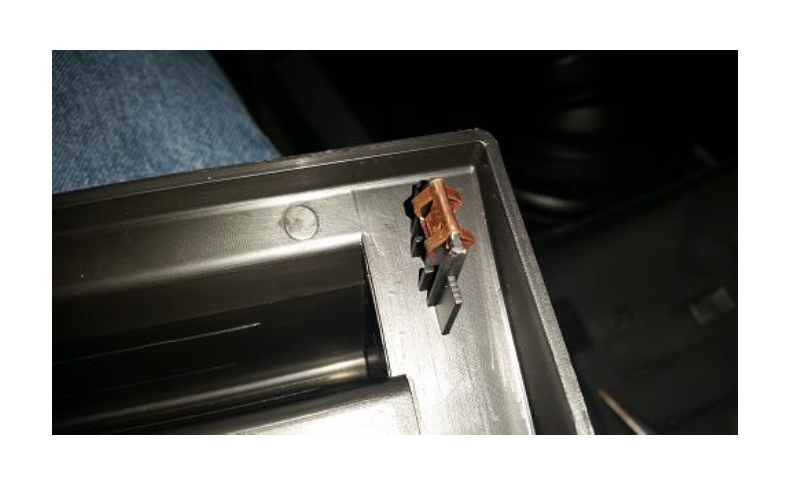
8. Using the Phillips head screwdriver, mount the compass unit to the new panel.
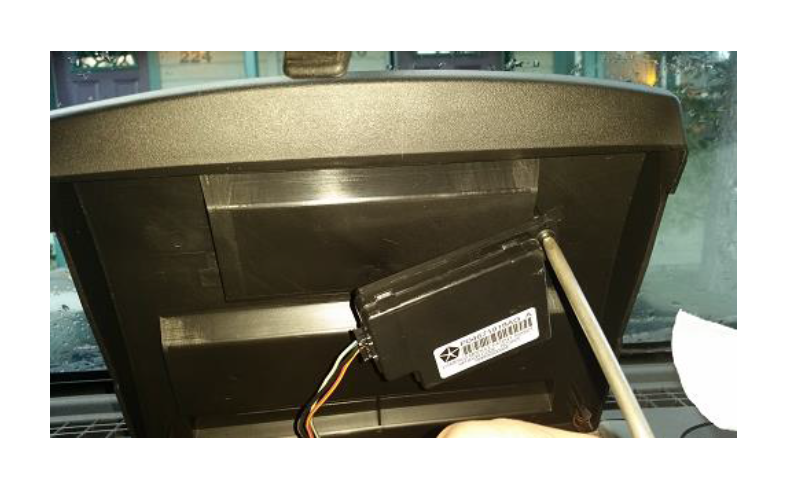
9. Lower the panel into place, sliding the front on first.
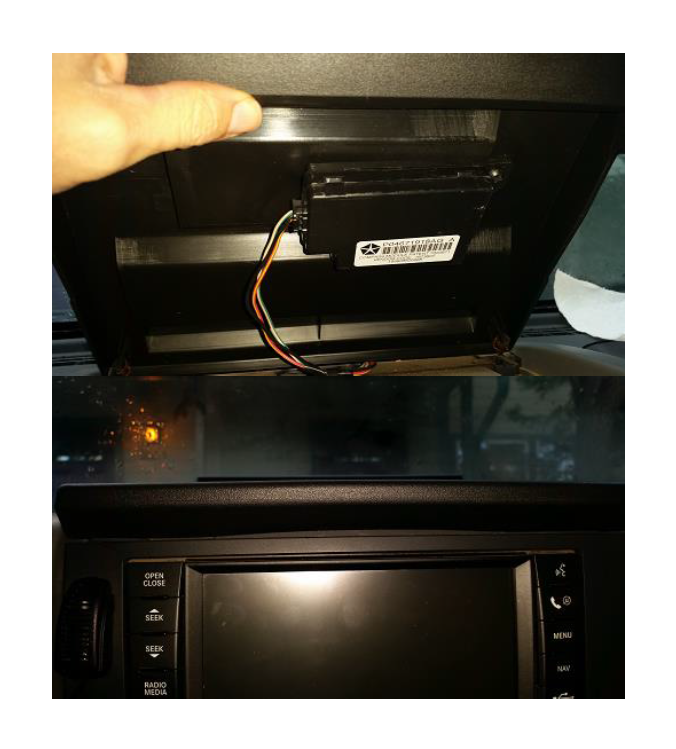
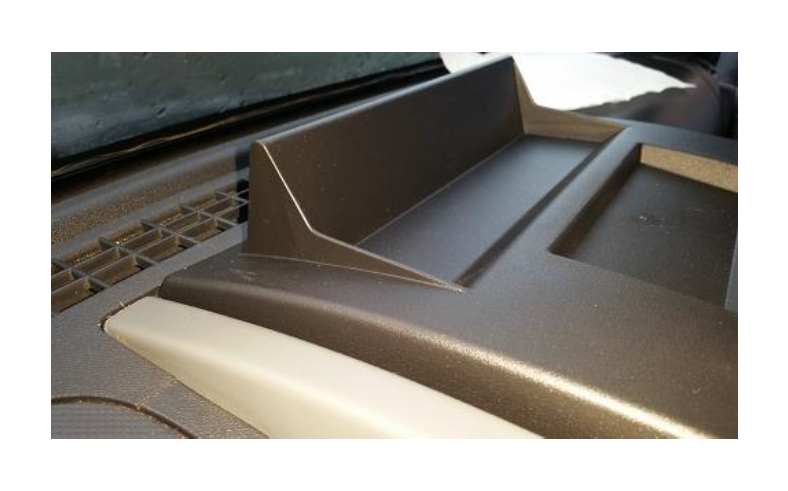
10. Firmly press the panel back end into place
Installation Instructions Written by ExtremeTerrain Customer Royal Cook 12/26/2014

