
How to Install Teraflex Heavy Duty Ball Joint Set of 4 (07-12 Wrangler JK) on your Jeep Wrangler
Installation Time
3 hours
Tools Required
- This installation guide
- Basic mechanics tool set
- Ball Joint Press
- Grease Gun/High Quality Grease
- Blue thread locking compound
- Grinder
- Large Hammer
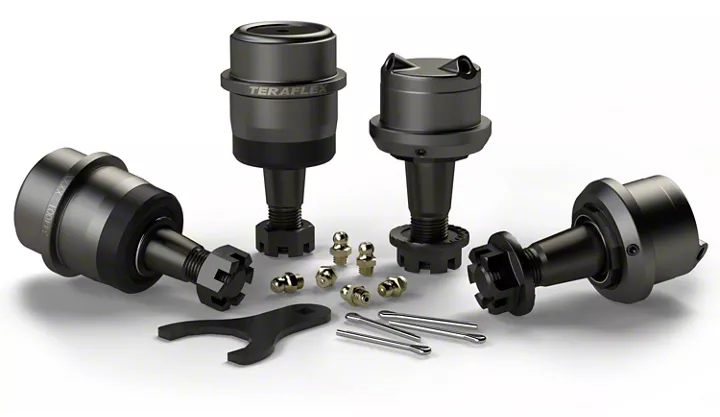
Shop Parts in this Guide
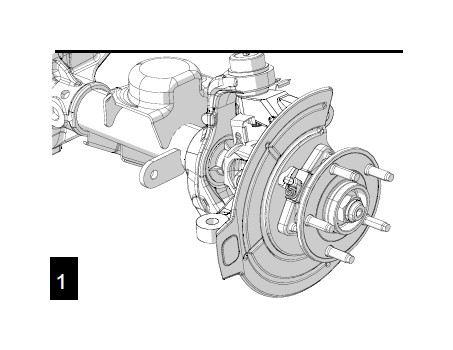
1. Lift the front of the vehicle and support. Remove the front tires, then the brake caliper and anchor bracket assemblies. Support the caliper assemblies to ensure the brake lines or ABS wiring are not supporting the weight of the caliper. Remove the brake rotors.
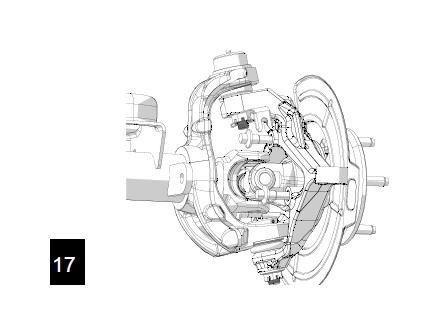
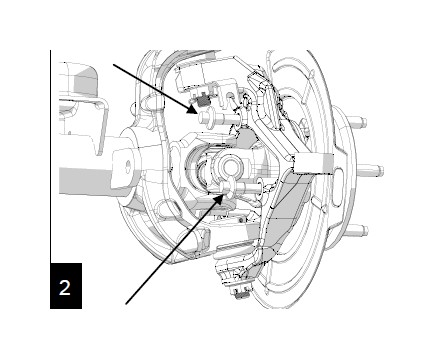
2. Remove the three 12 point 13mm bolts that secure the unit bearing to the outer knuckle. Repeat on opposite side. Be sure to unbolt and remove the ABS sensors from the outer knuckles before moving onto step 3.
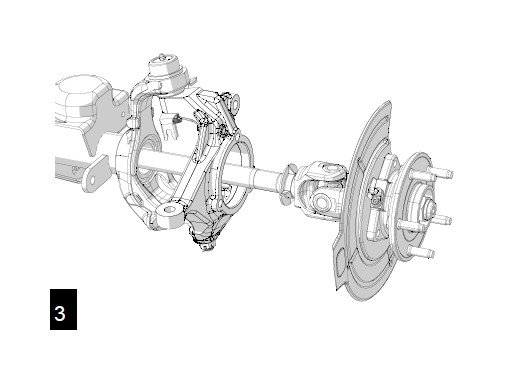
3. Remove the unit bearing and axle assembly. Support the inner axle shaft so that the inner axle seal is not damaged during removal. Remove dust shields.
4. Remove the cotter pins and loosen the upper and low-er ball joint nuts but do not completely remove. This will prevent the knuckle from falling off when it breaks loose from the ball joints.
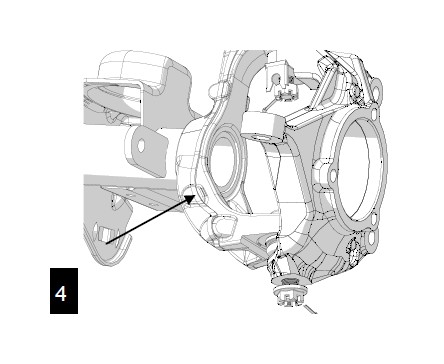
5. Use preferred method to remove the outer knuckle. (Large hammer, pickle fork, etc.)
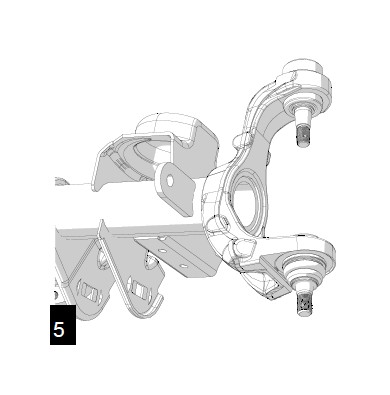
6. Remove the upper, then the lower ball joints, using a ball joint press.
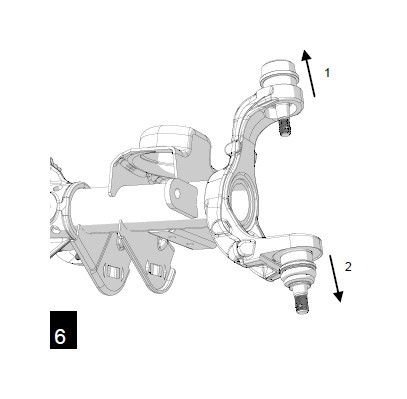
7. Clean the ball joint bores in the inner C as well as the surfaces the ball joints seat against. Apply a small amount of grease or anti-seize to the bores to aid in installation.
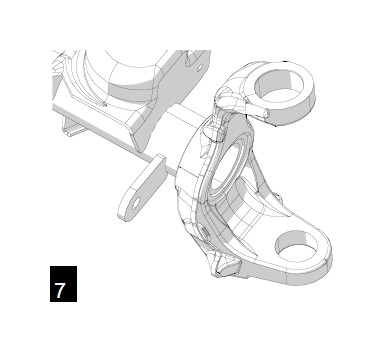
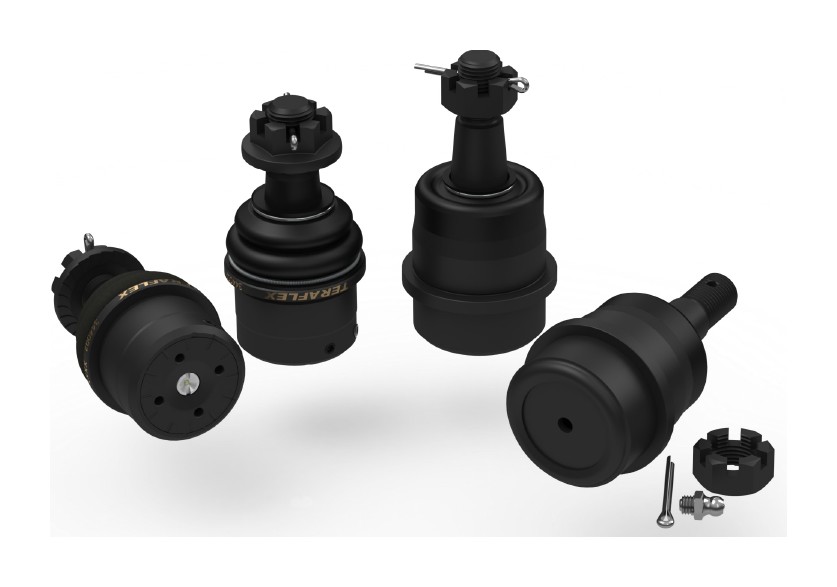
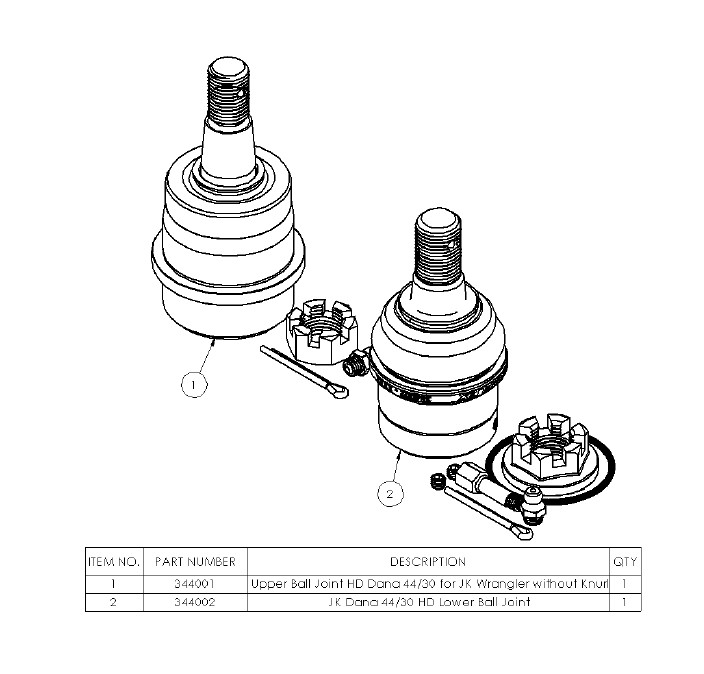
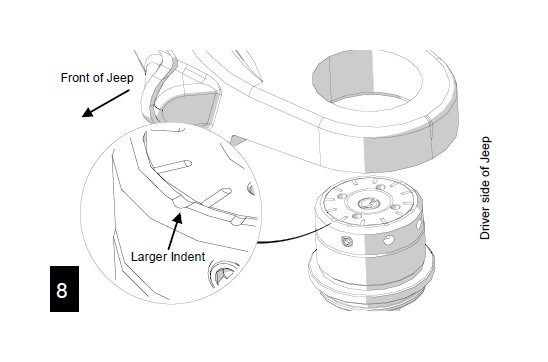
8. Remove the boots from the new TeraFlex lower ball joints to prevent damage. Orient the ball joint as shown for the drivers side. Orientation is critical! This will allow access to the set screws for preload adjustment and greasing. The larger indents in the ball joint housing must be parallel to the length of the Jeep.
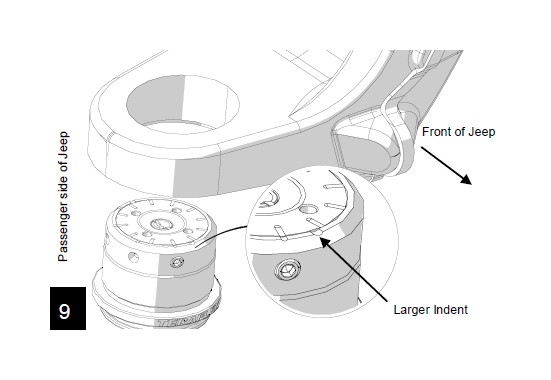
9. The orientation for the passenger side of the Jeep is opposite of the driver side. Note: The set screws must face the tire for access. Again, note the orientation of the larger indents in relation to the length of the vehicle.
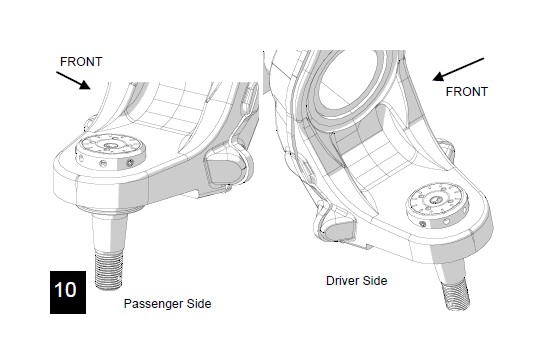
10. Press the lower ball joint into the inner C. Ensure the orientation described in steps 8 and 9 is maintained for each respective side! Note the set screw access.
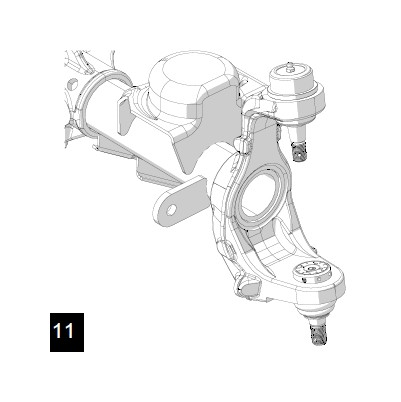
11. Install the new TeraFlex upper ball joints.
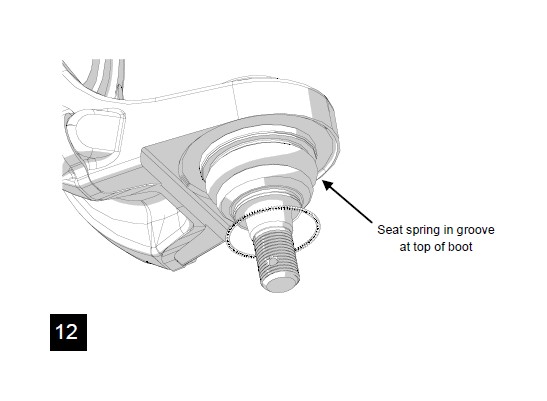
12. Reinstall the lower ball joint boots and install the boot retaining springs.
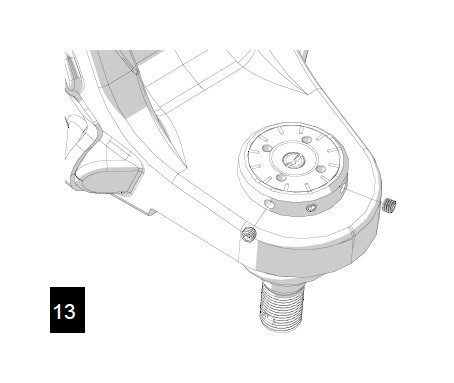
13. Install remaining set screws to seal the ball joint. Put a drop of blue Loctite on the threads before installation. Torque to approximately 36 in-lbs (4 N-m).
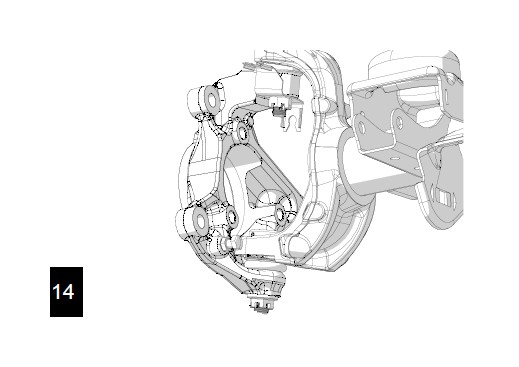
14. Reinstall the outer knuckle to the ball joint studs. Don’t forget the ABS wiring retainer. Torque the upper and lower ball joint nuts to 70 ft-lbs (95 N-m).
If the cotter pin holes don’t line up with a slot in the castle nut, tighten the nut further until the cotter pin can be installed.
15. Now is a great time to grease the upper and lower ball joints with a premium grease before reinstalling the re-maining components. Fill the ball joints until you can feel the boots begin to slightly swell. DO NOT OVER-FILL.
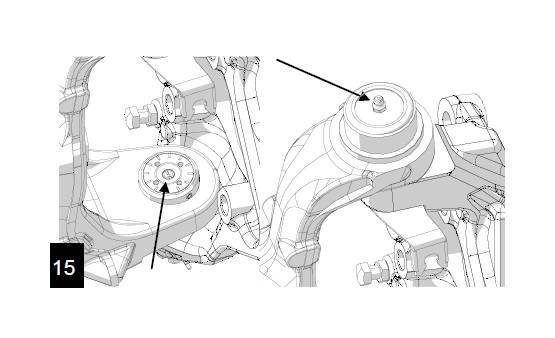
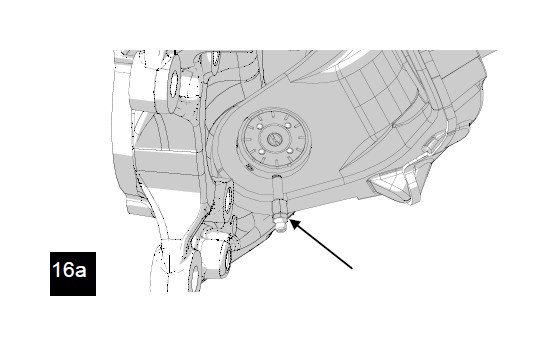
16a. Alternate method of greasing the TeraFlex Lower Ball Joint: Locate and remove the set screw that has a positioning slot aligned with the cap. This must be either the most forward, or most rearward set screw for the grease zerk extension to clear the outer knuckle, when the knuckle is turned left or right, depending if the most forward or rearward set screw is aligned.
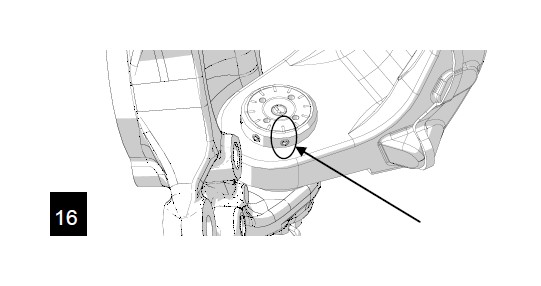
16b. Insert supplied grease zerk extension in the set screw hole and lightly tighten. Insert supplied grease zerk into the exten-sion and tighten. Grease as needed. Remove the Grease Zerk Extension assembly and replace the set screw with blue Loctite before vehicle use!
17. Repeat installation steps for the other side. Reinstall the axle shafts, unit bearings and brakes in reverse order of disassembly. Torque unit bearing bolts to 75 ft-lbs (102 N-m). Installation is complete. Enjoy your Premium TeraFlex Ball Joints!
