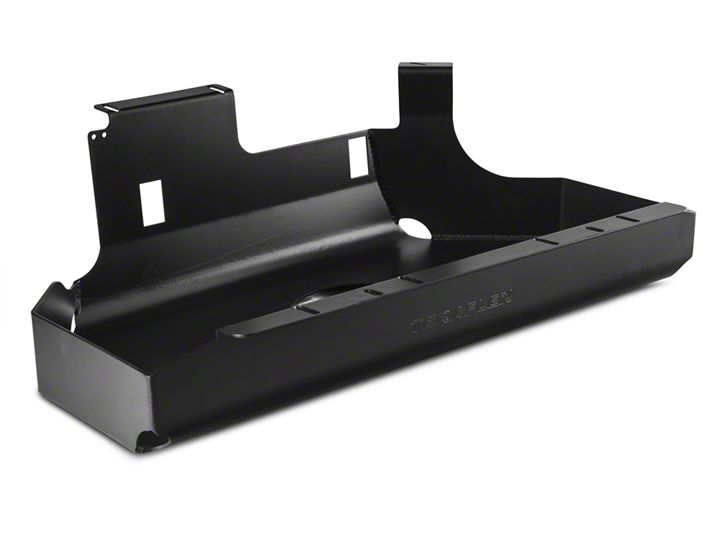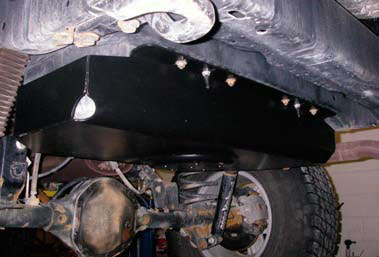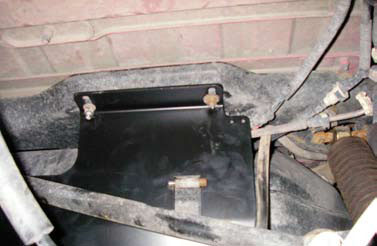

How to Install a Teraflex HD Gas Tank Skid Plate on your 1997-2006 Jeep Wrangler

Shop Parts in this Guide
WARNING: Neither the seller nor the manufacturer will be liable for any loss, damage, or injury directly or indirectly arising from the use of or inability to determine the use of this product. Before using, the user shall determine the suitability of the products for its intended use, and the user shall assume all responsibility and risk in connection therewith.
Installation:
1. Release pressure in the fuel lines by removing the fuel pump relay, then starting the engine and idling until it stalls. Disconnect the battery cable and reinstall the fuel pump relay. Refer to owners manual for location of the fuel pump relay in the PDC.
2. In order to lower the fuel tank all fuel, vapor and electrical connectors must be disconnected. The exact location of all these lines varies from year to year, but basically you need to disconnect the high pressure and return fuel lines, the sending unit/pump electrical connector and the vapor and vent hoses going to the vapor recovery system. More details are available in the factory service manual for your year of TJ.
3. Remove the fuel cap bezel, then reinstall the fuel cap to keep dirt out of the tank. Cut the zip tie holding the axle vent hose to the filler hoses.
4. Use a jack to support the weight of the fuel tank. Balancing the tank on the jack as you lower it is much easier with a friend to help with this step.
5. Remove the 7 bolts/nuts holding the fuel tank to the frame. Do not remove the tank strap nuts yet. Very slowly and carefully lower the tank to the ground while you feed the hoses and vent lines between the body and the frame.
6. Remove the fuel tank and tank straps from the factory skid plate and transfer over to the new HD TJ skid plate. Gently tighten the straps just enough to keep the tank from sliding around on the new HD skid plate.
7. Raise the fuel tank with new skid plate back up into place again being careful to route all hoses and connectors between the frame and body until you can install the bolts/nuts that hold the tank skid to the frame.
Note: If you don’t have a body lift, you will need to install one prior to installing the HD gas tank skid plate, or you will have to use the TeraFlex spacer kit P/N 004970400, sold separately. With a body lift, you can push the HD skid all the way up against the frame and enjoy the additional ground clearance.
8. Slide the fuel tank/skid as far back as possible to get clearance at the differential then tighten the fasteners to 141 inch pounds.
9. Reconnect all the fuel, vapor and electrical connections removed earlier and reinstall the fuel inlet bezel. Zip tie the axle vent hose to the fuel fill hoses.
10. Connect the battery, start the engine and idle the vehicle. Check for any leaks.


