

How to Install Teraflex Front Swaybar Quick Disconnect Kit for 0-2.5 in. Lift (07-18 Wrangler JK) on your Jeep Wrangler
Installation Time
1.5 hours
Tools Required
- Box Cutter/Knife
- 14mm Socket
- 18mm Socket
- 19mm Socket
- Socket Wrench
- Torque Wrench
- Crescent Wrench
- 6mm Allen Wrench
- Mallet (optional)
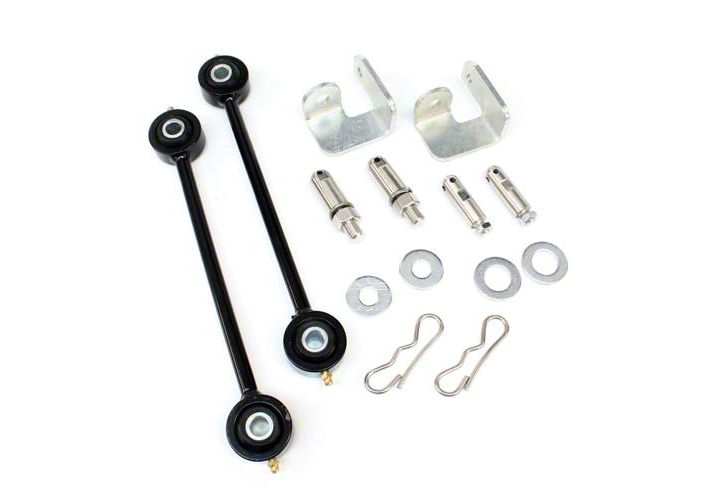
Shop Parts in this Guide
Installation Instructions
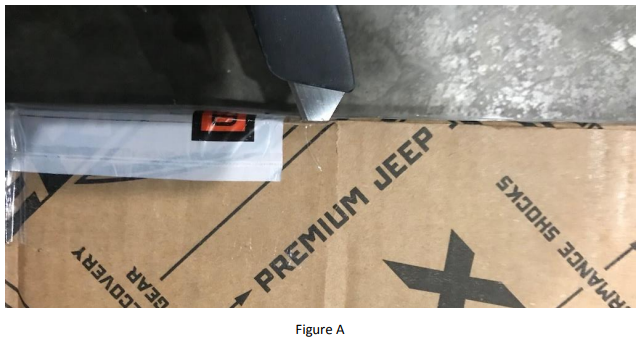
1. Carefully open the package using a box cutter or knife (Figure A) and ensure the front swaybar links and hardware are included and undamaged.
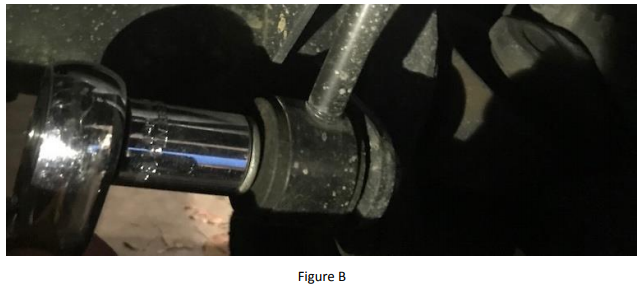
2. Using an 18mm socket wrench, remove the bottom bolt on the swaybar link (Figure B). Note: If having trouble removing the bottom bolt and swaybar link, tap with a mallet.
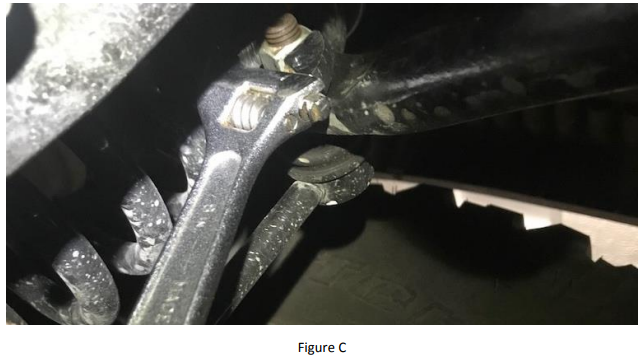
3. Using a crescent wrench and a 6mm Allen wrench, remove the top bolt on the swaybar link (Figure C).
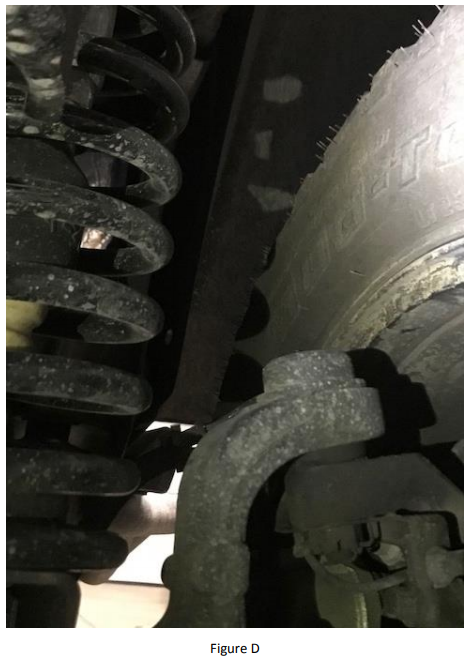
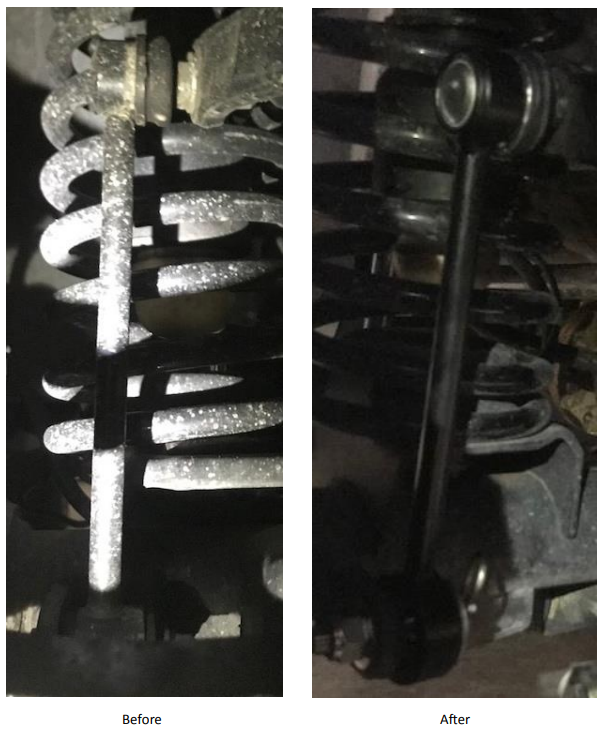
4. Remove the swaybar link (Figure D).
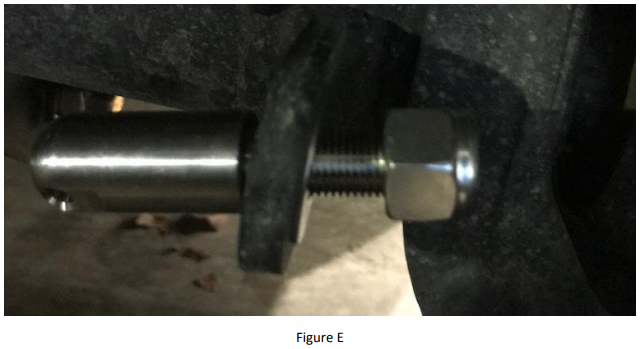
5. Insert the 3/4" stud (larger of the two studs) into the axle bracket with the 1/2" washer and 1/2" nylock nut on the other side of the bracket (Figure E).
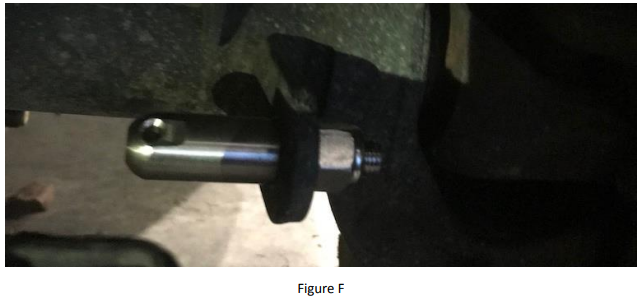
6. Torque the unlock nut to 75 ft-lbs using a torque wrench (Figure F).
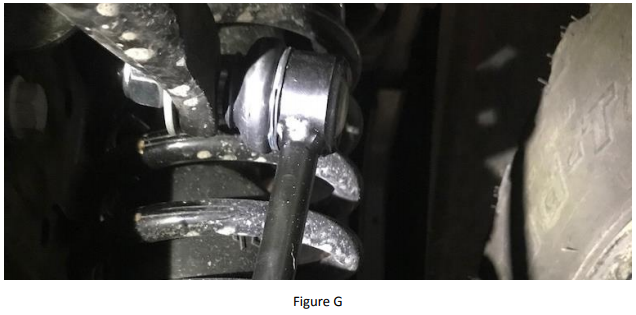
7. Connect the upper sway bar link of the new TeraFlex swaybar link into the upper bracket using the 7/16" washer and M12 nylock nut on the other side of the bracket (Figure G).
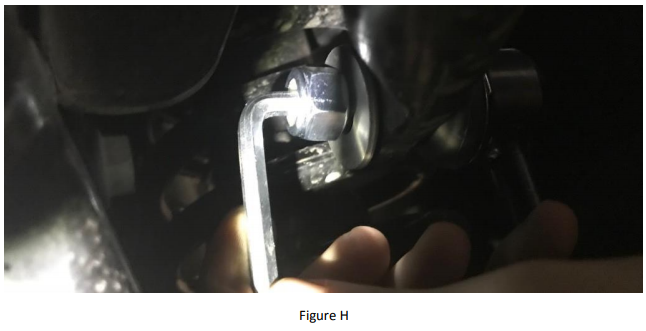
8. Using a 6mm Allen wrench and a crescent wrench, tighten the upper swaybar link (Figure H).
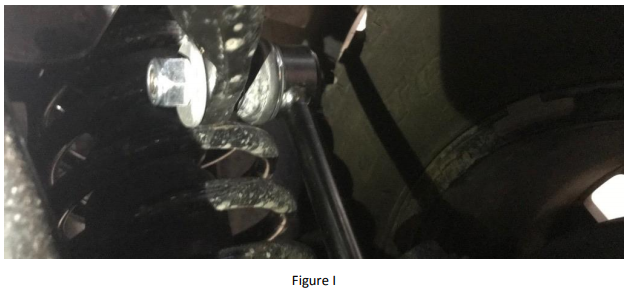
9. Torque the upper swaybar link to 75 ft-lbs using a torque wrench (Figure I).
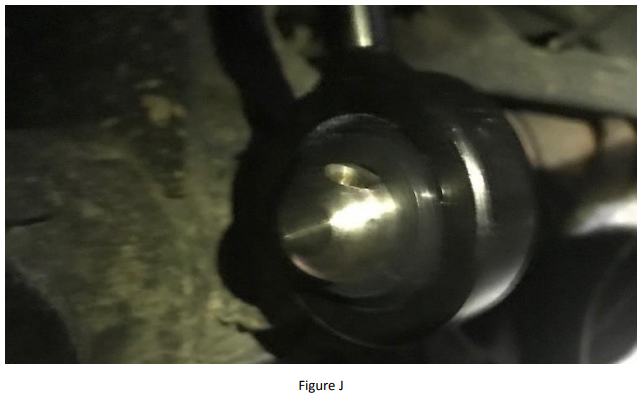
10. Slide the lower swaybar link onto lower stud (Figure J).
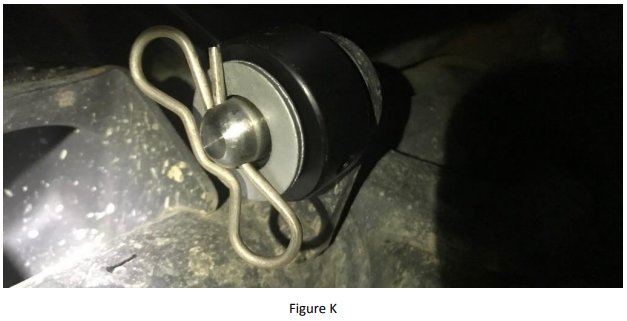
11. With the lower swaybar link on the lower stud, place a 3/4" washer onto the lower stud and place the quickdisconnect bow tie pin into place (Figure K).
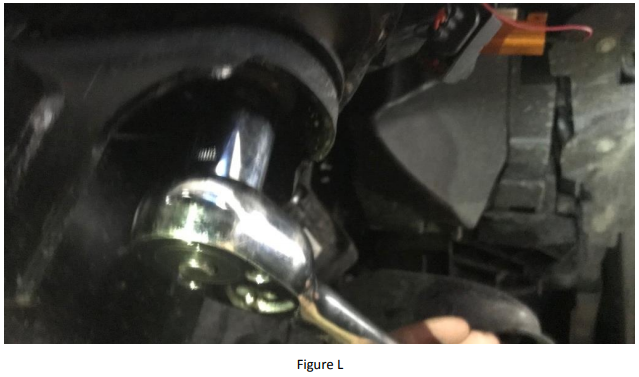
12. Remove the front body mount nut (Figure L).
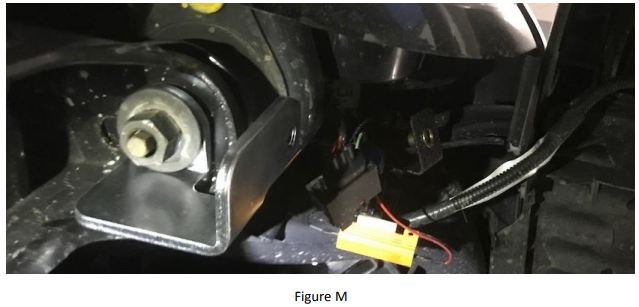
13. Place the quick-disconnect retainer bracket in place, returning the nut (Figure M).
14. Insert the 5/8" upper quick disconnect parking stud into the retainer bracket and connect the 3/8" jam nut (Figure N).
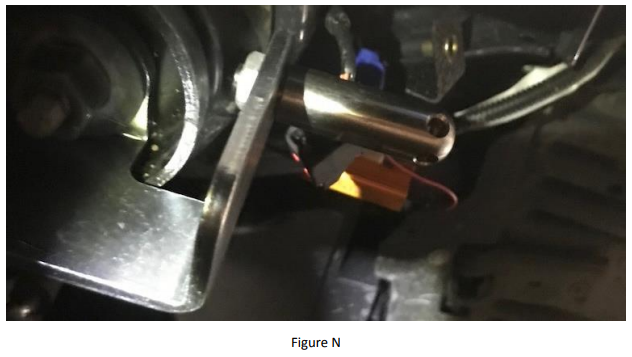
15. Torque the body mount to 80 ft-lbs and the jam nut to 75 ft-lbs using a torque wrench.
16. Repeat steps 2-15 on the other swaybar link.
Installation Instructions Written by ExtremeTerrain Customer J. Sandlin 01/13/2018

