

How to Install Teraflex 1.25 in. Body Lift on your Wrangler
Installation Time
1 hours
Tools Required
- Floor Jack
- Wood Blocks (2x4, 4x4 etc.)
- Ratchet or Impact Wrench
- 18 mm Socket
- 21 mm Socket
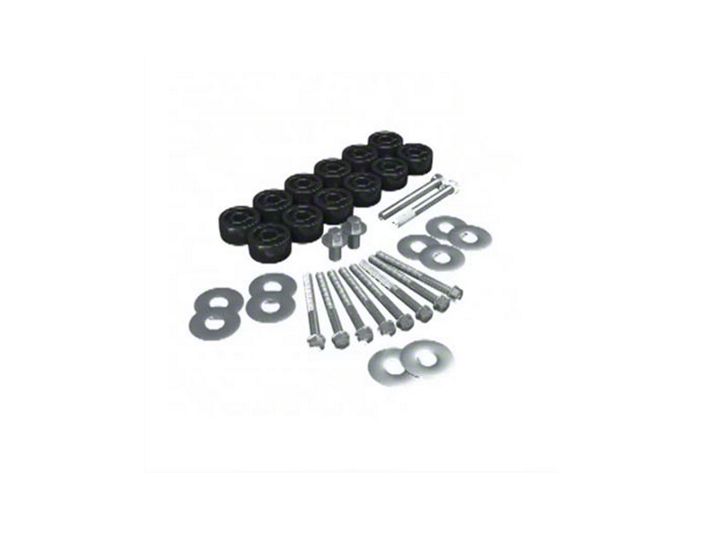
Shop Parts in this Guide
JK 1.25” Body Lift Kit
Important Notes:
Prior to beginning this or any installation read these instructions to familiarize yourself with the required steps and evaluate if you are experienced and capable to personally perform these modifications. A factory service manual should be used in conjunction with these installation instructions.
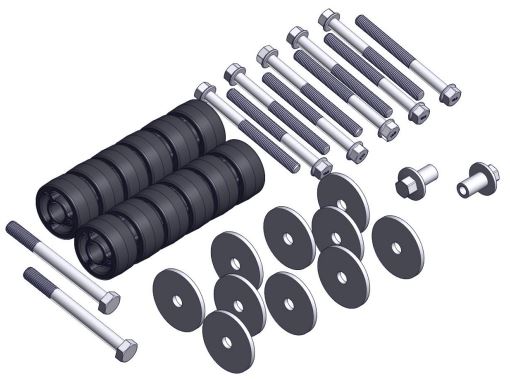
Refer to the parts list to ensure that all necessary components and hardware has been included. If any parts are missing please contact your local TeraFlex dealer for assistance.

1. Park the vehicle on a flat level surface. Apply the parking brake and block the tires.
Note: 2 door JKs have 10 body mounts while 4 door JKs have 12. Hardware has been provided for both.
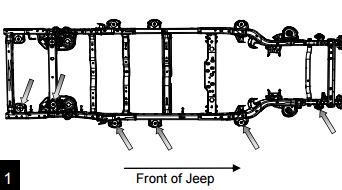
2. With an 18mm loosen, but do not remove, all body mount bolts/nuts on the left side of the Jeep, including the forwardmost body mount nut.
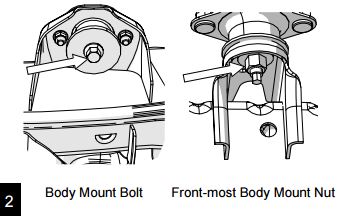
3. Remove all body mount bolts/nuts on the right side of the Jeep, including forward-most body mount nut. NOTE: The rear-most body mounts on 2008-15 JKs use larger 14MM bolts. Two new 14MM bolts are supplied with the kit. 2007 models use 12MM bolts in the rear mounts.
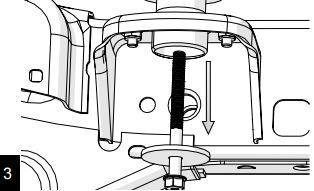
4. Place a floor jack under the right side of the body with the lift plate below the section of body just outboard of the frame, as shown. Place a block (2x4 or a 4x4) on the jack to distribute the load of the body.
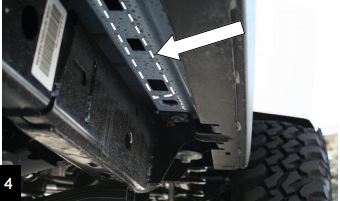
5. Raise the right side of the jeep body enough to insert the TeraFlex body lift spacers between the body and the factory mounts. It may be necessary to re-position the jack along the body as you progress from the front of the vehicle to the rear. You will need to raise the body enough to fit a spacer between the stud of the forward-most mount and the frame.
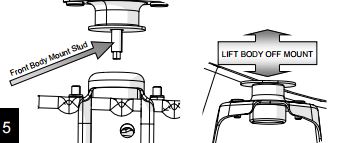
6. Slide the TeraFlex spacers into place.
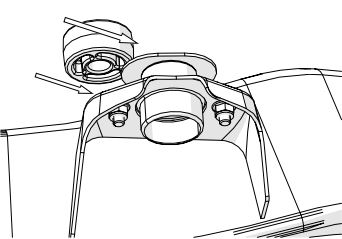
7. Lower the right side of the vehicle body down far enough to thread the supplied bolts into the body mount holes.
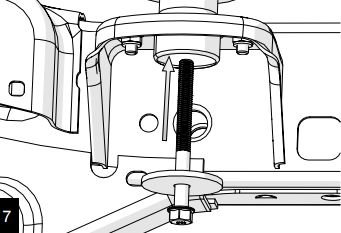
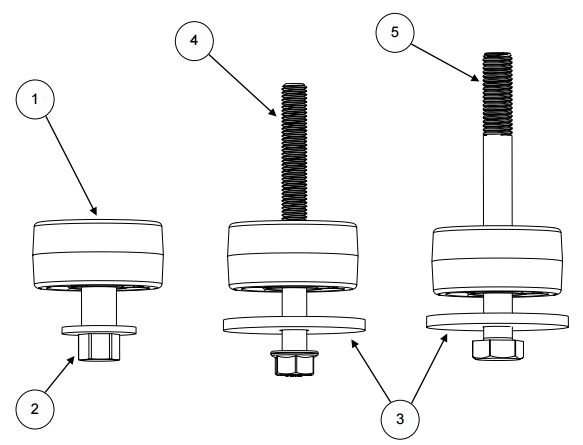
8. Loosely thread the new bolts with washers supplied in the kit through the body mounts and into the body of the Jeep.
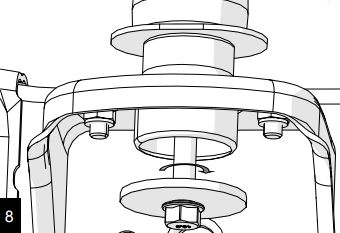
9. On the front right mount, loosely thread one of the supplied custom nuts onto the stud in the center of the body mount hole.
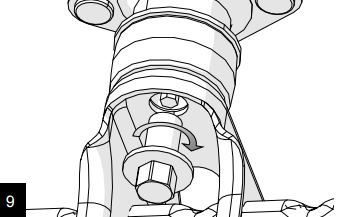
10. Lower the right side of the vehicle body completely onto the new body mounts. Do not tighten right side body mount hardware yet.
11. Repeat steps 3 to 10 for the left side. Upon lowering left side of vehicle onto the new body mounts, torque all body mount bolts and the 2 front custom nuts. Torque bolts to 80 ft-lbs Torque custom nuts to 75 ft-lbs
12. After approximately 100 to 200 miles of driving re-torque bolts and nuts.

