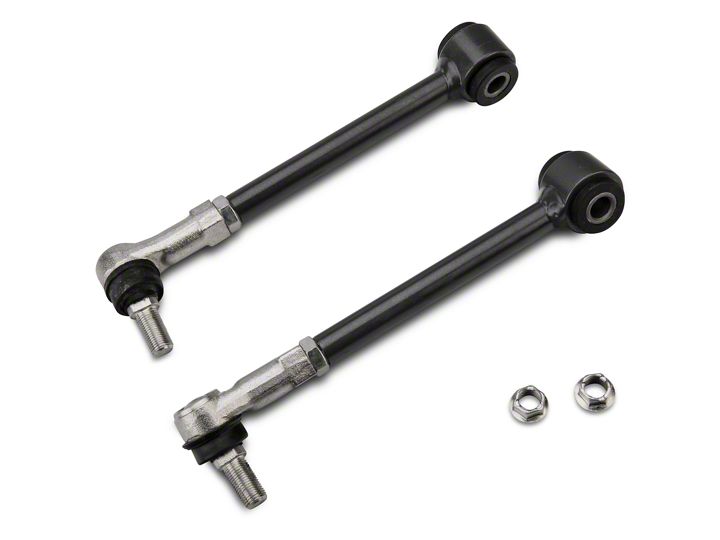

How to Install a Synergy Front Sway Bar Links on your 2007-2014 Jeep Wrangler JK

Shop Parts in this Guide
GENERAL NOTES:
• These instructions are also available on our website; www.synergymfg.com. Check the website before you begin for any updated instructions and additional photos for your reference.
• You will need basic hand tools and a drill with 1/2” drill bit.
• For Non-Rubicon models, we recommend installation of PPM-8077 (JK Front Sway Bar Quick Disconnect Kit) for disconnect of front sway bar links to increase suspension articulation while off road.
INSTALLATION:
1. Remove the factory sway bar links.

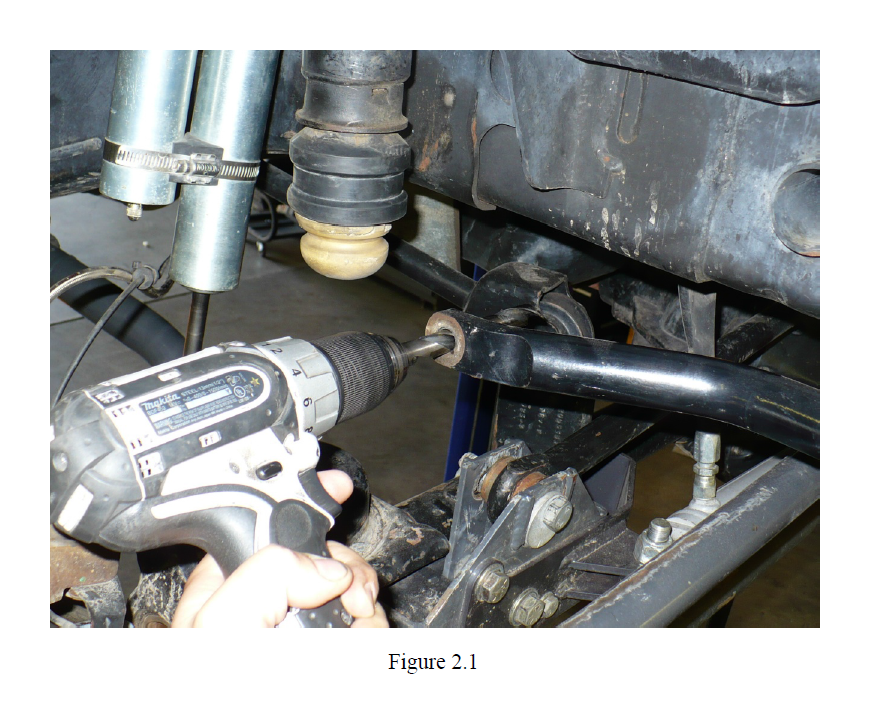
2. On some models a ½” drill bit or reamer will need to be reamed through each side of the stock sway bar to enlarge the holes for the new rod end studs.

3. Make sure the sway bar links are the same length by adjusting the rod ends.
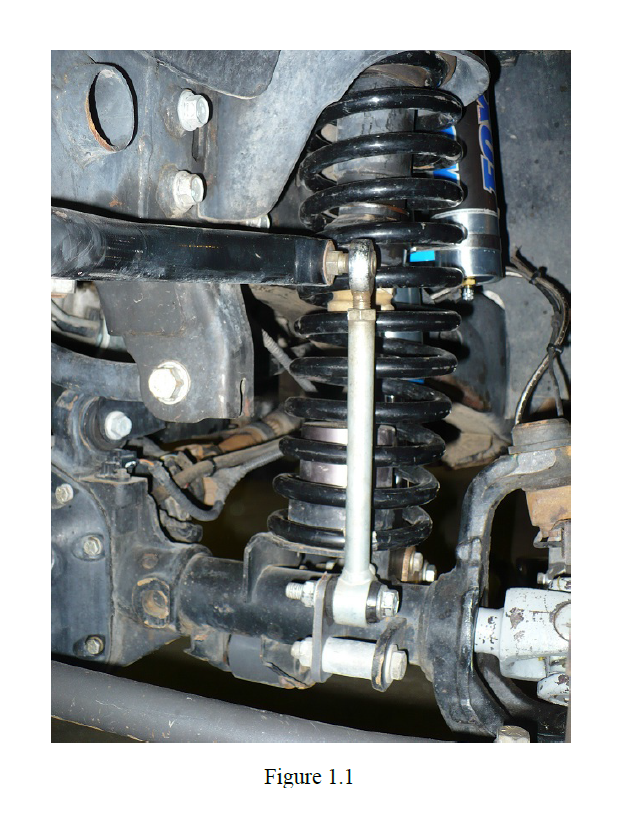
4. Install the sway bar link rod ends to the sway bar as shown in Figure 1.1. Tighten to 60 ft-lbs.
5. If using stock mounting locations, install the sway bar link to the axle using the factory hardware and mounting points. Torque the hardware to 75 ft-lbs.
6. If using a track bar relocation bracket, install the driver side sway bar link to the sway bar relocation bracket using the stock nut / bolt as shown in Figure 1.1 above. Torque lower bolt and factory hardware to 75 ft-lbs.
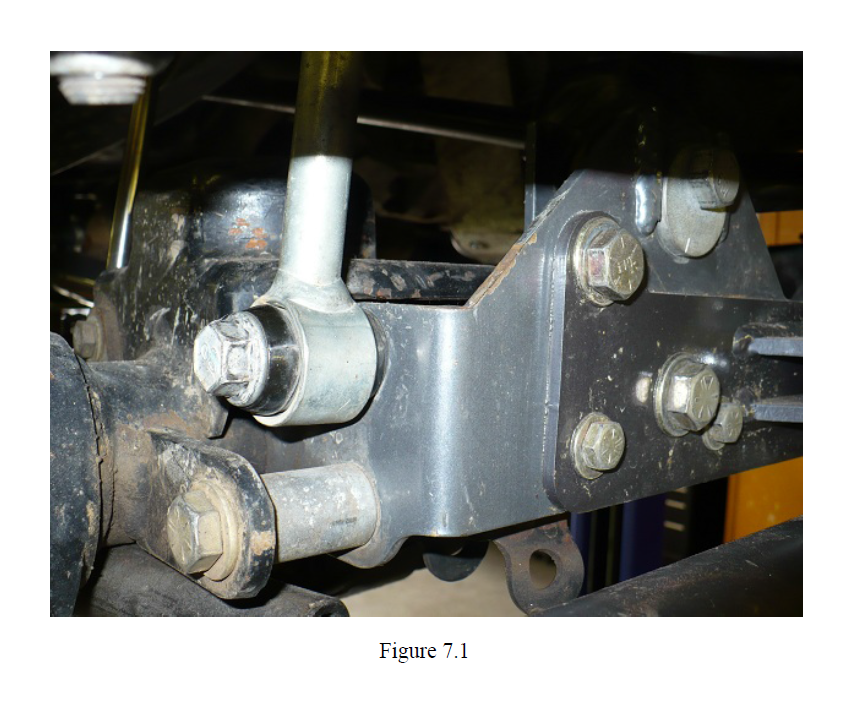
7. Install the passenger side sway bar link in the side of the track bar bracket using the factory hardware. See figure 7.1 below.

8. Recheck all hardware after 100 miles of driving.
9. Installation is complete.

