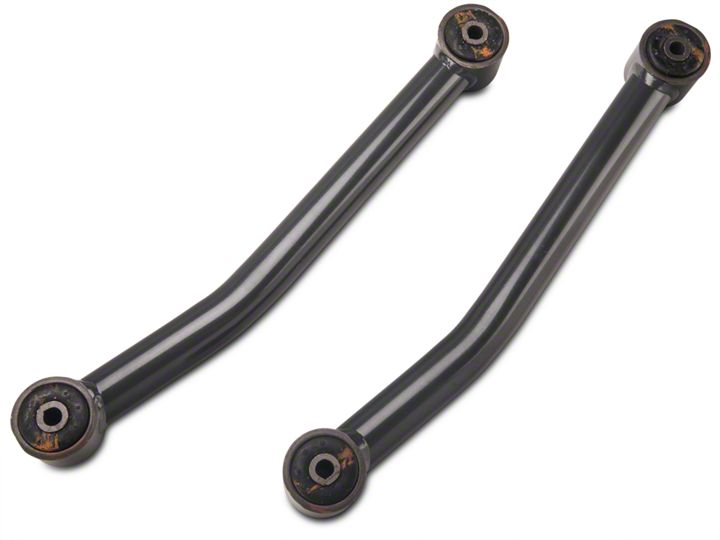

How to Install Synergy Heavy Duty Fixed Rear Lower Control Arms (Pair) (07-17 Wrangler JK) on your Jeep Wrangler

Shop Parts in this Guide
GENERAL NOTES:
• These instructions are also available on our website; www.synergymfg.com. Check the website before you begin for any updated instructions and additional photos for your reference.
• The installation of these control arms will allow you to correctly align the rear axle after a suspension lift kit is installed.
• These arms are ½” longer than stock. This length works well when using the stock length upper control arms and for longer upper control arms when using a CV style rear drive line and 3-4.5" of lift. If using a CV style rear drive line and you need the pinion pointed up towards the output on the t-case, we recommend these arms to be used in conjunction with PPM-8054 JK REAR ADJ UCAs for optimum drive line angles.
1. Remove the existing lower control arms. If you are just replacing the lower control arms, they can be replaced one at a time with the vehicle sitting on level ground, without removing the tires & wheels or any other suspension part.
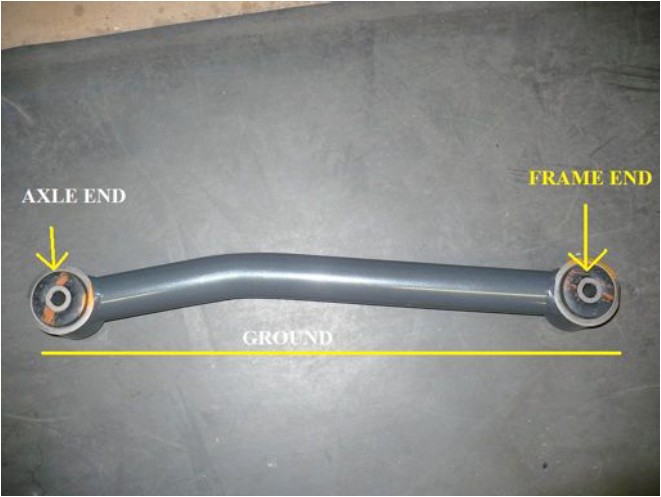
2. Install the new control arms with the bend at the axle end, and arm positioned so that the bend in the arm is pointed down toward the axle as to provide more ground clearance. See picture below for clarification. Reuse the factory control arm bolts.

3. Tighten the factory control arm bolts to 125 ft-lbs. Be sure to torque bolts with vehicle’s weight on the suspension as to not preload the control arm bushings.

