

Top Sellers for Bronco
How to Install Steinjager Adjustable Front Sway Bar Kit (07-18 Jeep Wrangler JK) on your Jeep Wrangler
Installation Time
2 hours
Tools Required
- Socket Wrench with 16 mm and 18mm sockets
- Open Ended Wrench: 19 mm
- Breaker Bar
- Torque Wrench
- Safety Glasses
- Grease Gun with Grease to grease Zerk fittings
- PB Blaster or other rust penetrating spray (Optional)
Component List:
• 1 – Front Sway Bar
• 2 – Mounting Clamps
• 2 – Sway Bar Bushings
• 4 – Washers
Installation Notes: This install was done on a 2009 Jeep Wrangler JKU with a Teraflex Performance Leveling Kit that has quick sway bar disconnects installed. Install will be the same but install time may vary. Spray any bolts that are extremely rusted with a rust penetrating spray.
Before Install
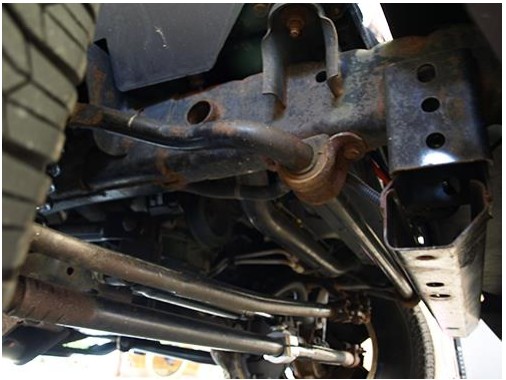
Installation Instructions:
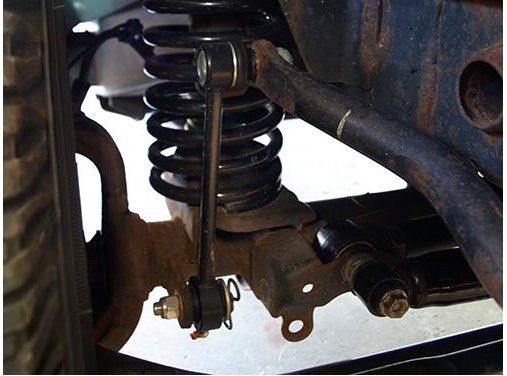
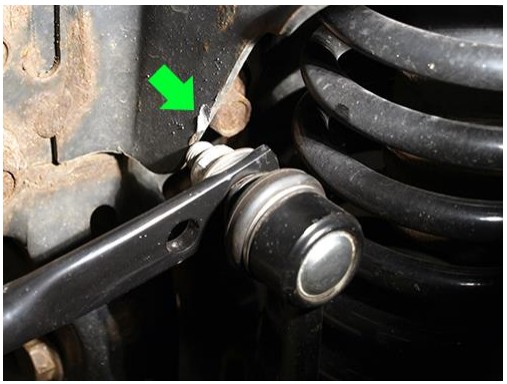
1. Remove the factory sway bar links from the factory sway bar using a socket wrench with an 18mm socket and a 19mm open ended wrench. Inspect your sway bar links and replace if needed.
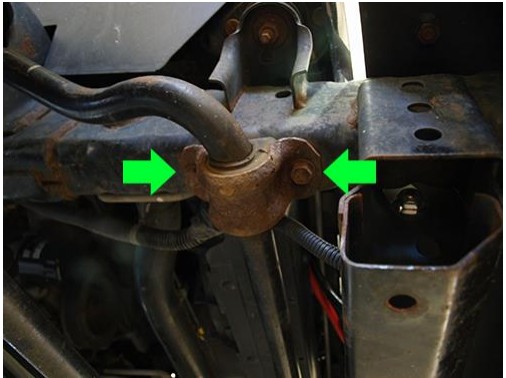
2. Remove the four (4) sway bar bolts holding the factory sway bar to the frame with a socket wrench and a 16mm socket. You may need a breaker bar to loosen these bolts. Keep the factory bolts as you will reuse them.
Important Note: Hold the sway bar in place when removing the frame bolts to prevent it from fall and hitting you.
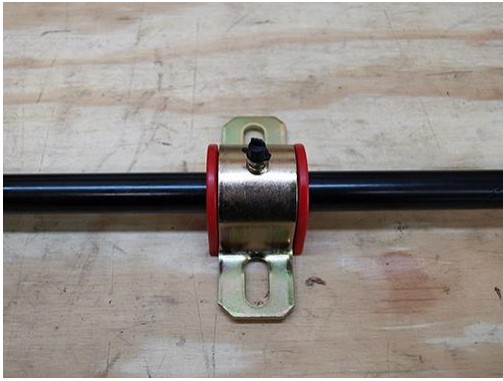
3. Slide each sway bar bushing on to the new Steinjager Adjustable Front Sway Bar. There is a cut slit in each of the sway bar bushings to make install easy.
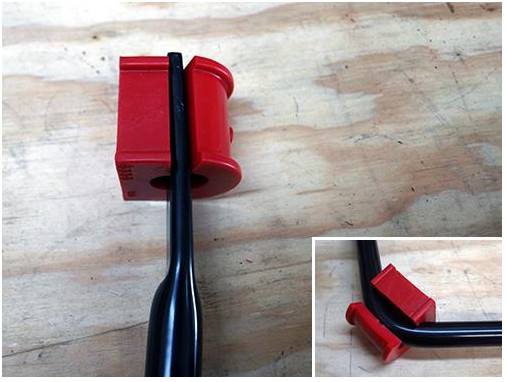
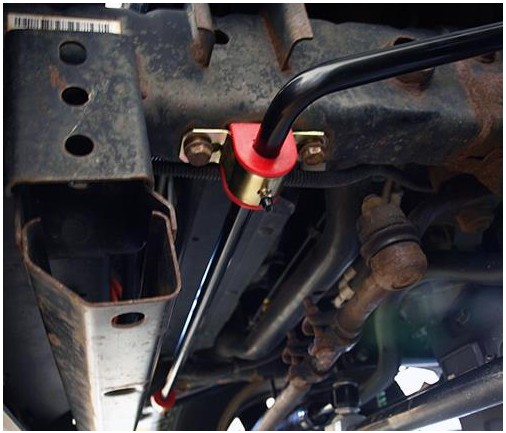
4. Place grease between the sway bar bushing and sway bar as the bushings are greaseable. Then place the mounting camps over the sway bar bushings.
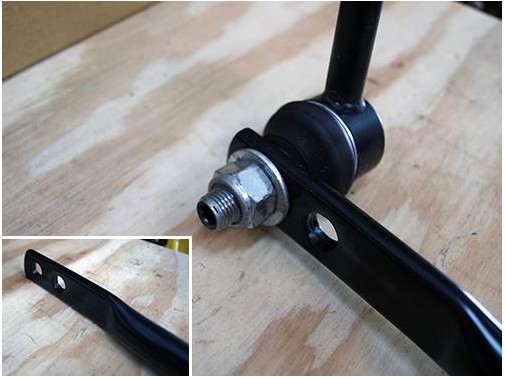
5. Reattach the sway bar end links to the Steinjager Adjustable Front Sway Bar and torque to 75-foot pounds.
6. Slide a provided washer on to each factory 16mm bolt.
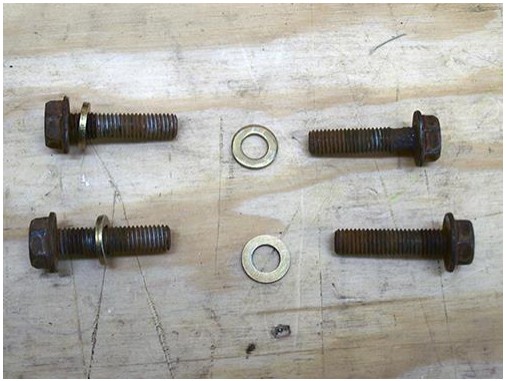
7. Slide each mounting clamp and bushing to a lines the mounting clamp holes to the factory frame holes and screw in all four (4) factory 16mm bolts. Now torque each bolt to 45-foot pounds and grease each Zerk fitting.
Note: Each bushing requires three full pumps to insure proper lubrication.
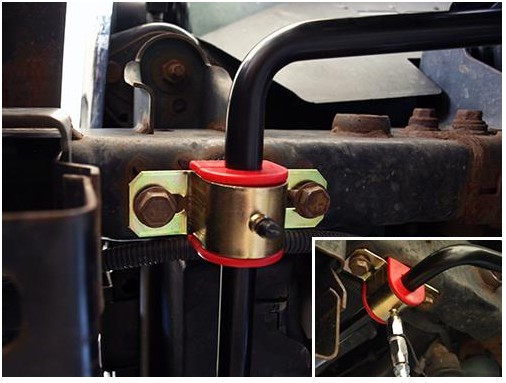
Note: The Steinjager Adjustable Front Sway Bar has two mounting holes on each side for the sway bar links. If the sway bar link starts to rub, then move the link to the opposite hole.
After Install
Installation Instructions Written by ExtremeTerrain Customer Brian Voelzke 07/22/2019


