

Top Sellers for Tacoma
How to Install Steinjager 4 in. Rear Lift Springs - Gecko Green (07-18 Jeep Wrangler JK) on your Jeep Wrangler
Installation Time
1 hours
Tools Required
- Ratchet
- Jack and Jack stands
- 19mm Socket
- 21mm Socket
- 10mm Deep Socket
- Breaker Bar
- 21mm Open End Wrench
- Torque Wrench
- Optional – Impact Gun
- Optional – Penetrating oil
Steinjager 4 in. Rear Lift Springs
Manufacturer Part Number J0046685
Model Number J124359
This guide is for installing the Steinjager 4in. Rear List Springs (J0046685) on a 2 door 2007-2017 Jeep Wrangler. Read all instructions carefully before starting.
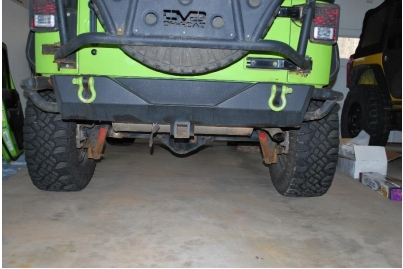
Before
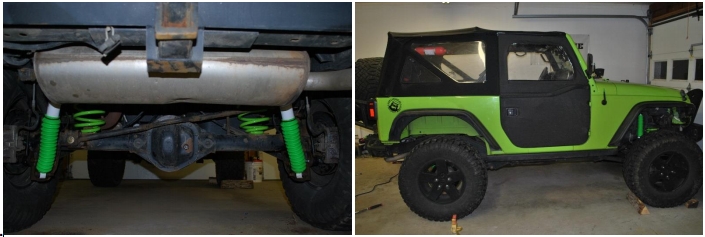
After
Installation Instructions:
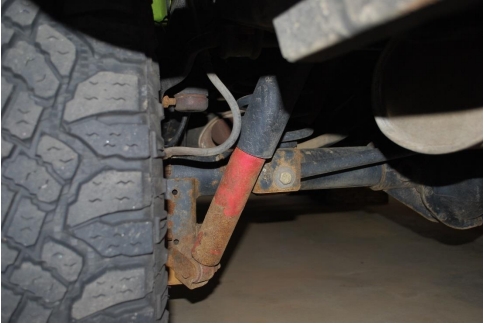
1. If possible, pre-soak all of the fasteners below with penetrating oil prior to starting the work. It will make removing them easier.
2. Park the vehicle on level ground and apply the parking brake.
3. Jack the rear of the vehicle off the ground and support it on jack stands.
4. Using a 19mm socket and ratchet, unbolt 5 lug nuts from both rear wheels and remove wheels.
5. Using a 21mm socket and ratchet, unbolt the rear track bar where it meets the differential on the driver side of the vehicle. Loosen the bolt on the frame end of the track bar, but do not remove the bolt
entirely.
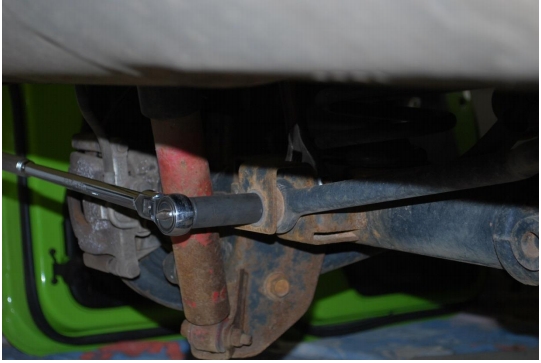
6. Using the 21mm Socket and Breaker bar, loosen the lower and upper control arm bolts. Do not remove the nuts completely, you just want these loose enough to make the differential swing down easily.
7. Using a 10mm Deep Socket and ratchet, unbolt the emergency brake cable support bracket. Remove the bracket completely, you will not need to reinstall it.
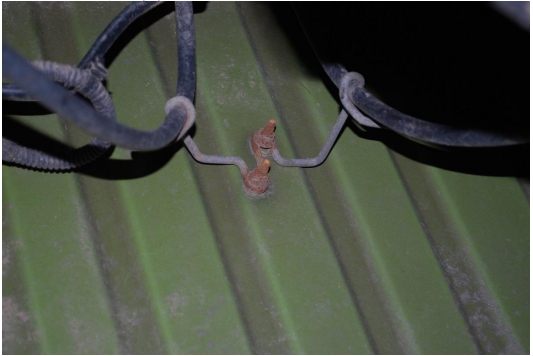
8. Using a 10mm Deep Socket and ratchet, remove the bolts holding the rear brake lines to the frame above the axle. In the picture, you will see brake line extension brackets installed. These do not come with the springs, but it is recommended to either make or purchase a set to ensure your brake lines will not bind.
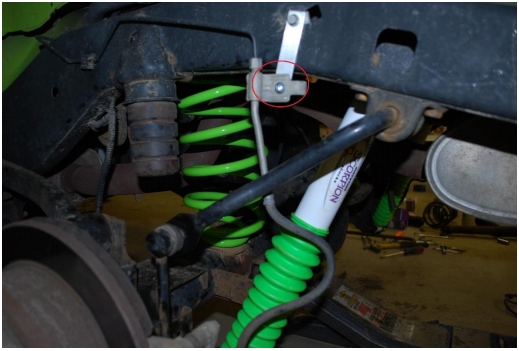
9. Support the differential with a jack to prevent it from falling quickly.
10. Using the 18mm Open End Wrench and 18mm Socket (if you have an impact gun, use it), remove the lower shock bolts.
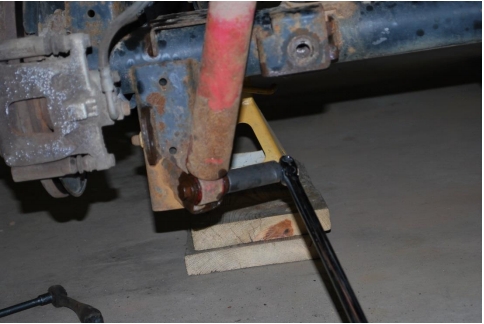
11. Being careful to watch brake lines, brake cables, and any wires, lower the rear differential. If the breather hose on the top of the differential comes off, it can be reinstalled when the axle is lifted back up. Lower the differential until the springs can be removed easily.
12. Remove the old springs and install the new ones. Be sure the isolator on the top of the spring is seated against the upper spring pad. With the assistance of a friend, jack up the differential until the springs are held in place.
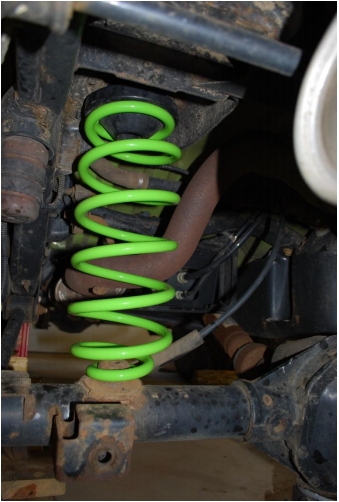
13. Jack the differential up until the shocks can be put back into the lower shock mounts.
14. Using a, 18mm socket, 18mm Open End Wrench, and a torque wrench, torque the lower shock bolts to 90 lb/ft. Note that in the pictures we have replaced the shocks with new ones.
15. Using a 10mm Deep Socket, reinstall the rear brake line brackets onto the frame. As noted, it is recommended you install a brake line extension bracket (as seen in the picture) or longer brake lines.
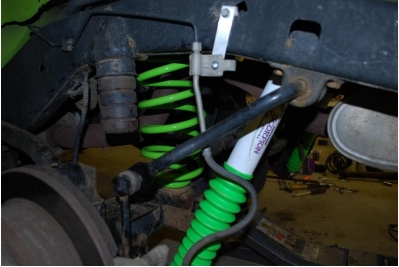
16. Reinstall the rear track bar using a 21mm Socket and ratchet, but do not fully tighten the bolt at this time.
17. Reinstall the rear tires using a 19mm socket and ratchet. Set the vehicle on the ground and torque the lug nuts to 100 lb/ft.
18. With the vehicle on the ground, torque the track bar bolts to 125 lb/ft. The torque on these bolts is important, use a proper torque wrench.
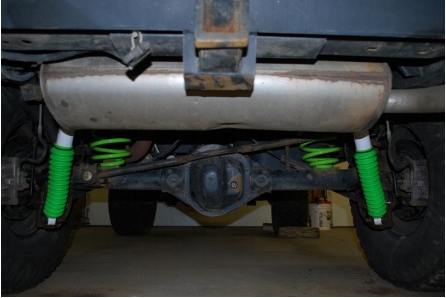
19. With the vehicle on the ground, torque the bolts on the rear upper and lower control arms. The frame bolts should be tightened to 130 lb/ft and the axle bolts should be tightened to 85 lb/ft. It is important these bolts are tightened with the vehicle on the ground.
20. Check and, if necessary, tighten all bolts after driving 50 miles.
Installation Instructions Written by ExtremeTerrain Customer Michael Earl 5/1/2019


