
Top Sellers for Wrangler
How to Install Snyper Oil Pan & Transmission Skid Plate on your Wrangler
Tools Required
- 3/8” Ratchet
- 13mm, 17mm and 18mm sockets
- 13mm wrench (optional)
- Torque Wrench

Shop Parts in this Guide
Tools Required
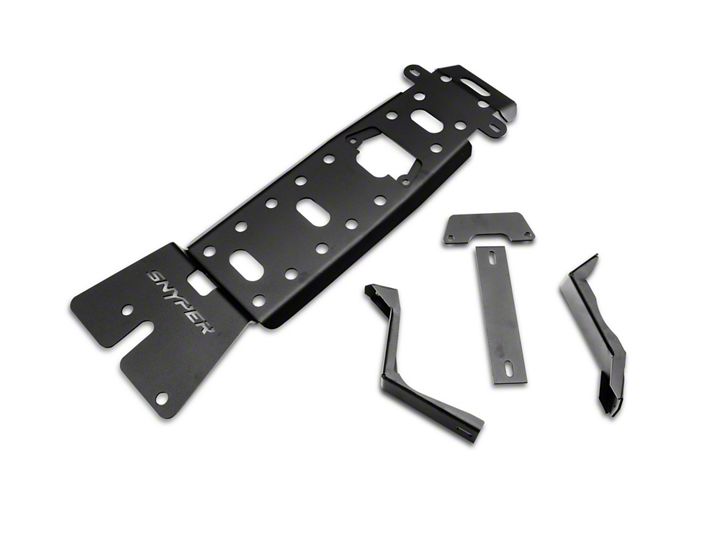
Pre-installation notes: Before starting the installation, ensure that you have all the included hardware. (1) Oil pan skid plate; (2) brackets for driver and passenger side; (1) Oil drain cover plate; (1) Support plate; (2) M8 u-nut; (2) M8 SEMS hardware; (4) M10 Flat washers; (4) M10 Hex head bolt; (4) M10 split lock washers; (4) M10 nuts; (2) Plastic caps.
Installation Instructions:
1. Using the 18mm socket and ratchet, remove the (3) bolts holding the factory skid bar and the (2) front bolts of the factory transfer case skid plate. In addition, loosen the rear (2) bolts of the transfer case skid plate to allow just the front half to drop slightly.
2. Attach the (2) M8 U-nuts on the rear holes of the driver and passenger side engine mounts.
3. Loosely attach the driver and passenger side bracket with the M8 SEMS hardware to the U-nuts on the engine mounts using the 13mm socket and ratchet. If space is an issue, you can use a 13mm wrench.
4. Slide the rear portion of the skid plate over the edge of the factory transfer skid plate. Loosely attach the skid plates with the factory hardware. In addition, loosely attach the factory skid bar into place.
5. Slide the support plate between the engine mount brackets and loosely attach the skid plate the brackets with the M10 bolts, split lock washers and flat washers using the 17mm socket and ratchet.
6. Adjust the plate and brackets into position, ensuring there’s no contact with the transmission lines or the oil pan. Once the position has been set, tighten the rear factory skid plate bolts to 48 ft./lbs. followed by the M10 bolts at 35-40 ft./lbs. and the M6 hardware to 18-20 ft./lbs.
7. Finally, install the oil drain plate with the remaining M10 hardware using the 17mm socket and ratchet.


