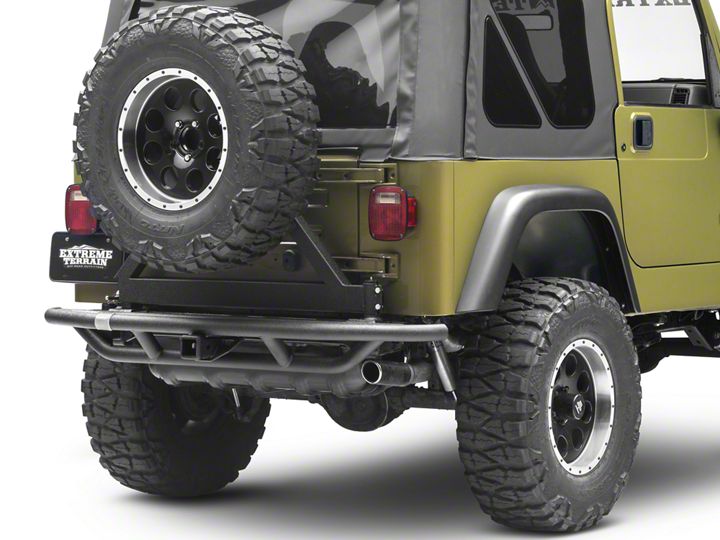

How to Install a Smittybilt SRC Rear Bumper w/ Tire Carrier on your 1987-2006 Wrangler YJ & TJ

Shop Parts in this Guide
| SR NO. | Parts Included | QTY |
|---|---|---|
| 1 | Rear Bumper | 1 |
| 2 | 12 mm Nut | 8 |
| 3 | 12 mm Flat Washer | 14 |
| 4 | 12 x 30mm Hex Head Bolt | 8 |
Note: Check with OEM towing specifications and operation before towing anything with your vehicle.
Section One
1. Remove factory rear bumper or bumperettes.
2. On all models the inner two holes will not line up with the factory holes and will need to be drilled.
3. Mount bumper on your vehicle and fasten with included bolts using only the outside holes. Make sure bumper is positioned correctly and tighten bolts snug. Use the inner racket holes as a template; mark the holes on the frame. Now remove bumper and set to the side.
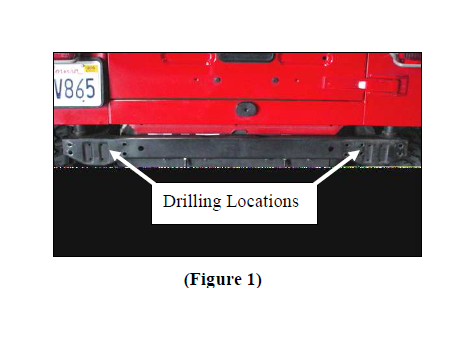
4. Caution: Use Extreme care and caution before drilling. Make sure to check backside of frame for hazards and obstructions. Using a 7/16” bit, drill the marked holes. (Figure 1)

Section Two
5. Position bumper against rear vehicle frame. Attach driver and passenger side rear brackets using (1) 12 x 30mm bolt, (2) 12mm flat washers, (1) 12mm lock washer, (1) 12mm nut, at each of the eight mounting holes. Note: Do not tighten completely at this time.
6. Using (1) 12 x 30mm bolt, (1) 12 mm flat washer, (1) 12mm lock washer for each hole, mount the bottom brackets of the bumper to the bottom hole in the vehicle frame.(Tighten all hardware now)
Section Three
8. Place nylon washer over rear bumper post, then place tire carrier on top. Once the tire carrier has been place over post, swing it to the closed position and latch it into place. Secure it with the already installed bolts. (Figure 2 and 3)
9. Carefully place the Circle Clip on top of the post over the tire carrier portion.

