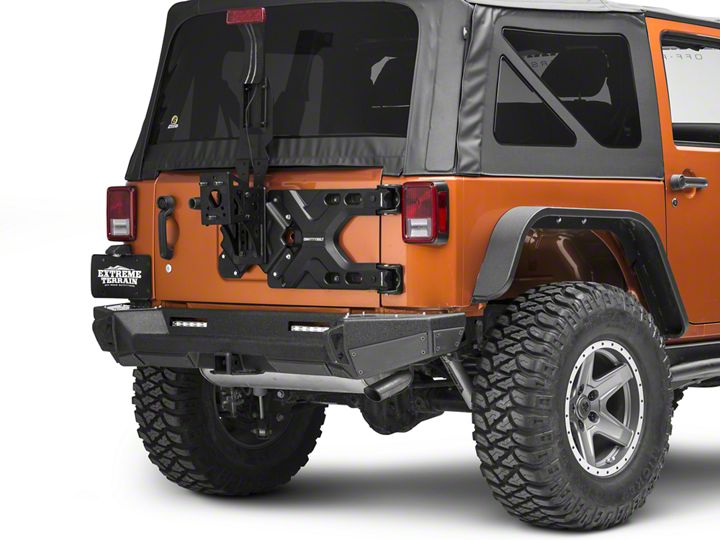

How to Install Smittybilt Pivot HD Tire Carrier (07-18 Jeep Wrangler JK) on your Jeep Wrangler
Installation Time
90 minutes
Tools Required
- 19mm Socket
- 18mm Socket
- 13mm Socket
- T15 Torx Bit
- T50 Torx Bit
- Flat Head Screwdriver
- Torque Wrench

Shop Parts in this Guide
Installation Notes – Be sure to use blue thread locker on all bolts used for this install.
Installation Instructions:
1. Vehicle preparation - Park the vehicle on a flat, level surface. Using a 19mm socket, remove the spare tire. Using a 13mm socket, remove the stock tire carrier. Using a flat head screw driver, pop off the two plastic hinge covers.

2. Removing the hinges – Before unbolting the hinges, support the tailgate by placing wood shims between the rear bumper and the bottom of the tailgate. This will prevent the tailgate from misaligning. Once in place, remove the tail gate hinges using a 13mm socket and T50 torx bit.

3. Installing the HD Tire Carrier (All bolts used in this step use the OE bolts) – Position the tire carrier onto the tailgate. Hand tighten the two outermost tub mounted bolts. This will allow you open the HD Tire Carrier and install the four inner tub mounted bolts. Using a T50 torx bit, torque these bolts to 19 ft-lbs. Close the HD Tire Carrier and install the four tailgate mounted bolts using a 13mm socket. Torque these to 15 ft-lbs. Finally, torque the two outermost tub mounted bolts to 19 ft-lbs (previously hand tightened).

4. Install the tire mount bracket – Using the supplied 12mm bolts, washers, and nylon nuts, attach the tire mount bracket base to the tire mount bracket (18mm socket). If using the third brake light mount, attach this piece as well. Torque to 80 ft-lbs. Bolt these pieces to the tailgate and HD Tire Carrier using the supplied 8mm x 40mm bolts. Be sure to use the supplied spacers show below in the first picture. Torque to 15 ft-lbs.

5. Attach the tire mount – Using the five supplied 10mm bolts, nuts, and washers, attach the tire mount to the tire mount bracket. Adjust as necessary to fit your wheel’s offset/back spacing. Torque to 37 ft-lbs.

6. Re-install the spare tire and hook up the third brake light.

Installation Instructions Written by ExtremeTerrain Customer Steve Dockendorf 02/13/2017

