

How to Install Smittybilt High Performance Air Compressor 5.65 CFM/ 160 LPM (87-17 Wrangler YJ, TJ, & JK) on your Jeep Wrangler
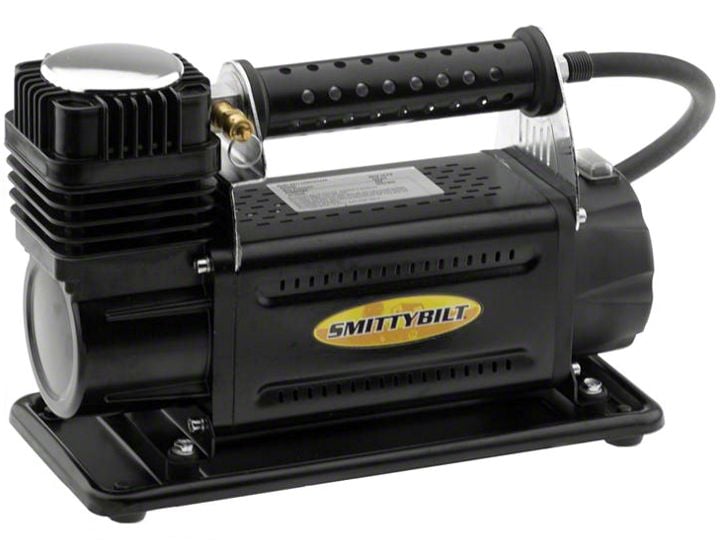
Shop Parts in this Guide
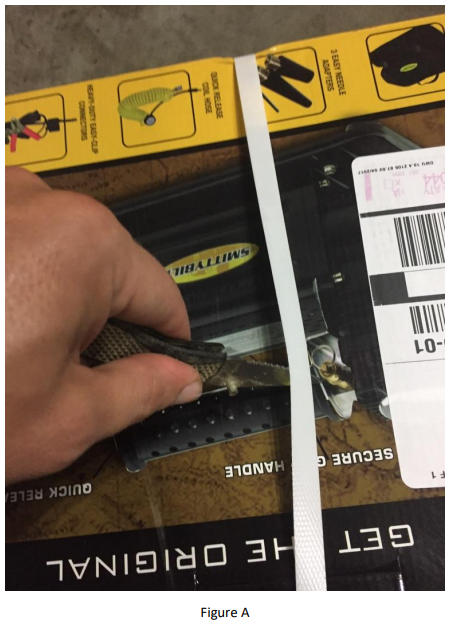
1. Carefully open the package using a box cutter or knife (Figure A).
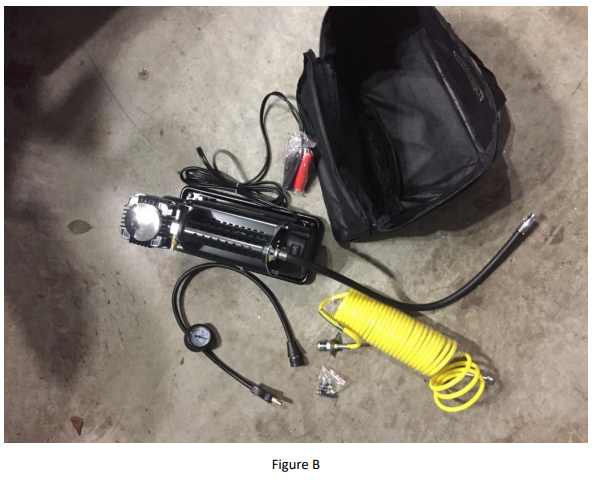
2. Ensure that all components and hardware are included (Figure B).
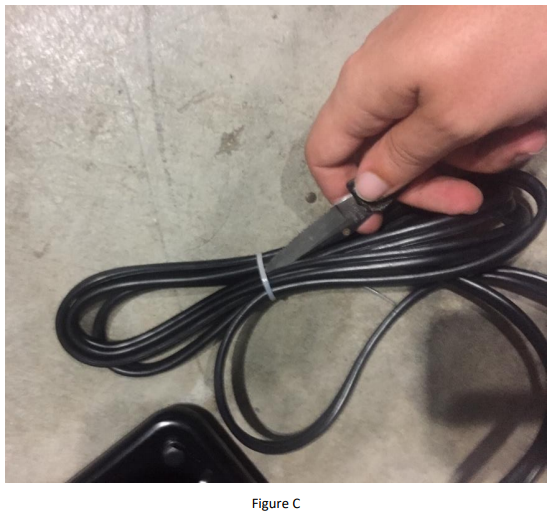
3. Do not leave battery connects bound, cut connector before utilizing battery clamps (Figure C).
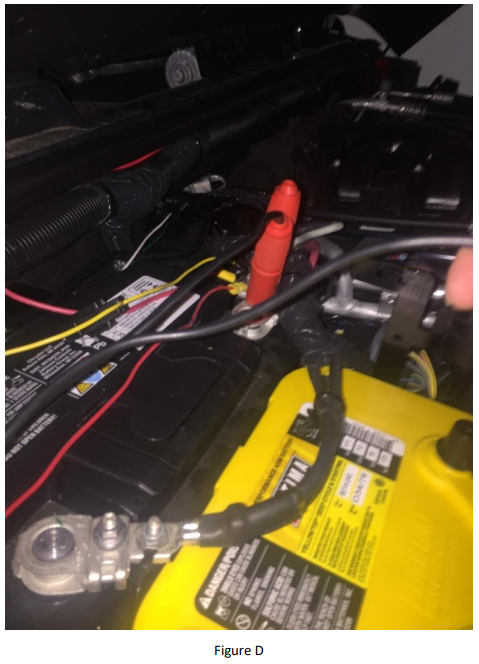
4. Connect the red battery clamp to the positive terminal of the battery (Figure D).
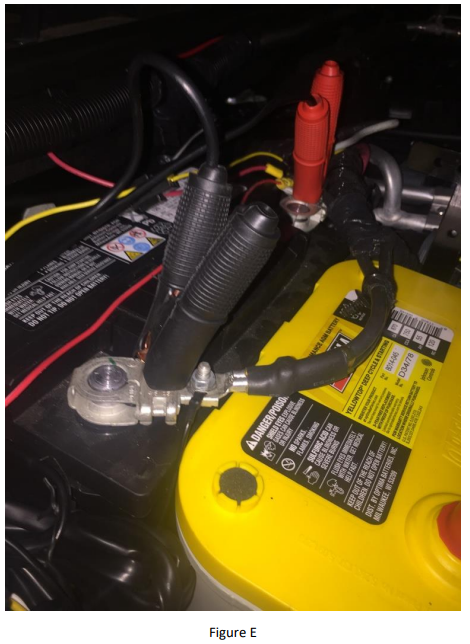
5. Connect the black battery clamp to the negative terminal of the battery (Figure E).
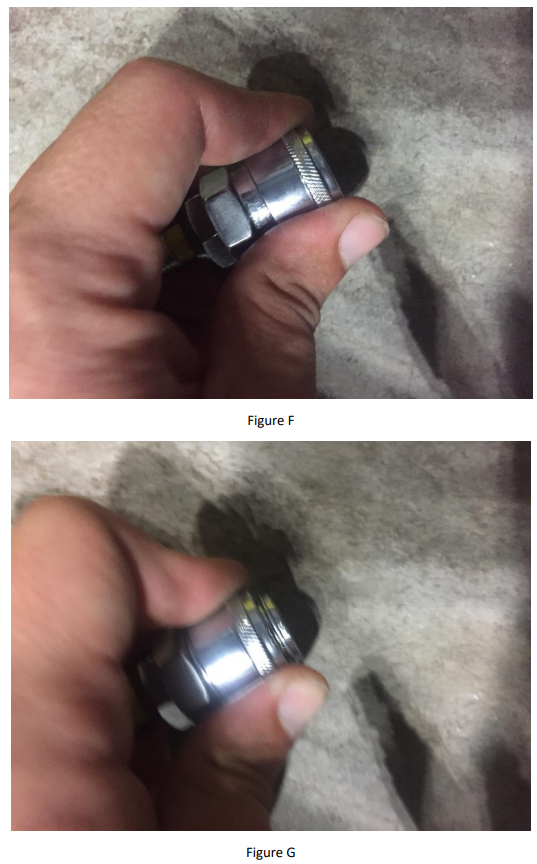
6. To connect the air supply hose to the compressor, take the fitment (Figure F) and slide the retaining snap ring back (Figure G).
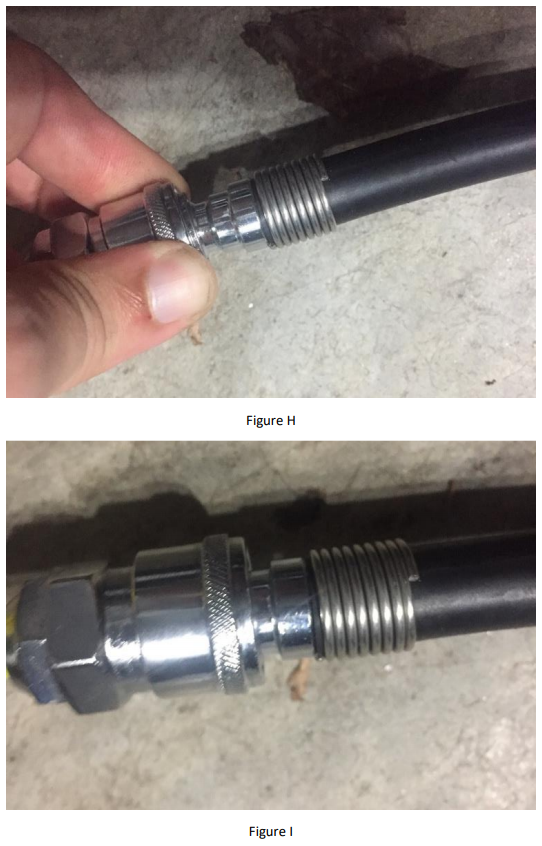
7. While holding the retaining snap ring back, connect the air hose supply to the compressor (Figure H) and release the retaining snap ring so that it connects the two fitments (Figure I).
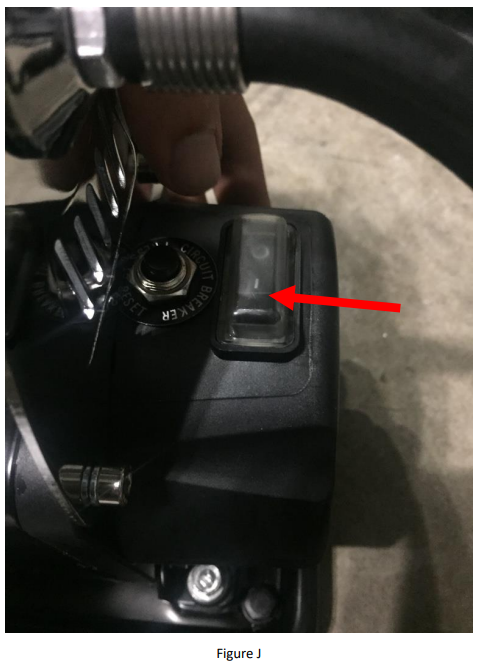
8. Test the system by switching the compressor to on (Figure J).
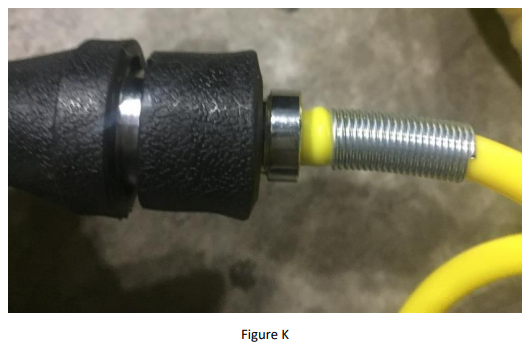
9. Connect the air hose onto the tire valve & gauge hose (Figure K) using the same retainer process shown above.
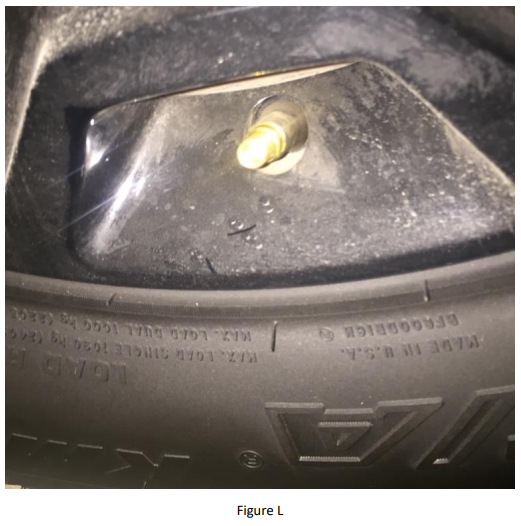
10. Remove the valve cover from the tire (Figure L).
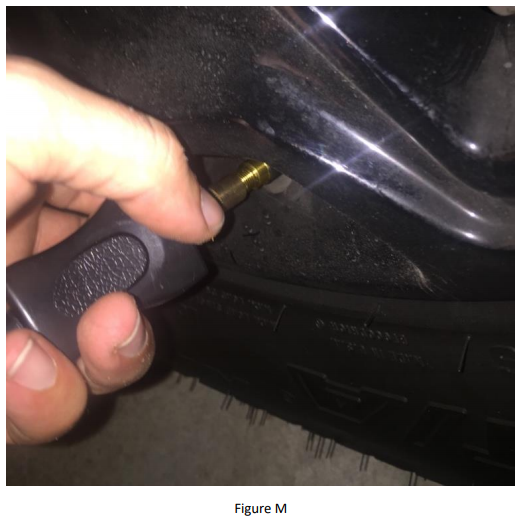
11. Turn the compressor on before attaching the hose (this will reduce stress on the compressor). Once the compressor is on, attach the tire valve & gauge hose to the tire valve (Figure M).
12. Inflate to desired pressure. Note: Always check final pressure with a second tire pressure gauge to ensure accurate inflation levels.
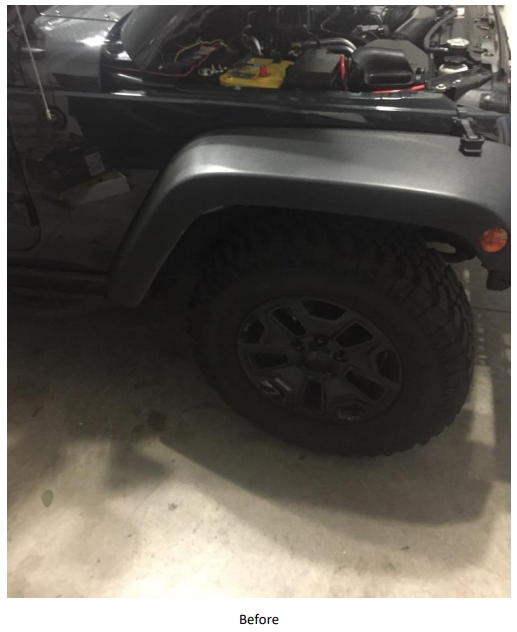
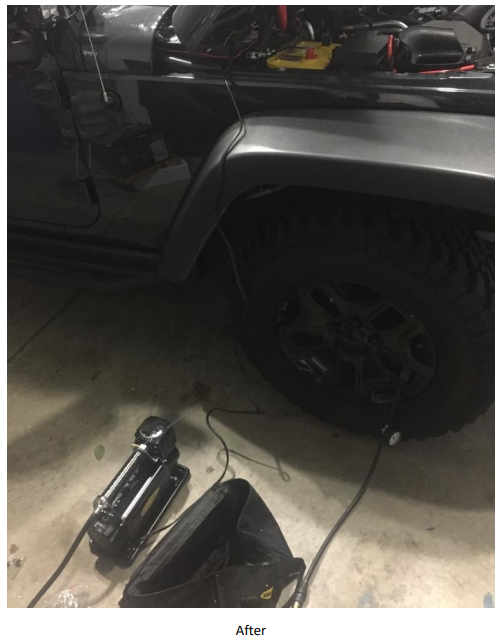
Installation Instructions Written by Extreme Terrain Customer J. Sandlin 07/07/2017

