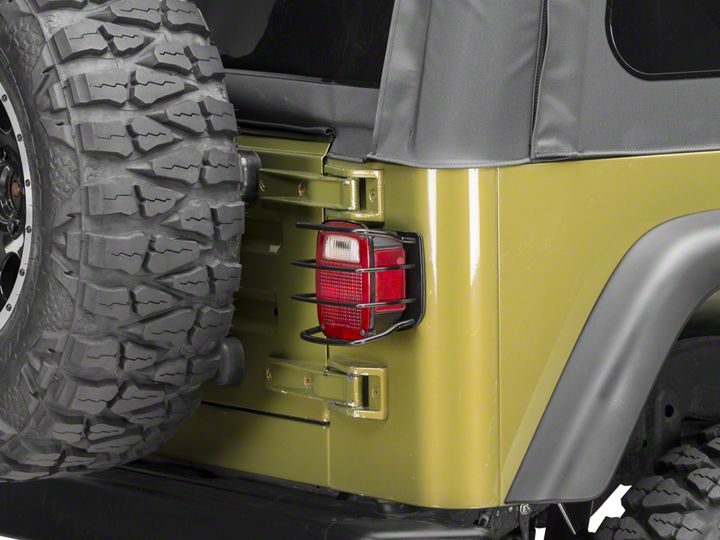

How to Install Smittybilt Euro Tail Light Guards - Black on your Wrangler
Installation Time
15 minutes
Tools Required
- #2 Philips head screwdriver
- 3/8 nut driver (magnetic tip helps)
- 5/16 nut driver (magnetic tip helps)
- 4 inch extension for nut drivers ( optional)

Shop Parts in this Guide
Installation Instructions:
1. Remove the four Philips head screw holding on the tail light lens
2. Remove the lower light bulb by pushing in and rotating counter clockwise then gently pulling outward
3. Remove the (3) 3/8 screws holding on the tail light fixture that are in a triangle pattern
4. Pull the fixture from the Jeep carefully and disconnect the electrical connection by lifting the tab and pulling from both ends carefully
5. The guards a driver and passenger specific. The bend in the guards goes towards the outside of the Jeep. With the larger electrical access hole towards the bottom.
6. Slide the tail light fixture through the top of the guard (they will not fit feeding them through the bottom of the guard), reconnect the electrical connections, and align the tail light holes, the guard holes, and the mounting holes on the Jeep and insert the supplied 5/16 screws.
7. Reinstall you bulb and lens cover with the (4) Philips head screws.
8. Installation is complete. Repeat steps for the other side

