

How to Install Smittybilt Door Hinges - Black (07-17 Wrangler JK) on your Jeep Wrangler
Installation Time
1 hours
Tools Required
- Socket Wrench
- T50 Torx Bit
- 5mm Hex Bit
- ½” Socket
- Extension Bar for socket wrench (Not necessary but recommended)
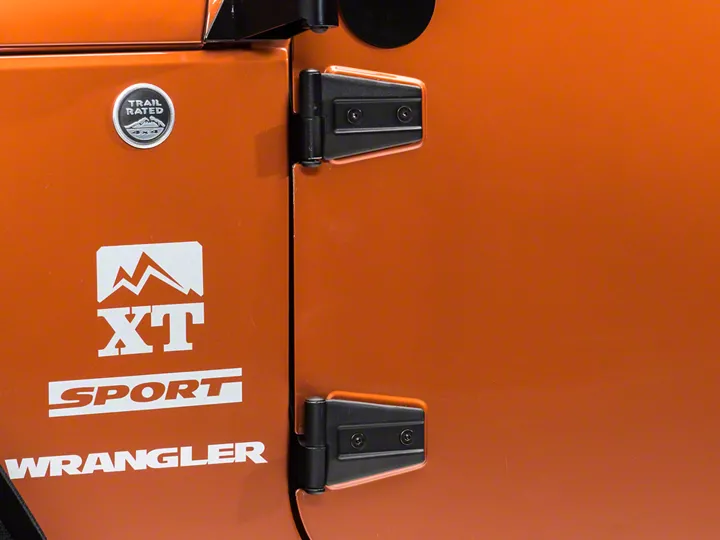
Shop Parts in this Guide
I suggested using an extension bar for the socket wrench because it may be slightly hard to remove some of the painted screws. The extension bar will make it easier. Another person’s help should also be used to hold the door in place when only one hinge is attached to the door.
Installation Instructions:
1. Remove all contents from package and lay them out.
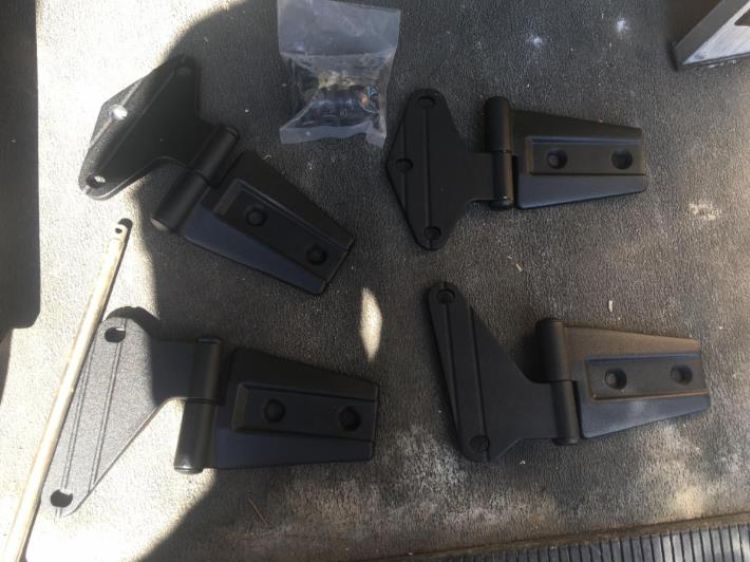
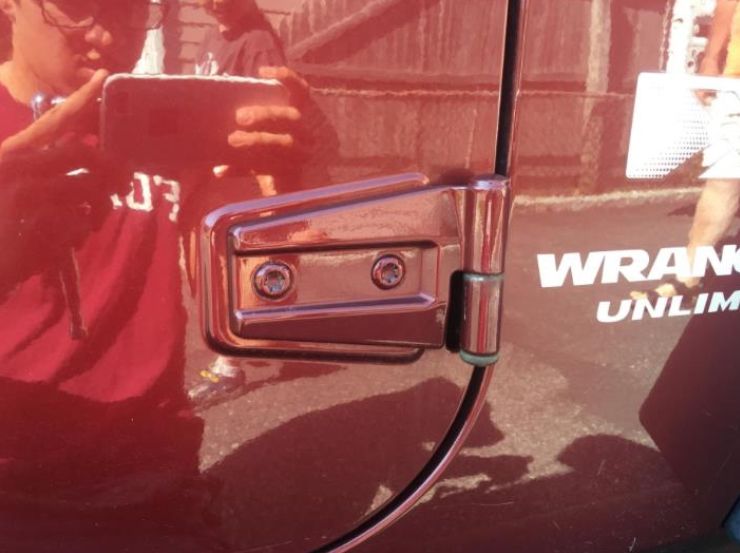
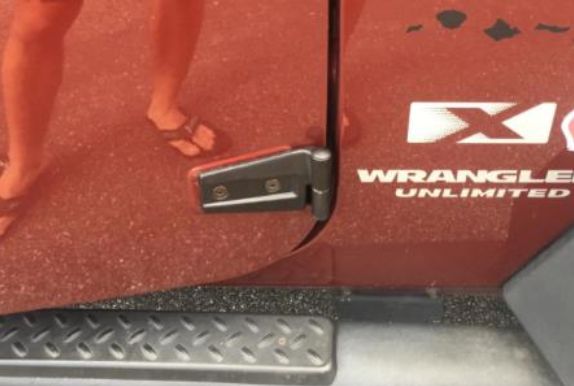
2. Remove the two T50 Torx screws from the exterior bottom door hinge.
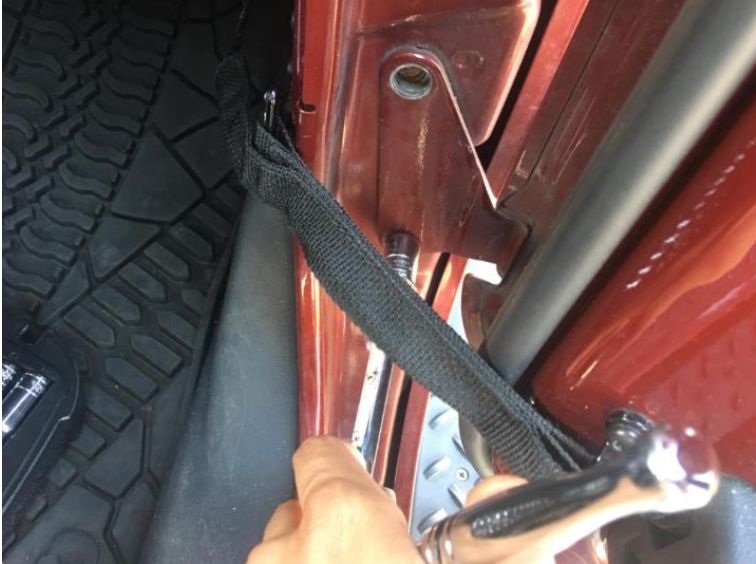
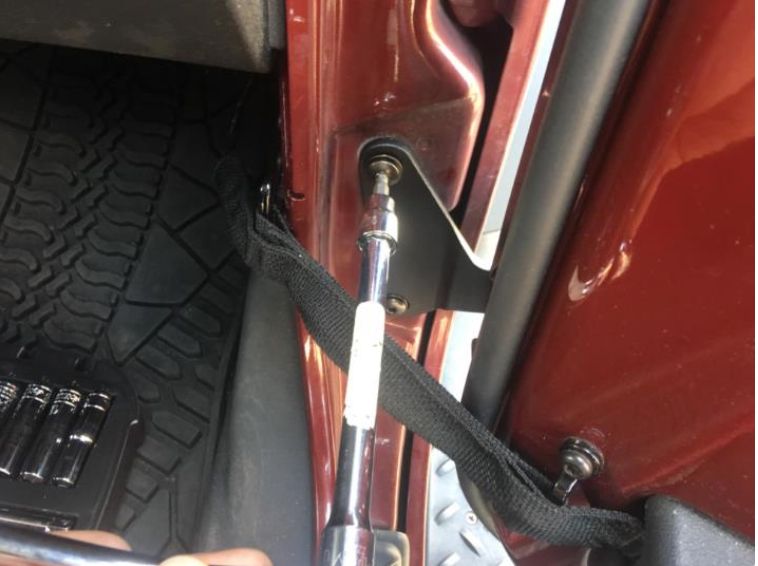
3. While having a second person hold the door, use the ½” socket to remove the two screws from the bottom hinge on the interior.
4. Remove the hinge and replace it with the corresponding bottom hinge. Tighten the interior 5mm screws, which have the rounded head, making sure to try and line up the new hinge with the outline of the old hinge.
5. Tighten the 5mm flathead screws to the exterior of the door hinge.
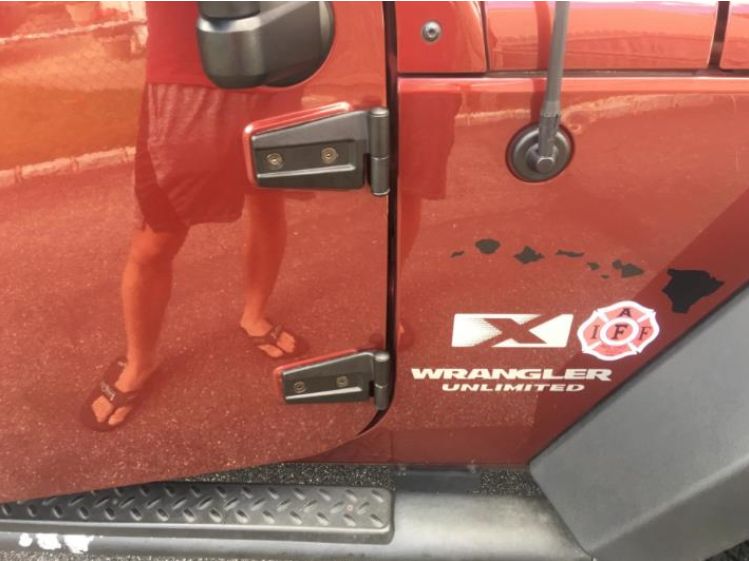
6. Repeat steps 2-4 for the upper hinge on the same door.
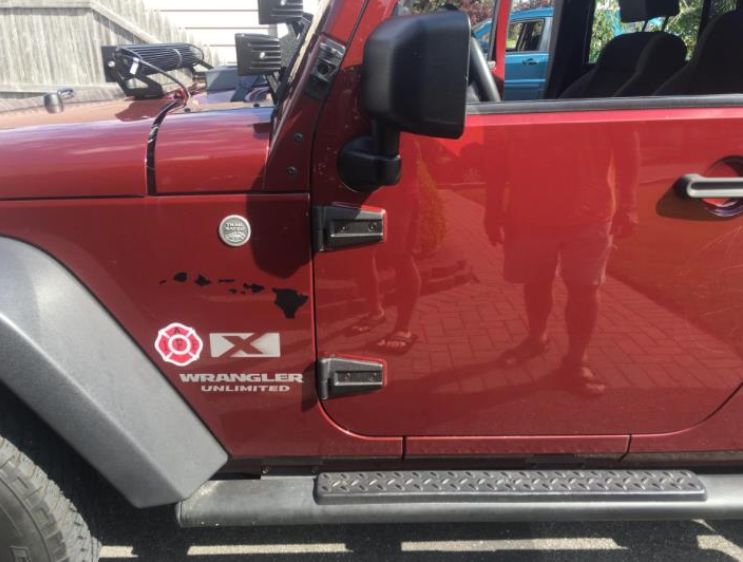
7. Try to close the door slowly to see if the door lines up with the body of the Jeep, if it doesn’t then some adjustments must be made with the placement of the hinges.
8. Repeat steps 2-7 for the opposite side.
Installation Instructions Written by ExtremeTerrain Customer Thomas Sandoval 07/11/2017

