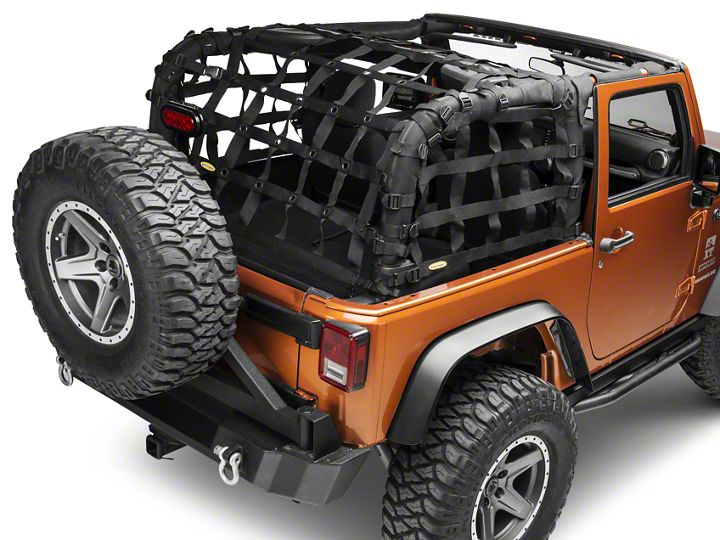

How to Install Smittybilt C-RES2 Cargo Restraint System on your Wrangler

Shop Parts in this Guide
Please read instructions entirely before installing this product.

Note: Actual pictures may vary from specific vehicle. For the best fitment it is recommended to use with roll bar cover/padding kit around roll bar.
Note: Actual pictures may vary from specific vehicle. For the best fitment it is recommended to use with roll bar cover/padding kit around roll bar.
Step 2: Once center section is on, begin attaching straps to roll bar. (Do not fully tighten at this time. (Fig B) To connect the strap to buckles, slide the strap through the rear section upward and then back down through the front of it. (Fig C, D)


Note: The front center straps go around the sport bar and the hooks mount into the in the hole in the sound bar. (Fig E) On 4 doors there are rear straps that go around the rear O.E. sport bar. ( Fig F)

Note: Center straps have a grommet in each strap. This is used if you have a hardtop in place and want to keep the net tight while using the freedom top knobs that go into the sound bar. To use grommet holes install strap guard onto knob then install strap onto knob and re-install knob. Fig E2. When freedom panes are removed, the strap will attach to the hole in the sound bar with the hook end.

Step 3: Install rear side buckles (Fig G) onto roll bar. Wrap the Velcro straps around the roll bar in the approximate area where it will be installed. (Fig H) Then secure strap into buckle. (Fig I, J) Note the position of the limited slip buckle (Fig K,L) this should be on the inside of the female buckle to help reduce the strap buckle from moving.


Step 4: Once all of the rear side buckles are installed you can go ahead and attach them to the male buckles on the net.
Step 5: Attach the rear bottom corner straps with J hooks to the underside of the body tub. (Fig M, N) The strap facing the rear can also attach to the hooks (when equipped) on the floor of the vehicle. Depending on what accessories you may have in the rear you may not use both of these.

Step 6: Once you have all of the straps on the center section loosely attached, go back and begin to pull all of them tight. (Fig O)

Step 7: Loosely place one side section on vehicle. Fig P, Q (Note the logo goes towards the rear of the vehicle).

Step 8: Once section is on, begin attaching straps to roll bar. (Do not fully tighten at this time.) (Fig R, S) To connect the strap to buckles, slide the strap through the rear section upward and then back down through the front of it. (Fig C, D)
To help keep the rear of the side sections in place (especially 4 Door Models) you can install the included footman loops on the back side of the rear sport bar or sport bar plastic surround with the included screws. If mounting on the actual roll bar (07-10JK) carefully mark and drill a 1/8” pilot hole first. The rear bottom strap of the side section would go through this footman loop in order to help prevent the side section from “riding up” when driving.
Note: On 4 Door models, fold back the carpet near the door striker and attach the “J” hook to the bottom of the brace plate ( Fig T). Trim carpet if desired.

Step 9: Once all of the straps are loosely installed, position side piece into desired location and then proceed to fully tighten all straps. (Fig U, V) Repeat on other side.

Step 10: Once the net is on and all of the straps all pulled tight, install strap clips were needed or desired. These are designed to hold excess strap.

Installation is now complete. (Fig W, X)

General Information
After vehicle has been driven a few times, go back and retighten straps. They may “settle” around roll bar after driving.
Make sure no straps interfere with seat belts
Net is not intended to reduce or avoid injury or damage in the event of an accident.
Hardtop can be installed while net is installed.
Softop can be installed with net, though the straps on the front of the side pieces will need to be disconnected to allow room for bow assembly.
Maintenance
The net should only be washed with soap and warm water. Do not use an abrasive cleaner or rag.

