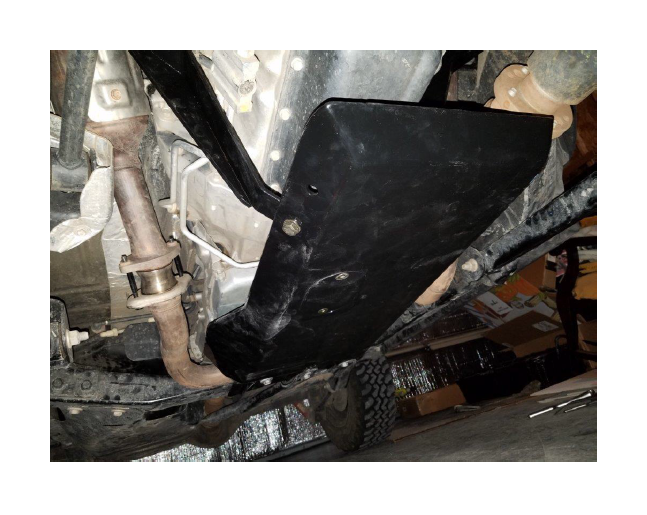

How to Install Rugged Ridge Engine and Transmission Skid Plate on your Wrangler
Installation Time
1 hours
Tools Required
- Sockets: 16mm, 17mm, 18mm deep well
- Socket Wrench
- Wrenches: 16mm, 18mm
- Torque Wrench
- Drill
- ½” Drill Bit
- Rubber mallet or hammer
- Crescent Wrench
- Lift (recommended not required)
- Dremel or angle grinder with metal cutoff wheel
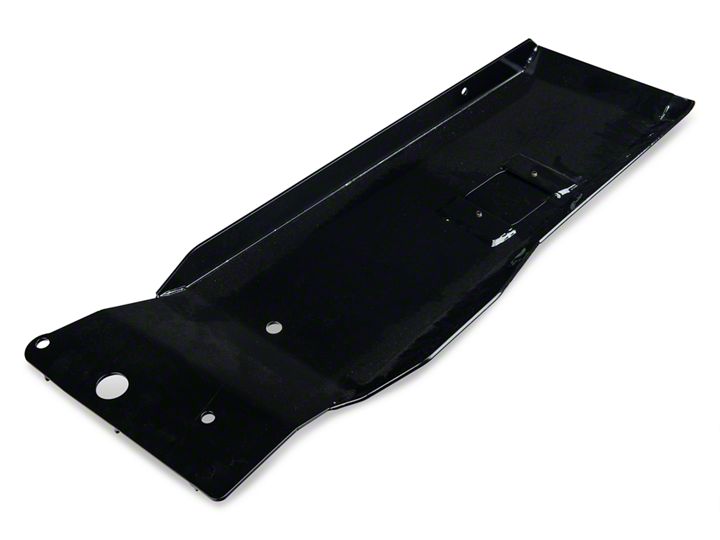
Shop Parts in this Guide
Before Picture:
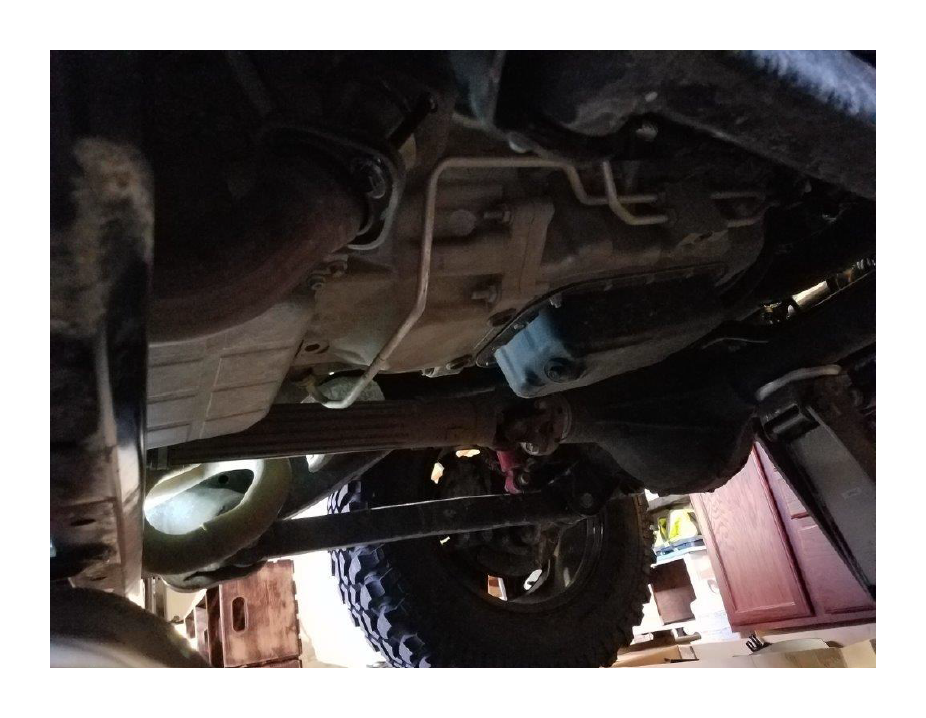
Installation Instructions:
1. First lift or jack the Jeep up if you can, but this can also be accomplished without a lift. Next using an 18mm deep well socket loosen the motor mount nut on the front of the driver side motor mount. Unscrew the nut to the end of the threads but leave the nut on the bolt. Then use a hammer or mallet to tap the bolt toward the rear of the Jeep.
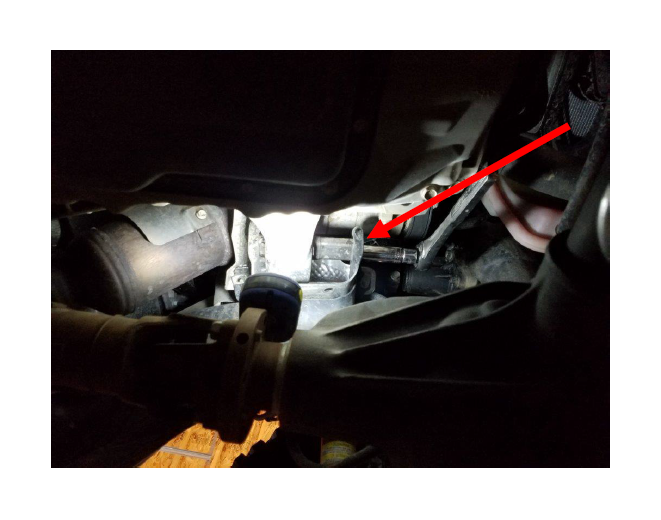
2. When you tap the bolt to the rear it should give you room for the bracket as shown below. Then insert one of the supplied bolts with a washer into the rear hole on the bottom of the motor mount bracket as shown below.
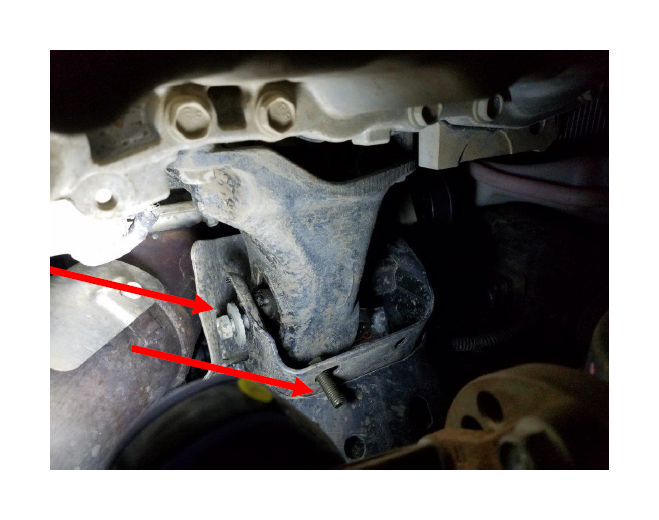
3. Now you can install the driver side bracket (The brackets will only fit on one side each). Slide the slotted opening onto the motor mount bolt, and put the bolt that was installed above through the hole in the bracket as shown below. Then put on a supplied washer and nut on the bolt. Using a 16mm wrench and 17mm socket, lightly tighten the lower bracket bolt. Also use an 18mm socket and 18mm wrench to lightly tighten the motor mount bolt. The bracket should still be slightly movable at this point.
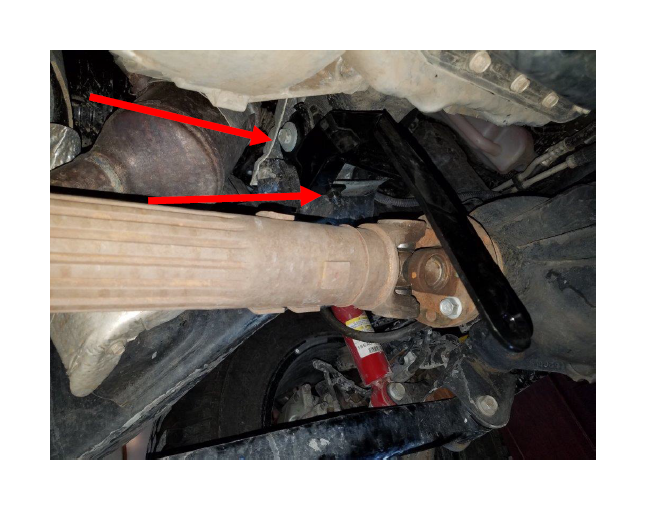
4. Now use an 18mm socket to loosen the passenger side motor mount nut. Loosen the nut as shown below but leave the nut on. Then install another supplied bolt and washer in the rear hole of the passenger side motor mount bracket as shown. Note: For me the bolt would not fit in the hole, so I had to shorten the bolt. If yours is the same way you will need to use a dremel to trim about ¼” off the end of the supplied bolt.
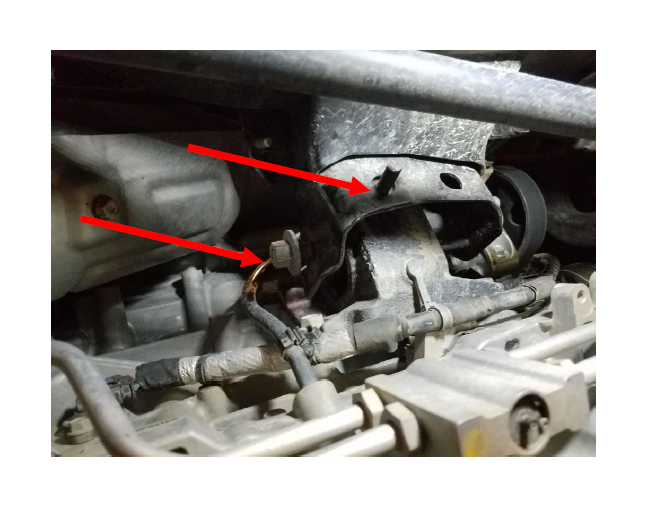
5. Now install the passenger side bracket. It installs in the same way as the driver side bracket. Slide the slotted opening over the motor mount bolt and the supplied bolt through the hole. Then install the supplied washer and lock nut. Lightly tighten both bolts.
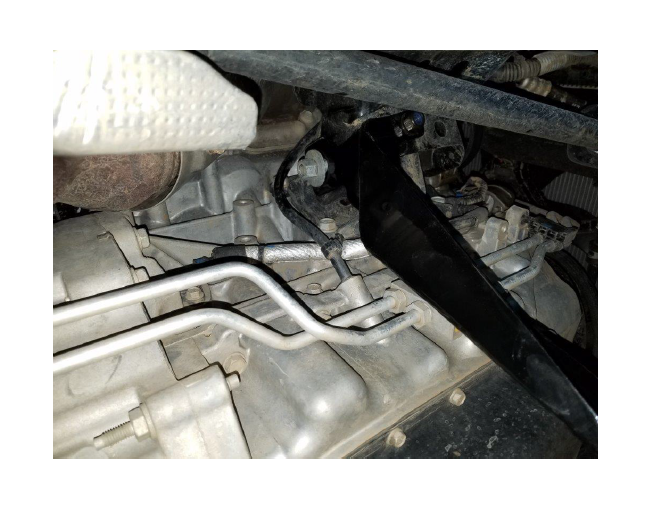
6. (For Automatics only) If the transmission cooling lines come in contact with the bracket you will need to make a minor adjustment to the cooling lines. Using a crescent wrench on the expansion block, carefully bend it toward the engine until it is clear of the bracket.
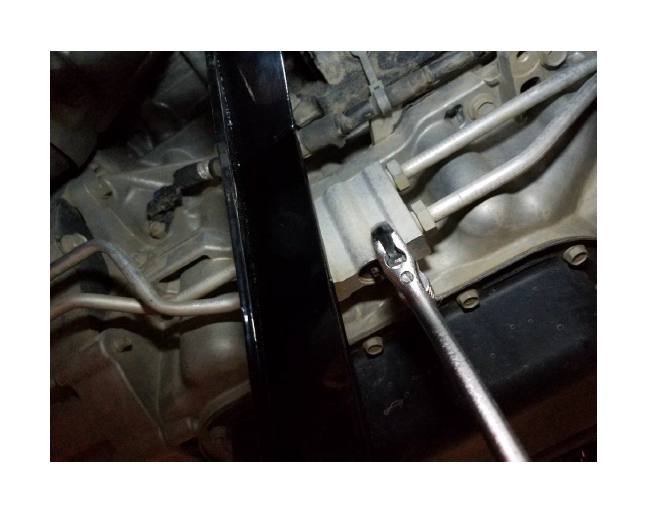
7. If equipped, you will need to remove the bar just in front of the mid vehicle cross member. Use an 18mm deep well socket to remove the 3 bolts as shown. Keep the center bolt, you will need it for the skit plate.
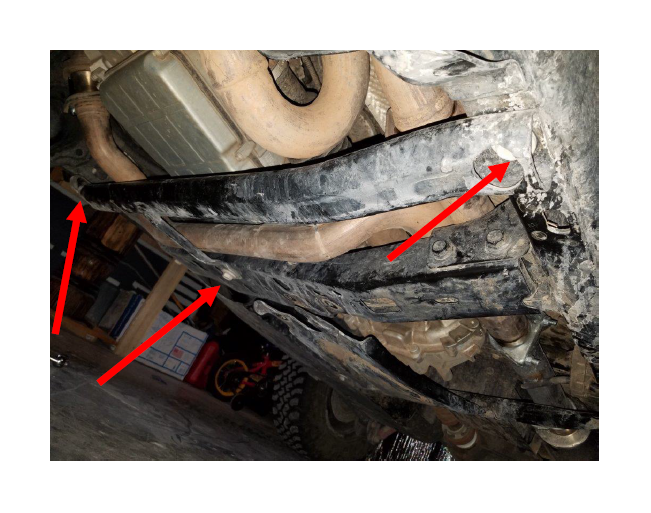
8. If equipped with the stock transfer case skid plate you will need to remove the front 2 bolts and loosen the rear 2 bolts. This transfer case plate will bolt over the Rugged Ridge Engine skid plate. Note: If you have the rugged ridge transfer skid plate, the engine skid plate will bolt over it.
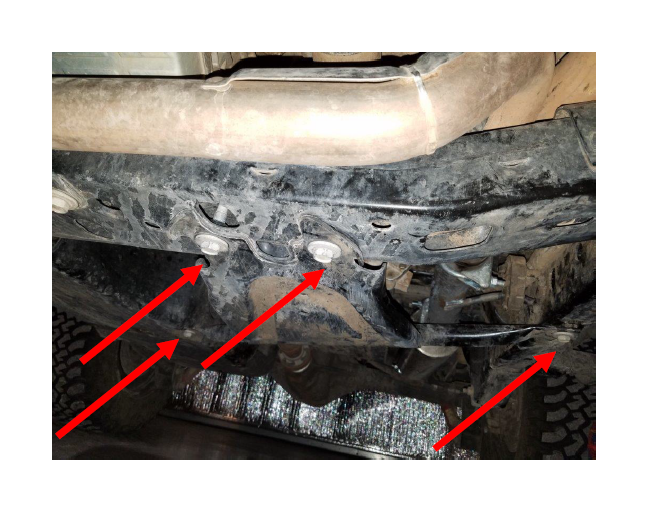
9. You want the stock transfer skid plate to hang as shown below.
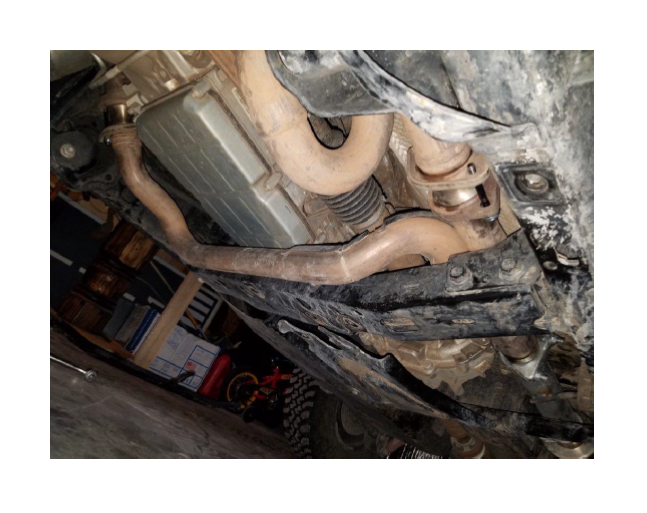
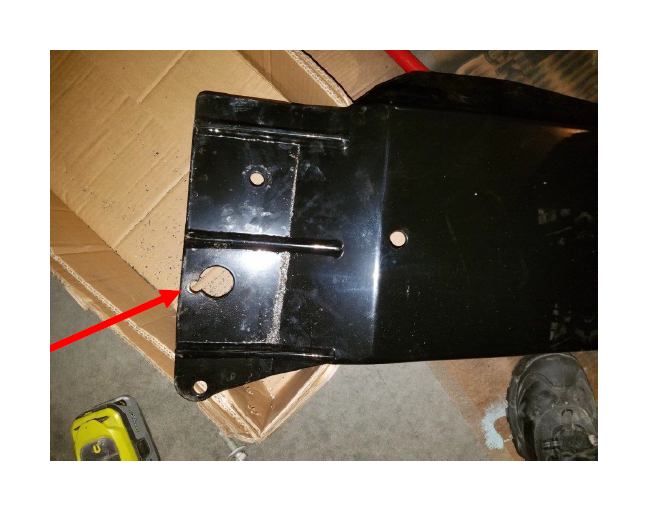
10. The bolt holes do not completely line up so you will need to drill a new hole for the center cross member bolt. I recommend installing the plate with the 2 outer bolts so you can mark the location of the center bolt. The arrow below shows the new hole you will need to drill. Use a drill with a ½” drill bit.
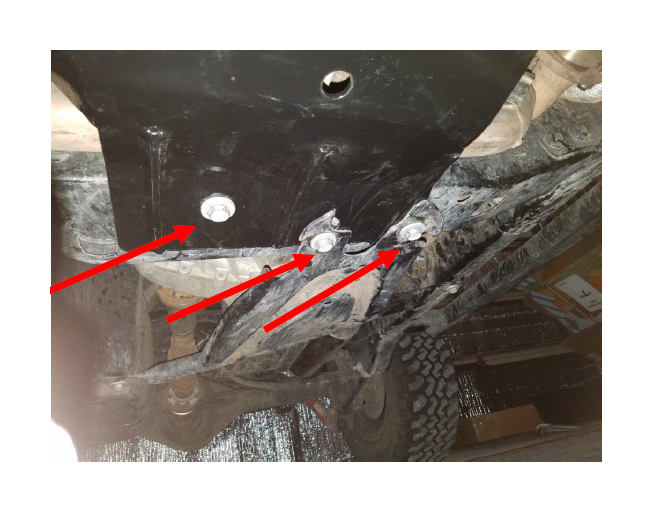
11. Using the 3 stock bolts removed from the cross member, install the rear side of the skid plate to the cross member. Make sure the factory transfer skid plate is over the engine skid plate as shown below. Thread the bolts a bit but do not tighten yet.
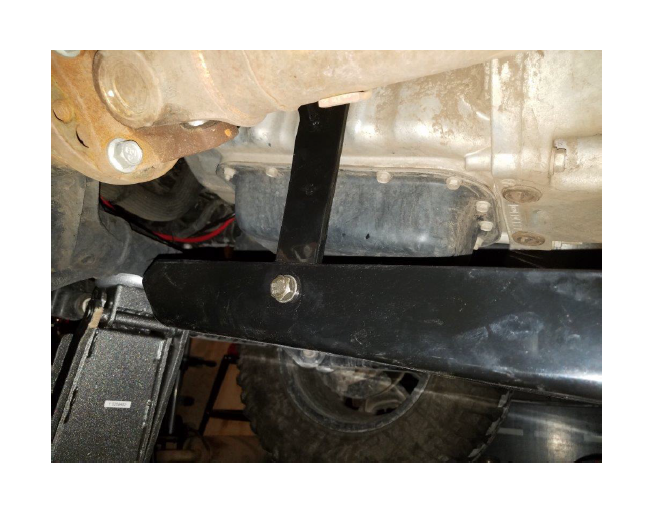
12. Using the supplied bolt and washer align the front driver side of the skid plate with the bracket and insert the bolt as shown below. Then install the washer and lock nut.
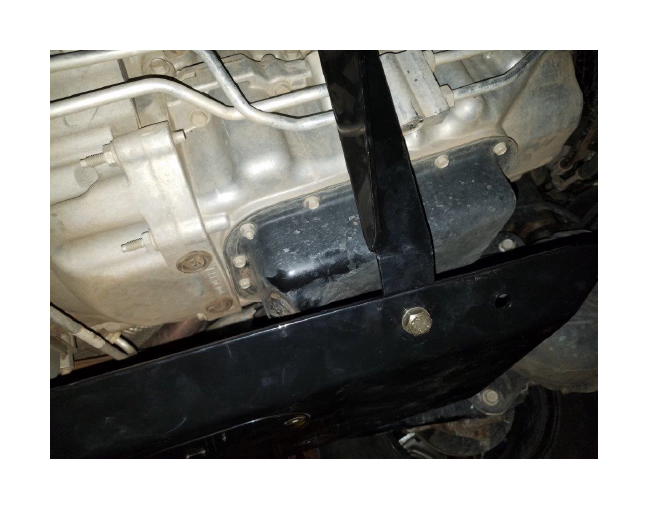
13. Now repeat the previous step on the passenger side.
14. Once all of the bolts are installed and lightly tightened you can completely tighten all of them. Torque the motor mount bolts to 45ft/lbs, the 3 cross member bolts to 65ft/lbs, and the transfer case skid plate bolts to 65ft/lbs.
After Picture:
