
Top Sellers for Wrangler
How to Install Rugged Ridge Tire Carrier Recovery Bag on your 1987-2013 Wrangler
Shop Parts in this Guide
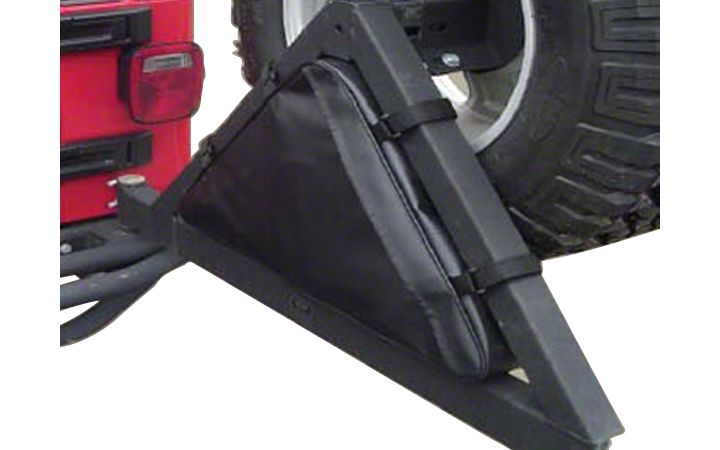
Parts included: (1) Recovery bag
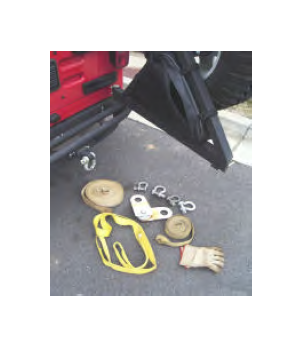
Warning: Bag has been designed to mount flush with inside of carrier. Spare tire adjustment may be needed to keep bag from rubbing tailgate and paint.
Instructions:
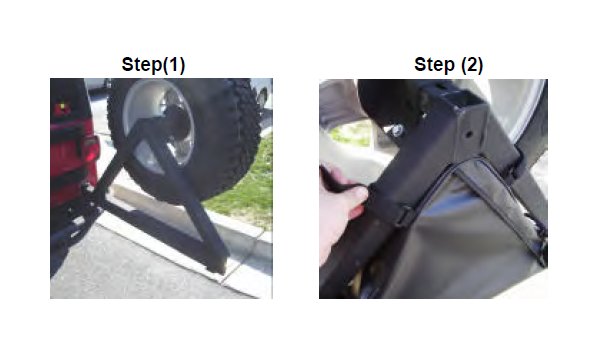
Step (1) Open tire carrier as shown.
Step (2) Wrap the top Nylon straps around the tire carriers A frame as shown. Do not tighten at this time
NOTE: zipper rain flap should face the inside of tire carrier as shown. This allows the removal of gear with carrier swung open.
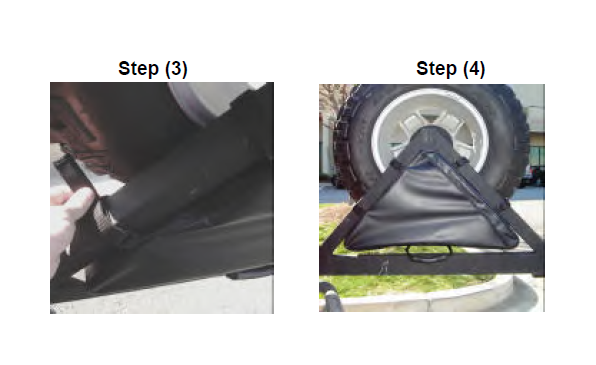
Step (3) Repeat step 2 for the lower Nylon straps. Do not tighten at this time.
Step (4) Align all straps so that bag is even within A-frame. Tighten straps at this time. DO NOT OVER TIGHTEN.
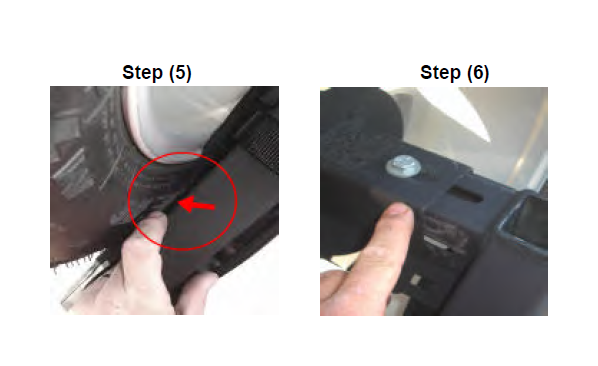
Step (5) Check bag clearance to spare tire. Adjustment may be needed.
Step (6) If tire touches bag loosen spare tire adjuster nuts and slide out until bag no longer makes contact with tire. retighten spare tire adjuster nuts. Note: Bag can touch tire if unable to completely adjust away from bag.
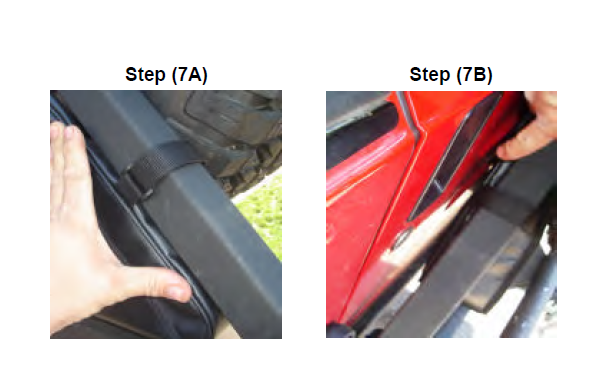
Step (7) Bag should be flush with carrier A-frame. This will keep recovery bag from rubbing rear tailgate.
This bag has been designed to resist the weather and elements. The construction allows for the safe keeping of gear placed inside but is not considered 100% water proof. Bag allows for the storage of equipment outside of vehicle but is not considered a secure lockable storage system.
