Guaranteed 12/24 Delivery Still Available see item page for details! available on most items - Details

Top Sellers for Tundra
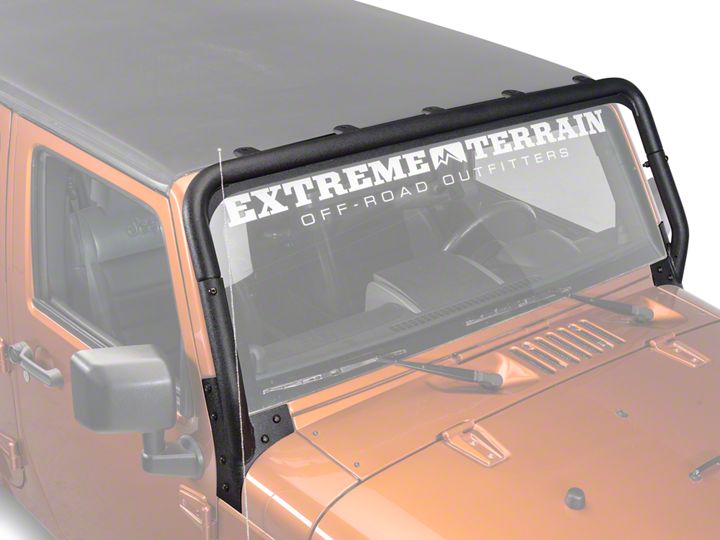
How to Install Rugged Ridge Windshield Frame Light Bar, Textured Black on your 2007-2013 Wrangler
Shop Parts in this Guide
HARDWARE NOTE: This kit has been designed to reuse factory windshield bracket mounting hardware. Care should be taken when removing hardware to avoid damage to plastic washers.
Item List:
(1) 5 Tab Top Light Bar
(1) LH Mounting Bracket
(1) RH Mounting Bracket
(2) M8 Allen Head Bolt
(2) M8 Nylock Nut
(2) M8 Flat Washer
(2) M8 Lock Washer
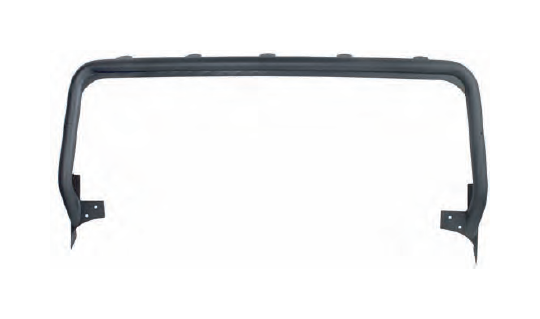
Important! Please read instructions completely before installing light bar.
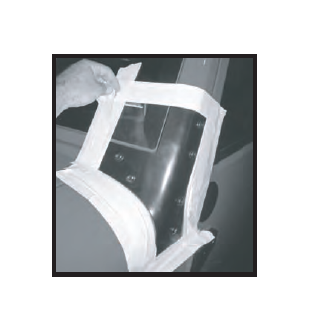
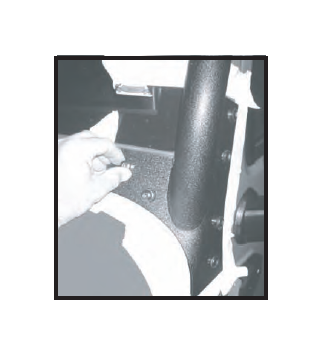
Step 1. Before removing factory windshield brackets place masking tape around bracket as shown. Make sure that all paint surfaces around the windshield frame brackets have been covered. Two layers are recommended. Masking tape will protect the paint during the removal of the factory brackets and the installation of the new light bar. Failure to apply tape may result in damage to vehicles finish. Repeat on other side.
Step 2. Remove factory windshield brackets. A T-40 Torx head socket will be needed. Carefully remove bracket and place the (6) Torx head bolts off to the side. They will be reused to install the new light bar mounting brackets. Repeat on other side.
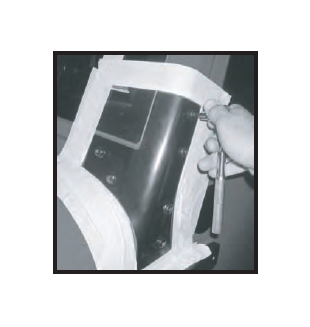
Step 3. If lights are to be installed run required wires through the base of the vehicles windshield. Each lower mounting bracket is supplied with a pre-drilled wiring hole. Fish needed wires through grommet and out the top of the lower mounting tube. It is recommended that disconnects be installed on all wires to allow removal of light bar if needed.
NOTICE: Depending on the type and gauge of wire it may be helpful to lower the front windshield. Please refer to your owners manual for the proper procedure. Reference light manufactures instructions for wiring information.
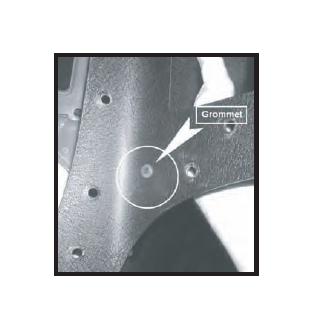
Step 4. Place new lower mounting bracket on windshield frame. Install and leave loose the (4) outer bolts only. DO NOT install the (2) front bolts at this time. Lower mounting brackets must remain loose for top light bar to be installed. Repeat on other side.
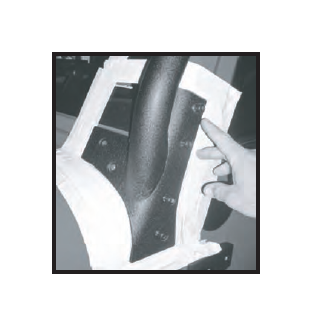
Step 5. It is recommended that lights be installed to top light bar prior to placing on lower mounting tubes. All lights should be wired through pre-drilled grommet holes located under mounting tabs. With lights installed fish wires out bottom of top tube. Wire disconnects should be installed on all wires at this time. When top light bar is placed onto lower mounting tubes wires can be connected to ease installation.
NOTICE: All pre-drilled holes with grommets should be sealed using a quality automotive sealant. If needed grommets can be removed but tube must be sealed after wires have been installed.
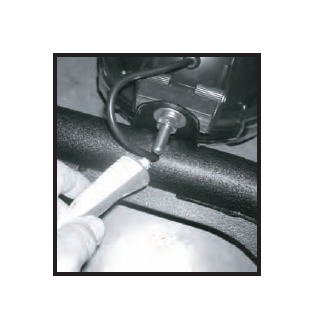
Step 6. With the help of a second person, lift top light bar into position. Check to see if light mounting bolts are close or making contact with top of windshield frame. If it appears any of the mounting bolts are to long cut length as needed. Failure to do so may result in damage to vehicles finish.
NOTICE: The JK light Bar has been designed to sit low along the top of the windshield to reduce wind noise and buffeting of soft-tops. Some light manufactures have longer mounting bolts that will require modification to allow installation.
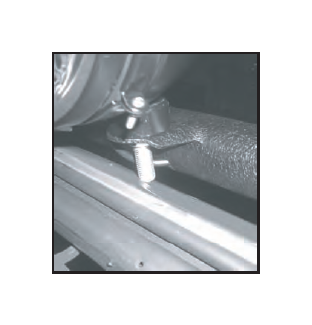
Step 7. With lights mounted install top light bar with the help of a second person. Attach wire connectors and place onto lower mounting tubes. Lower mounting brackets may need to be pulled outward to allow top tube bar to slide into position.
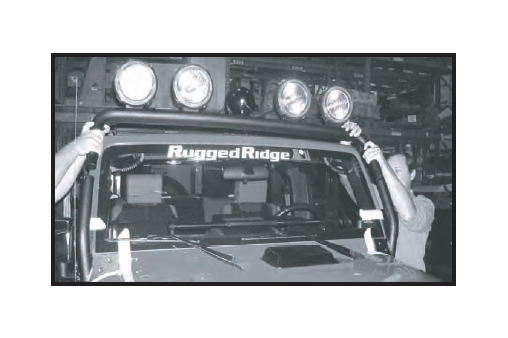
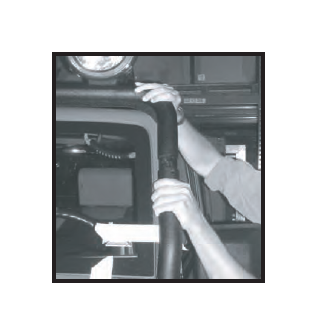
Step 8. Insert M8 Allen head bolt and M8 flat washer thought lower tube connecting hole. Lower mounting bracket may need to be adjusted to align holes. Attach M8 lock washer and M8 Nylock nut to the back side of tube. DO NOT TIGHTEN at this time. Repeat for other side.
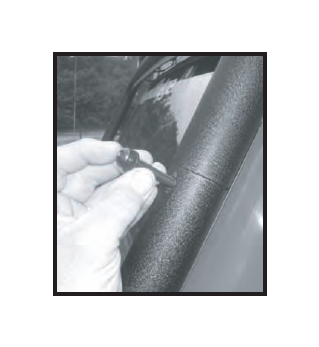
Step 9. Reinstall (2) torx head bolts to front of lower mounting bracket. With all (6) torx head bolts installed tighten securely to windshield frame. Tighten bolts in a clockwise rotation. Tighten M8 Allen head tube bolt. Repeat for other side.
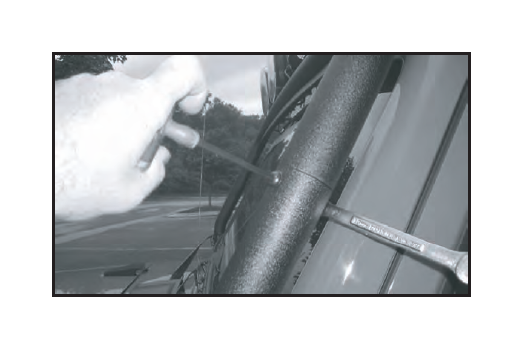
Step10. Check all mounting bolts and light mounting nuts to insure they have been tightened before driving vehicle.
NOTICE: Soft top operation with HID lights (15205.03)
When light bar is used with newer HID ( internal ballast) lights some contact with soft top may be experirnced as the top is raised or lowered. To lower the top simply release all attachment points as normal. Before lifting the front header release the two center latches that hold the middle of the top down. Raise the center slightly. Lift and tilt front header back until top has cleared light housings. Installing top is the reversal of lowering. Center latches must be locked before securing front header.
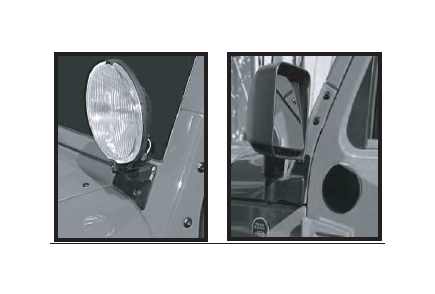
Product information: Your Rugged Ridge JK light bar has been designed to complement the body lines of your vehicle and to work in conjunction with other Rugged Ridge accessories. Please visit our web site for our full line of award winning products. http://www.omix-ada.com
Rugged Ridge Part Numbers: 11027.03 - Windshield Light Bracket (Black)
11028.03 - Windshield Light Bracket (Stainless)
11025.04 - Mirror Relocation Bracket (Black)
11026.04 - Mirror Relocation Bracket (Stainless)
