

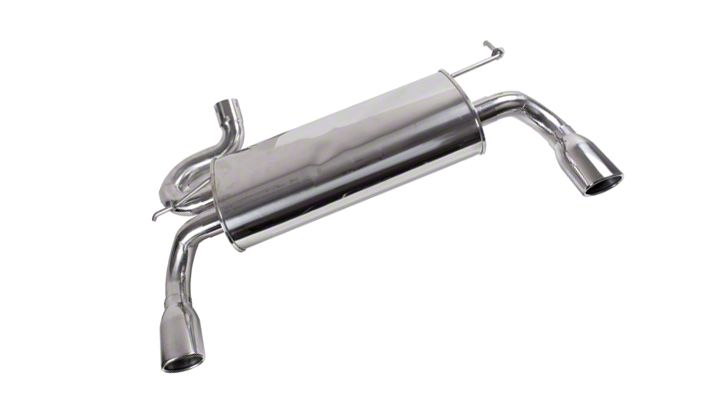
How to Install Rugged Ridge Stainless Steel Dual Outlet Exhaust Kit on your 2007-2013 Wrangler
Shop Parts in this Guide
Contents:
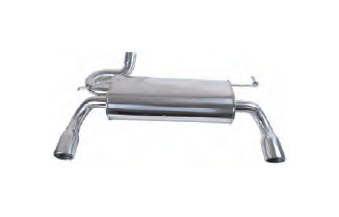
(1) Stainless Steel Dual Tip Muffler
(1) LH Muffler Tip Adaptor Tube (SS)
(1) RH Muffler Tip Adaptor Tube (SS)
(2) Exhaust to Muffler Adaptor Tube (SS)
(6) 2.5" Pipe Clamps
CAUTION: Before installing muffler make sure that the exhaust system is cool. Allow 1 hour for system to cool after vehicle has been driven!
Place vehicle in gear (Park), set emergency brake , and block tires before proceeding with installation. Read instructions and check to make sure all parts have been supplied before installing muffler.
Step 1: Allow exhaust system to cool for 1hr before installing
new muffler. Place vehicle in gear (Park), set emergency brake and block tires before proceeding. Lay muffler and parts out to confirm that all parts have been received.
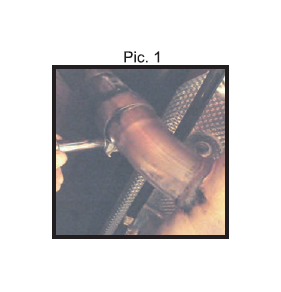
Step 2: Loosen exhaust pipe to muffler clamp located on the backside of the stock muffler (pic.1). Clamp does not come off of muffler. Loosen until muffler can be pulled away from exhaust pipe.
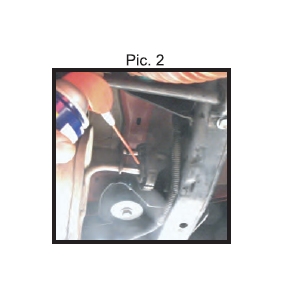
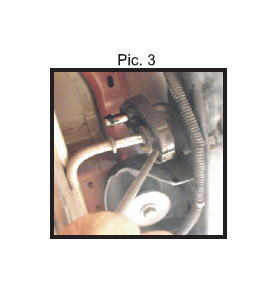
Step 3: With muffler separated from exhaust pipe work rubber isolators free from muffler. The use of a spray lubricant may be needed (pic.2). Use a large Phillips head or Flathead screwdriver to work isolator off stock muffler mounting bracket (pic.3).
CAUTION: Avoid making contact with heat shield located above muffler. The edges of the heat shield are very sharp and may cause and injury.
Step 4: With both isolators removed lower muffler out from under vehicle.
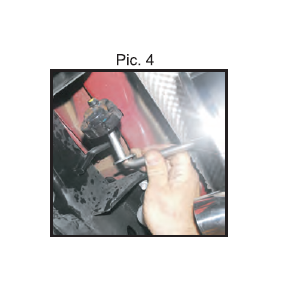
Step 5: Install new muffler onto rubber isolators in the same orientation as the stock muffler (pic.4). Note position of muffler in relation to heat shield and mounting studs. Make sure that muffler clears and does not make contact. If needed the mufflers mounting brackets can be adjusted to allow for a better fit. An open ended pipe can be placed over the bracket ends to bend as needed.
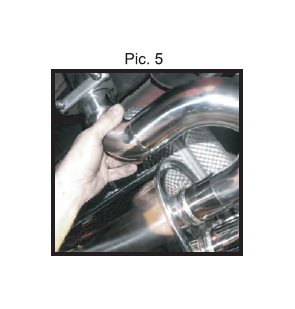
Step 6: Attach new muffler to exhaust pipe adaptor. Rubber isolators will allow enough movement of muffler to aid during installation. Secure adaptor pipe to factory exhaust pipe and new muffler using supplied 2.5" clamps (pic.5).
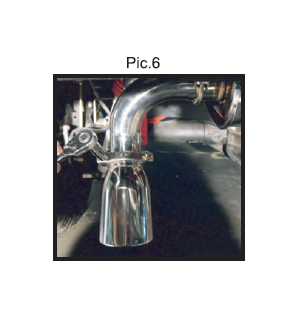
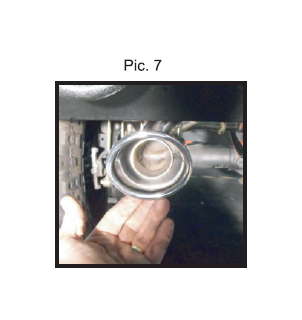
Step 7: Install LH and RH muffler tip adaptors to muffler, tip adaptor pipes are mirror images of each other and can be installed in more than one orientation. This allows the muffler to be used with stock plastic mufflers and aftermarket steel bumpers. Attach adaptor pipes using supplied 2.5" clamps. Do not tighten at this time. Snug nuts down to allow pipe to be adjusted both up and down as well as in and out. Install stainless steel tips using supplied 2.5" clamps but do not tighten. Snug nuts so that tip can be adjusted level with bumper. With parts installed adjust for correct bumper clearance (pic. 6 and 7).
NOTICE: Do not place exhaust tips directly onto plastic bumper. Exhaust tips must be placed no closer than 1.5" away from stock plastic bumper. Placing tips closer than recommended distance may melt bumper cover. Avoid placing tips to close to steel bumpers. This will reduce the risk of burning and or flaking of powder coating.
Step 8: When both tips are centered to the vehicle tighten all 2.5" exhaust clamps. Double check muffler to make sure that it does not make contact with the heat shield or the mounting studs. If muffler is making contact than loosen clamps and adjust. If muffler still makes contact with shield or studs than refer to step # 5 regarding adjustments to muffler mounting bracketsTighten all clamps when adjustments are completed.
Step 9: Double check all clamps to insure that they have been tightened. Crank vehicle and allow to warm up. Without touching muffler system inspect for leaks. If leak is found allow muffler and pipes to cool before correcting leak.
NOTICE: Muffler may produce smoke during first and second heating cycles. This is normal and is caused by residue oils from the manufacturing process.

