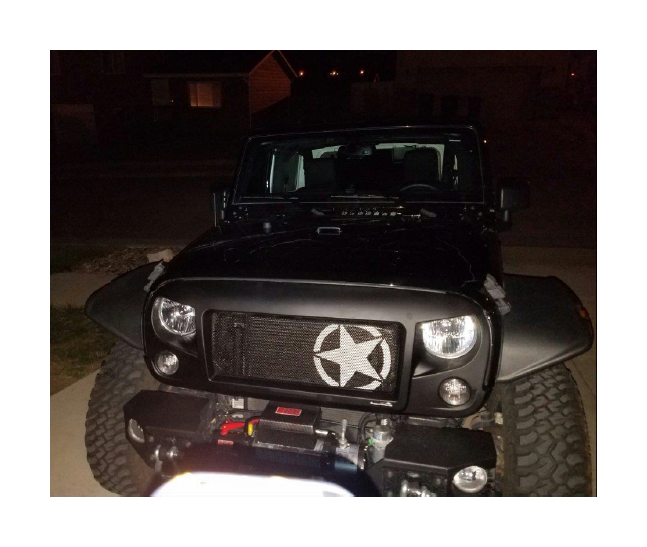

How to Install Rugged Ridge Spartan Grille w/ Star Insert on your Wrangler
Installation Time
1 hours
Tools Required
- 10mm Socket
- Socket Wrench
- 10mm Wrench
- Flathead Screwdriver
- Utility Knife
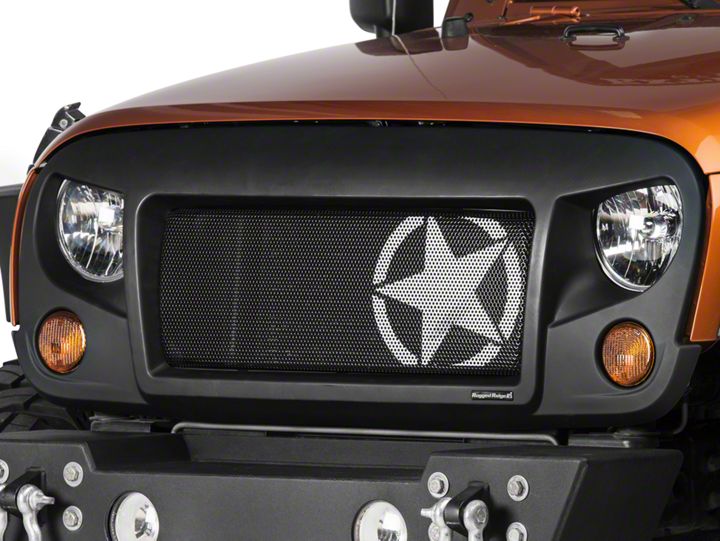
Shop Parts in this Guide
Note: You must take special care to maintain the matte finish. Hand wash with mild cleaning agent meant for matte paint. Do not use detail spray, armor all, wax, or other such products made for normal paint. Do not use paper towels, cloth, or terry cloth, these could create a permanent shiny spot. Also recommended not to use commercial car washes including touchless.
Note: You must take special care to maintain the matte finish. Hand wash with mild cleaning agent meant for matte paint. Do not use detail spray, armor all, wax, or other such products made for normal paint. Do not use paper towels, cloth, or terry cloth, these could create a permanent shiny spot. Also recommended not to use commercial car washes including touchless.
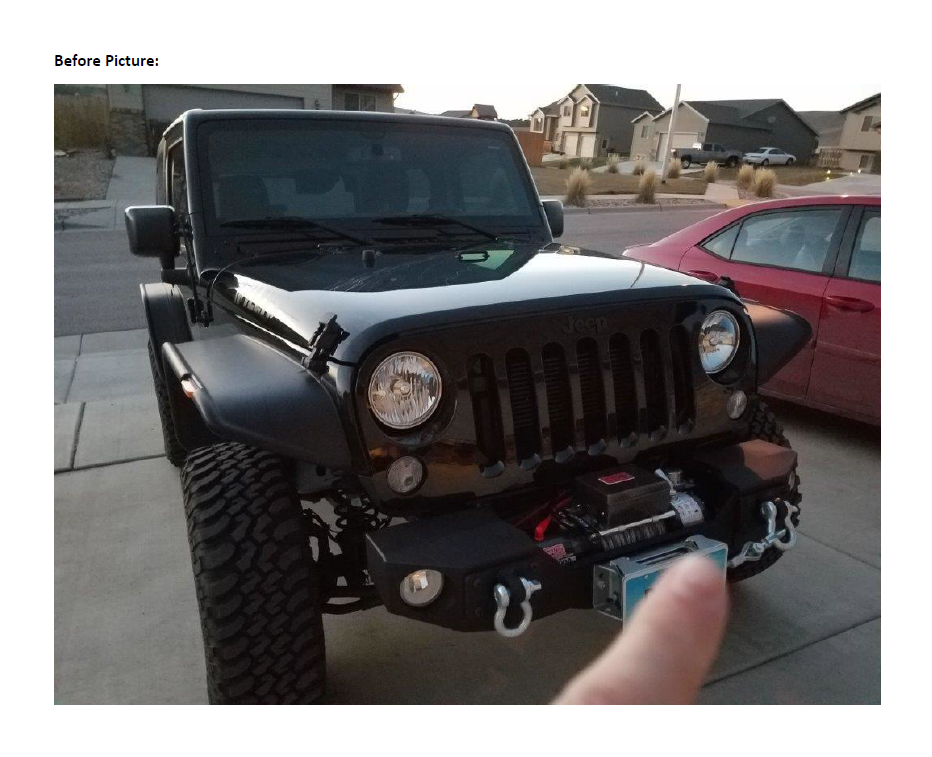

Installation Instructions:
1. Step one is only if you will paint the grill. If you will be painting the grill, do so before installing on your Jeep. It will also help to remove the metal insert as shown in step 2. Lightly sand grille with 320 grit sandpaper, then clean dust and particles off with a microfiber cloth and possibly a little mineral spirits. Let dry completely. Apply adhesion promoter then primer, then follow recommended dry/recoat times. Then paint with automotive grade paint with a flex additive.
2. First remove the plain black metal insert. Using a 10mm socket and a 10mm wrench, remove the 6 bolts holding on the insert. All other bolts do not need to be removed.
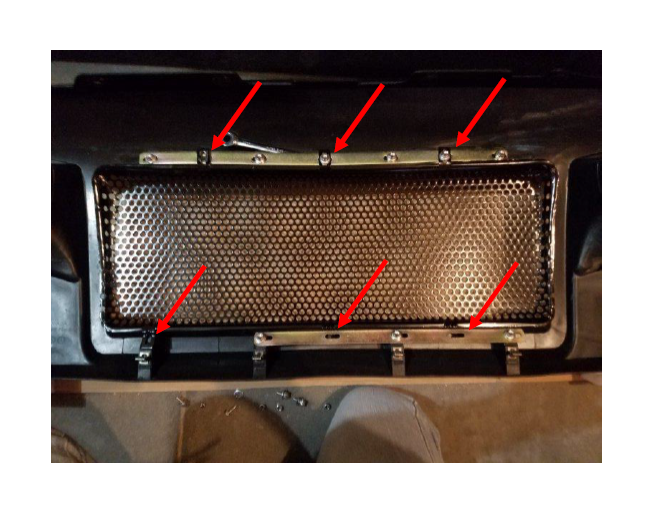

3. Then put in the star insert the same way the other one was removed. Using the same hardware that was removed, install the 6 bolts.
3. Then put in the star insert the same way the other one was removed. Using the same hardware that was removed, install the 6 bolts.
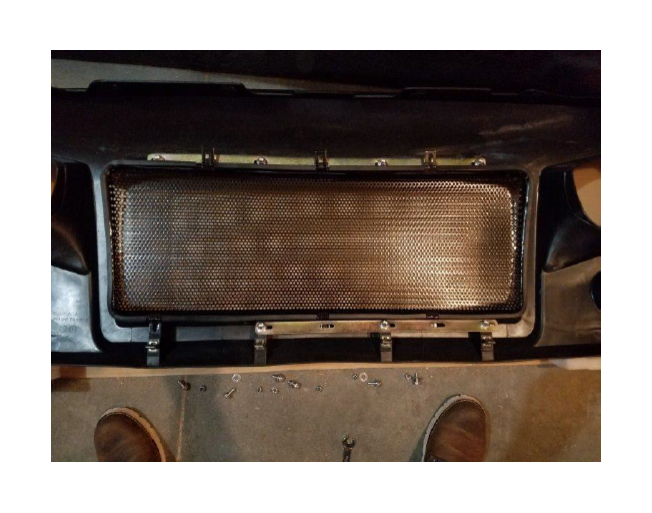

4. If you have LED headlights you may need to trim the headlight area with a utility knife. You can see where you will need to trim as a line in the plastic shown below by the arrow on the right. It will be a thin strip trimmed all the way around. The arrows on the left show the 2 spots that will need to be trimmed if you are using headlight euro guards. Note: If you are not sure you need to trim, then attempt to fit the grille in place first, then trim if required.
4. If you have LED headlights you may need to trim the headlight area with a utility knife. You can see where you will need to trim as a line in the plastic shown below by the arrow on the right. It will be a thin strip trimmed all the way around. The arrows on the left show the 2 spots that will need to be trimmed if you are using headlight euro guards. Note: If you are not sure you need to trim, then attempt to fit the grille in place first, then trim if required.
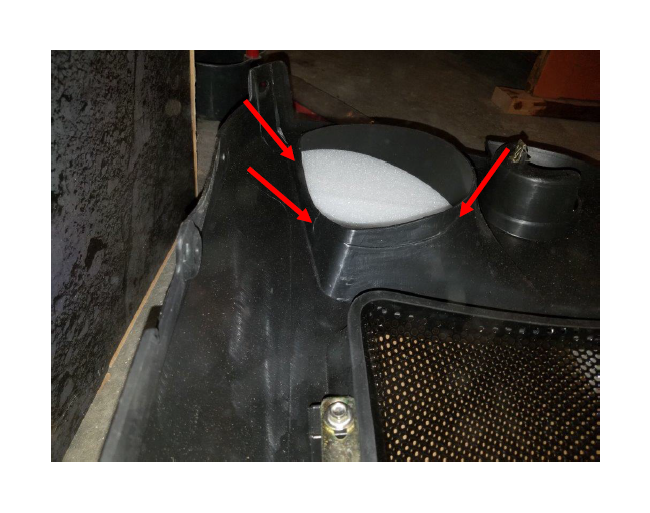

5. Next you will remove the stock grille. Start by removing both blinker lights. Do this by rotating the wire harness ¼ turn down as shown below the light will then pull out the back of the housing. You can leave the light connected to the wire. Remove both driver and passenger side lights.
5. Next you will remove the stock grille. Start by removing both blinker lights. Do this by rotating the wire harness ¼ turn down as shown below the light will then pull out the back of the housing. You can leave the light connected to the wire. Remove both driver and passenger side lights.


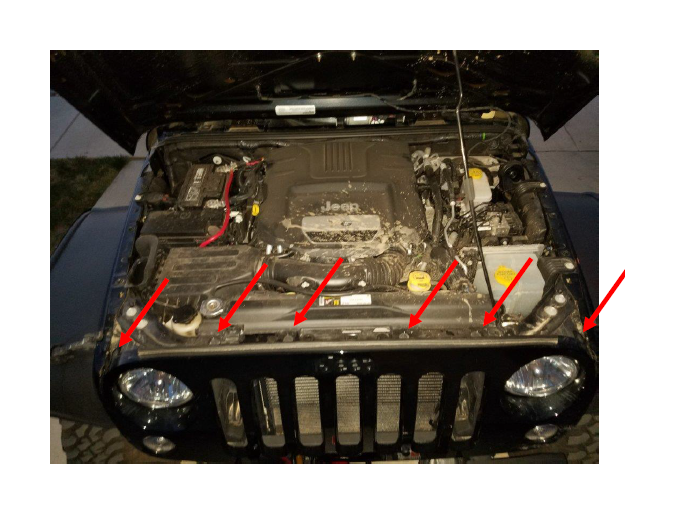
6. Open the hood and remove the 6 plastic retainers along the top of the grille. The next step shows how to easily remove them. Be careful not to damage them, you will need them to install the new grille.
6. Open the hood and remove the 6 plastic retainers along the top of the grille. The next step shows how to easily remove them. Be careful not to damage them, you will need them to install the new grille.

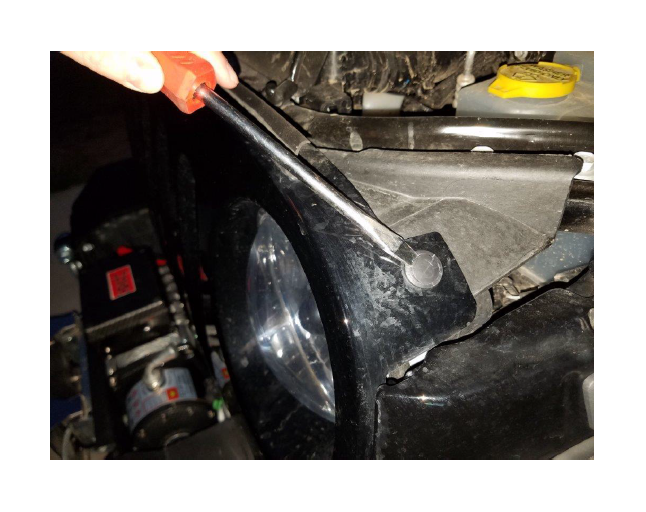
7. Use a flathead screwdriver to pull up the center piece of the retainer. This center piece can be fully removed, but save it for reinstall. Once the center piece is removed you can use the screwdriver to pry up the outer piece easily.
7. Use a flathead screwdriver to pull up the center piece of the retainer. This center piece can be fully removed, but save it for reinstall. Once the center piece is removed you can use the screwdriver to pry up the outer piece easily.

8. Once the 6 plastic retainers are removed, you can gently pull the grill forward. The remaining 6 metal clips along the bottom will pop out fairly easily.
8. Once the 6 plastic retainers are removed, you can gently pull the grill forward. The remaining 6 metal clips along the bottom will pop out fairly easily.
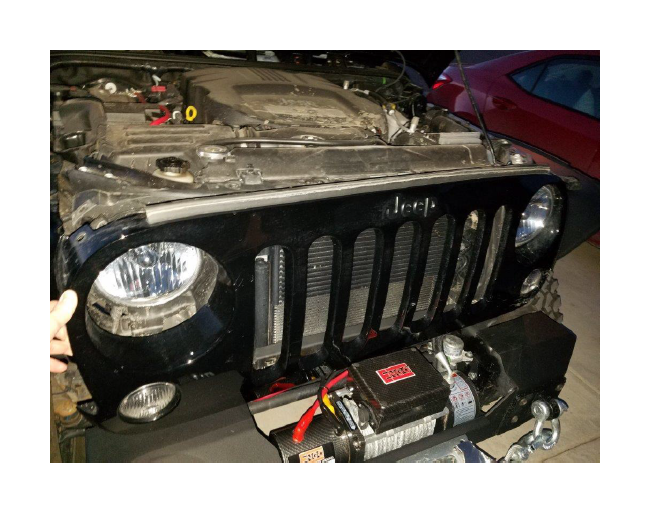

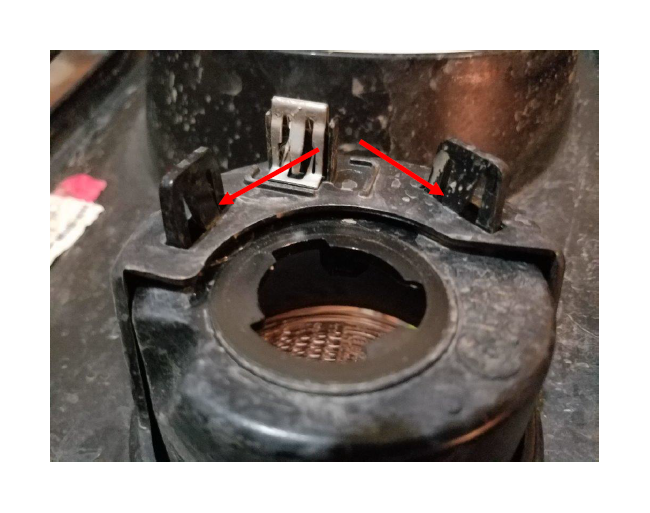
9. Remove both blinker housings from the stock grille. Do this by pressing in both plastic tabs, shown below, and push the housing down and out.
9. Remove both blinker housings from the stock grille. Do this by pressing in both plastic tabs, shown below, and push the housing down and out.

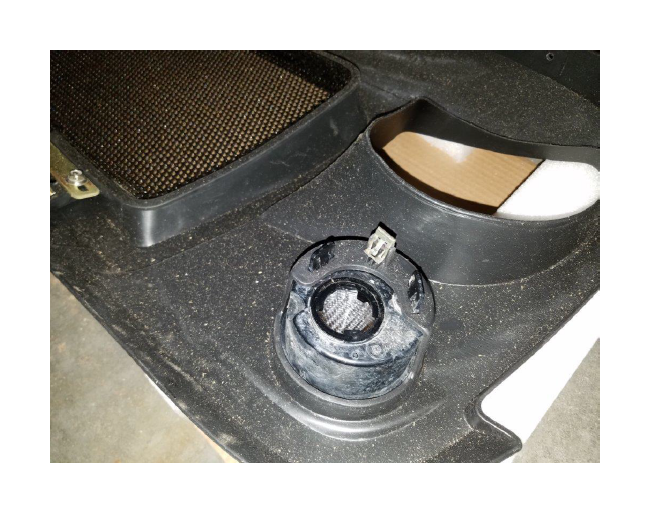
10. Install both blinker housings into the new grille.
10. Install both blinker housings into the new grille.

11. Remove the plastic retainer holding the ambient temperature sensor. Use a flathead screwdriver to pull out the center pin, then the sensor can be pulled off.
11. Remove the plastic retainer holding the ambient temperature sensor. Use a flathead screwdriver to pull out the center pin, then the sensor can be pulled off.
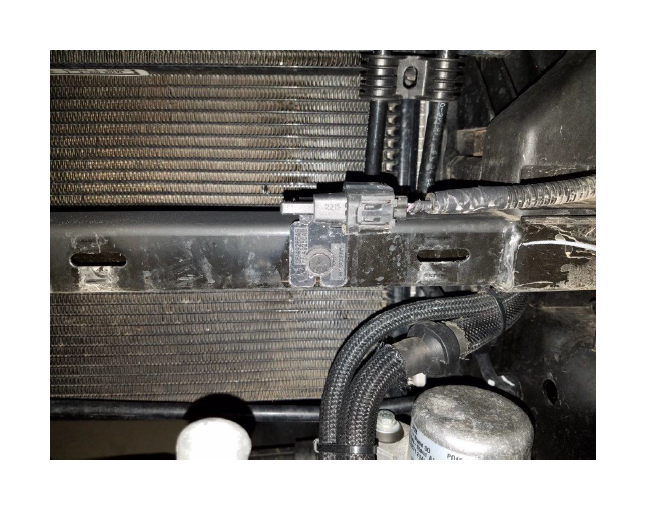

12. Rotate the sensor 180* and reinstall as shown below. My plastic retainer broke, so I had to use a small screw instead of the center pin. You will also need to cut off the small tab that is now located on the bottom front of the sensor shown below. Use a utility knife to cut off the tab.
12. Rotate the sensor 180* and reinstall as shown below. My plastic retainer broke, so I had to use a small screw instead of the center pin. You will also need to cut off the small tab that is now located on the bottom front of the sensor shown below. Use a utility knife to cut off the tab.
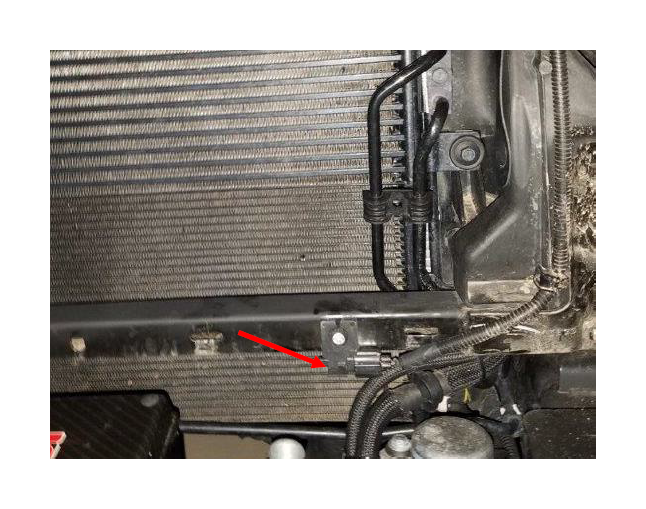

13. Using a utility knife trim the corner off the plastic bracket below the headlight as shown below. Do the same on the bracket below the opposite headlight.
13. Using a utility knife trim the corner off the plastic bracket below the headlight as shown below. Do the same on the bracket below the opposite headlight.
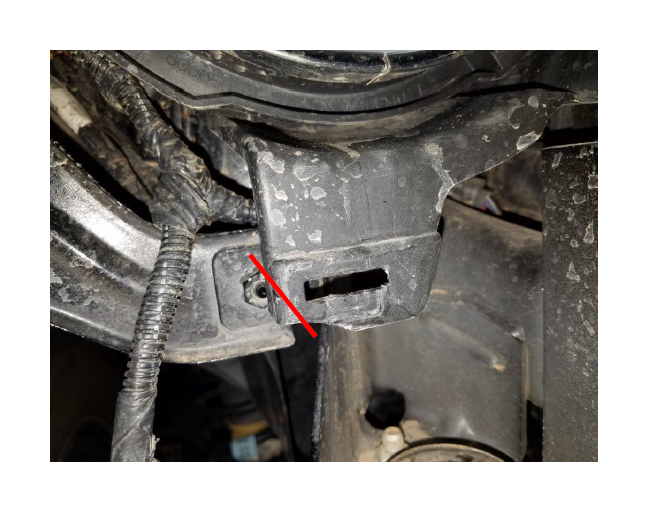

14. Now put the grille in place. Start by aligning the metal clip just behind the blinker as shown below. Push in this metal clip, then gently push in the metal clips along the bottom of the grille.
14. Now put the grille in place. Start by aligning the metal clip just behind the blinker as shown below. Push in this metal clip, then gently push in the metal clips along the bottom of the grille.
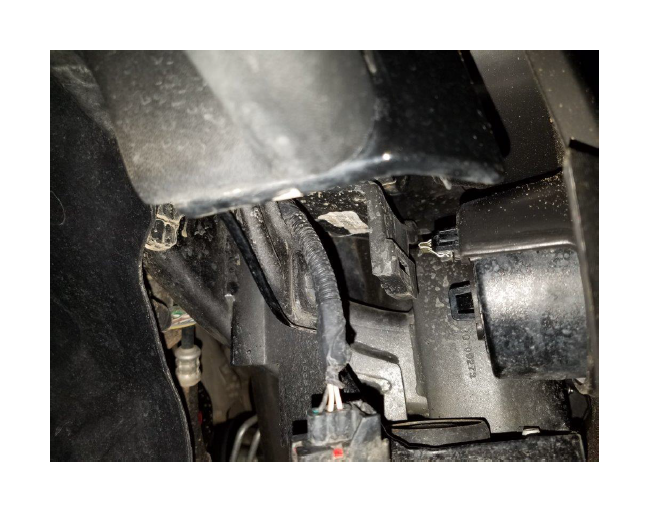

15. From underneath you can see if there are any clips not fully inserted. Make sure they are all fully seated.
15. From underneath you can see if there are any clips not fully inserted. Make sure they are all fully seated.


16. Now reinstall the 6 plastic retainers removed earlier. First push into place the outer plastic retainer piece as shown below, then push in the center piece. Once the center piece is pushed in the retainer should hold that joint in place.
16. Now reinstall the 6 plastic retainers removed earlier. First push into place the outer plastic retainer piece as shown below, then push in the center piece. Once the center piece is pushed in the retainer should hold that joint in place.
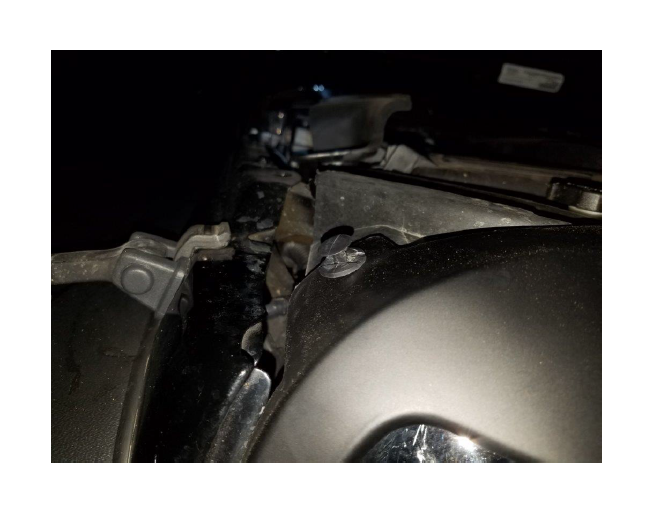

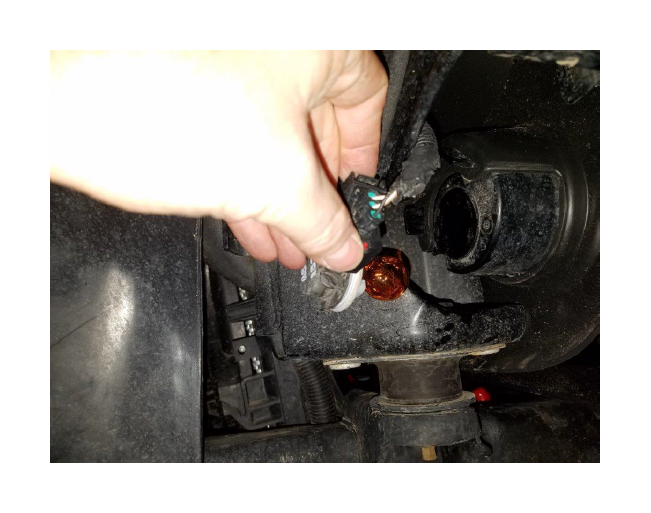
17. Reinstall both blinkers the opposite of how they were removed. Push them into place, then rotate ¼ turn upward. Do this on both sides.
17. Reinstall both blinkers the opposite of how they were removed. Push them into place, then rotate ¼ turn upward. Do this on both sides.

18. Before you install the weather stripping, make sure to clean the top edge of the grille.
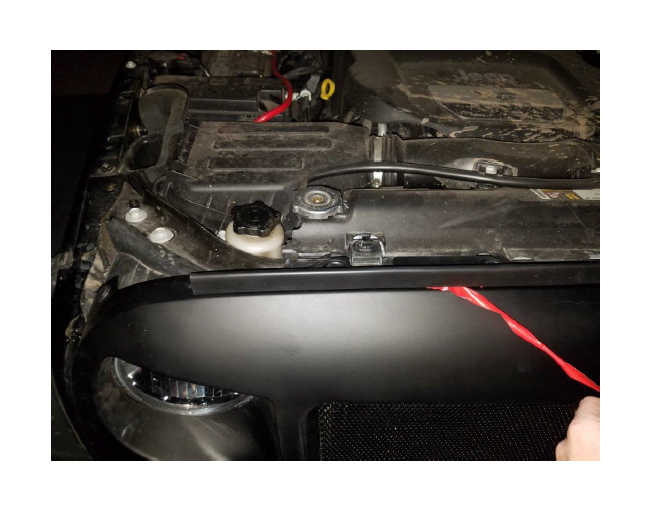
19. Center the weather stripping on the top of the grille. Start on one side, peal a small amount of the red backing and stick that side of the weather stripping. Then slowly peal the backing as shown below, while keeping the weather stripping aligned and going straight across. Press down the weather stripping all the way across. Now you can close the hood and it will hold the weather stripping in place while the tape adheres.

After Picture:
After Picture:
