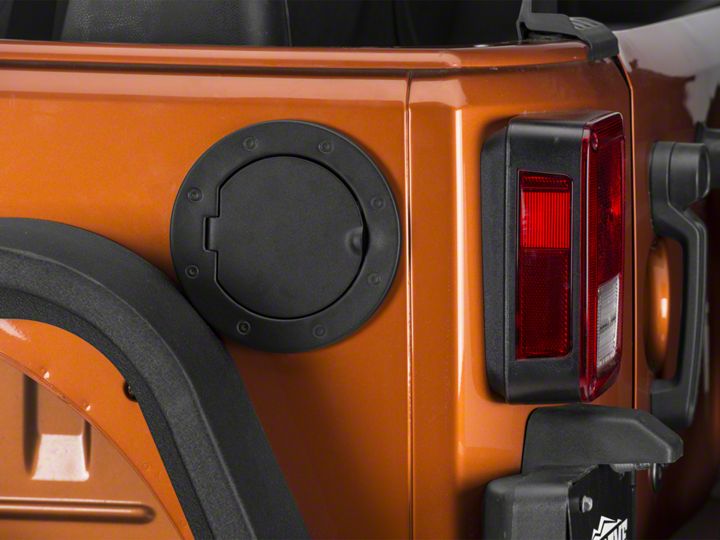

How to Install Rugged Ridge Non-Locking Gas Cap Door - Textured Black (07-18 Jeep Wrangler JK) on your Jeep Wrangler
Installation Time
30 minutes
Tools Required
- Screwdriver – Phillips Head
- Masking Tape (Optional but recommended)

Shop Parts in this Guide
Note: This gas cap door is easy to install with just a screwdriver. If working alone, you may want to use masking tape to hold it in place during installation.
1. Gather your tools and clean the area around the cap. You’re covering the existing plastic housing so if it’s dirty that dirt will stay.

2. Place gas cap door over the plastic housing with the opening facing the rear of the Jeep as shown. Make sure the door is level. You can check this with a small level or eye ball it.

3. If you are working alone tape the door in place with masking tape so it does not move during installation.

4. Open the door and locate the mounting tabs inside the cover. There are four (4). Two (2) upper and two (2) lower.

5. Starting on the bottom start the screws. Screws are self-tapping and will require some pressure but should not require a pilot hole. Do not fully tighten screws at this time.

6. Working in a X pattern start all four screws.

7. Working around tighten all the screws. You may use an electric screw driver or a drill but do not overtighten.

8. Close the door and remove the tape.

9. That’s it. Enjoy the look and function of your Rugged Ridge Non-Locking Gas Cap Door. The door is held closed by the two (2) small magnets you can see in the photo.

Installation Instructions Written by ExtremeTerrain Customer Jac Grimes 08/05/2018

