
Top Sellers for Wrangler
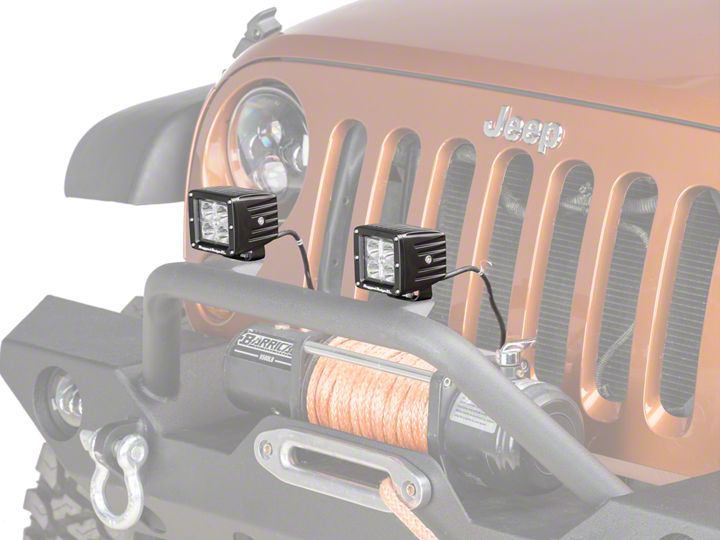
How to Install Rugged Ridge 3 in. Square LED Light Cube on your Jeep Wrangler
Installation Time
30 minutes
Tools Required
- 1/2” Open-ended Wrench
- 1/2” Socket and Driver
- 10mm Open-ended Wrench
- Needle-nose Pliers
- 6mm Allen Key or Hex Wrench
- Additional Washer (if desired)

Shop Parts in this Guide

Factory / Before Pictures

1. Install bracket to light with supplied bolts and nuts using 6mm allen key and needle-nose pliers. Note: the pliers will be necessary to put the nut in the correct position, but the light body will provide torque backup once the bolt is threaded. Do not fully tighten at this stage.


2. Insert larger bolt through bottom of bracket.

3. Place light assembly on mounting bracket.

4. Install supplied nut and lock washer (and additional flat washer if desired) and snug up bolt using 1⁄2” socket and driver with 1⁄2” open ended wrench providing torque backup, but do not fully tighten.

5. Hook up light to wiring harness (sold separately).
6. Test lights to ensure functioning properly, adjust if necessary, and fully tighten all bolts.

Installed Photo
Installation Instructions Written by ExtremeTerrain Customer Brian Dunn 6/9/2018


