

How To Install a Rugged Ridge Heavy Duty 8,500 LB. Winch on your 1987-2016 Jeep Wrangler YJ, TJ & JK
Installation Time
30 minutes
Tools Required
- 5/8” socket with extension and ratchet
- 6mm allen wrench
- 10mm socket or wrench
- 18mm socket
- 18mm wrench
- Flat head screwdriver
- Included allen wrench
- Black electrical tape
- Pliers
- Black zip ties
INSTALLATION INSTRUCTIONS:
1. Open the box and lay out your winch and accessories on a flat table or workbench.
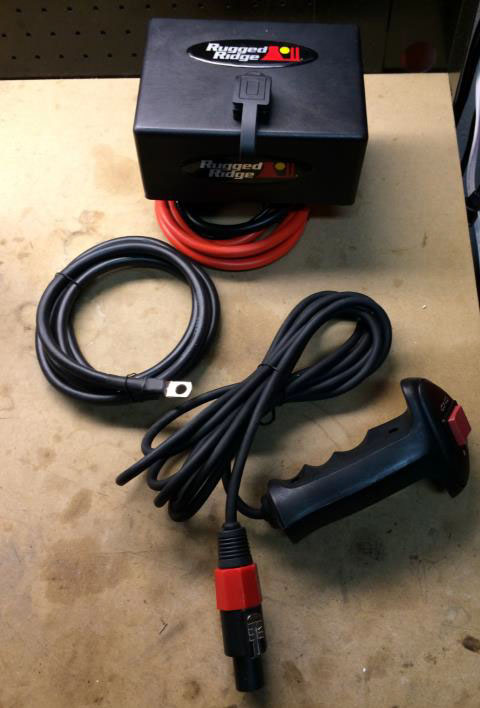
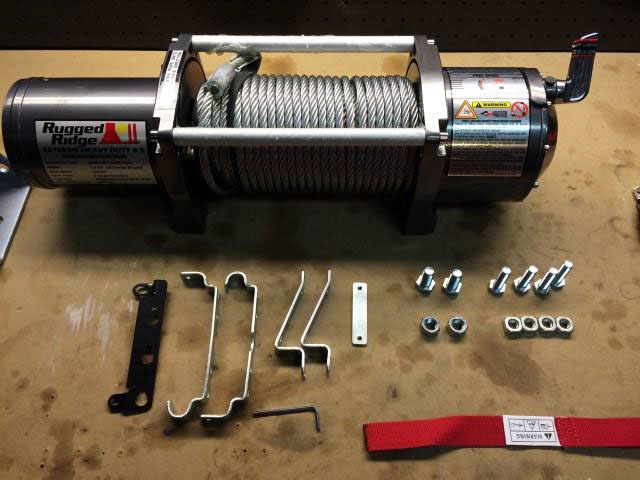
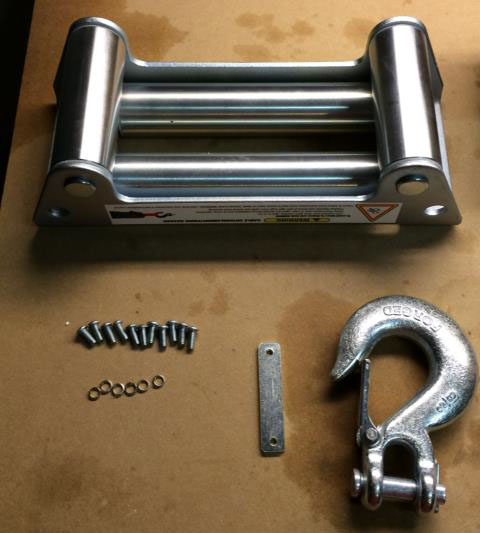
2. The manual provides over-the-winch installation, or over-the-motor. I chose over-the-motor. Using the supplied allen wrench, loosen the screws on the solenoid box.

3. Using the 6mm allen wrench, remove the screw from the rear post on the top of the winch. Place the bracket on the left-hand side of the winch, reinserting the screw you just removed. Don’t fully tighten.
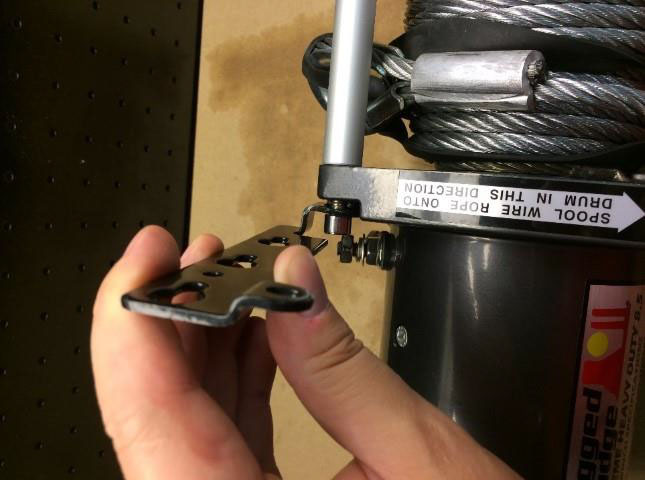
4. Use the supplied allen wrench along with one of the supplied screws to finish mounting the bracket. Tighten both screws to securely fasten the bracket.
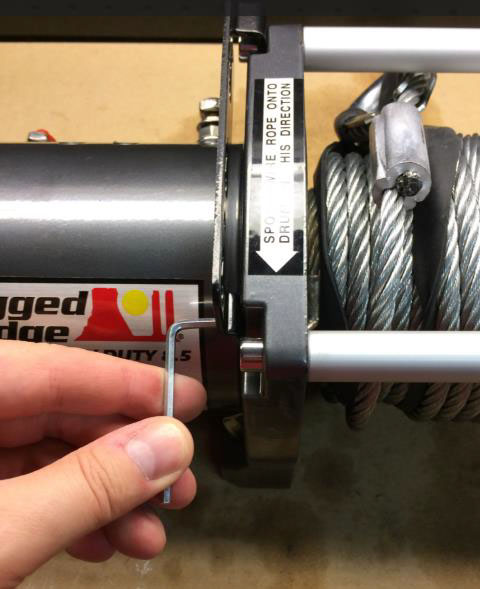
5. Slide the solenoid box into the bracket. Using the supplied allen wrench, tighten both screws on the solenoid box.
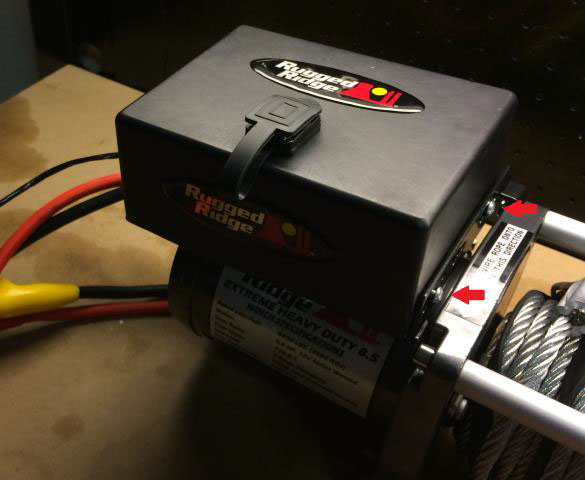
6. Turn the winch around on your workbench. Untangle and straighten the wires from the solenoid box to make it easy to install them onto the winch. Slide the rubber protective sheaths down each wire.

7. Remove the nut and washer on the post with red paint. Install the red wire on this post. Tighten the nut with a 14mm wrench, and feel free to use another wrench on the back side of the post to prevent it from turning while you tighten the nut.
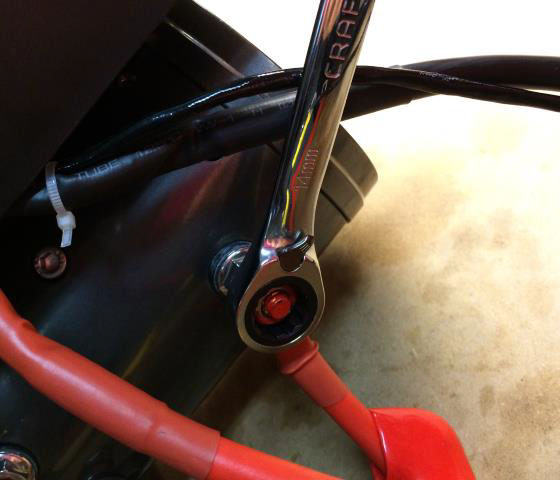
8. Slide up the rubber protective sheath so that it covers the post completely. Repeat step 7 and 8 for the short yellow and short black wires.
9. For the skinny black wire and the supplied separate long black wire, attach them to the gray bolt on the bottom of the winch, with the skinny black wire loop being on top of the long black wire loop. Reattach to the bottom of the winch and tighten the bolt with your 14mm wrench.
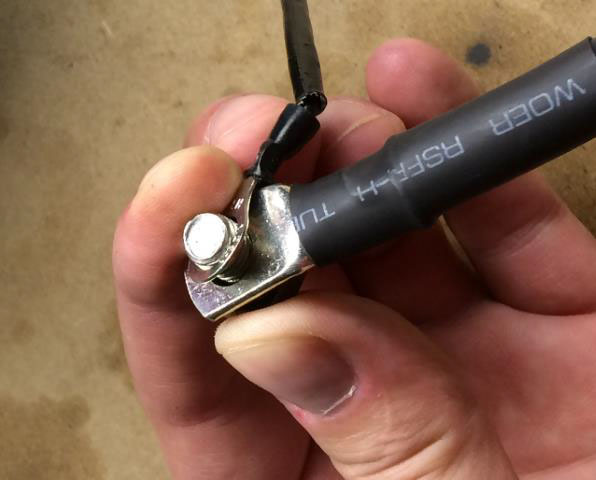
10. With all wires connected to the winch, it will look as follows:
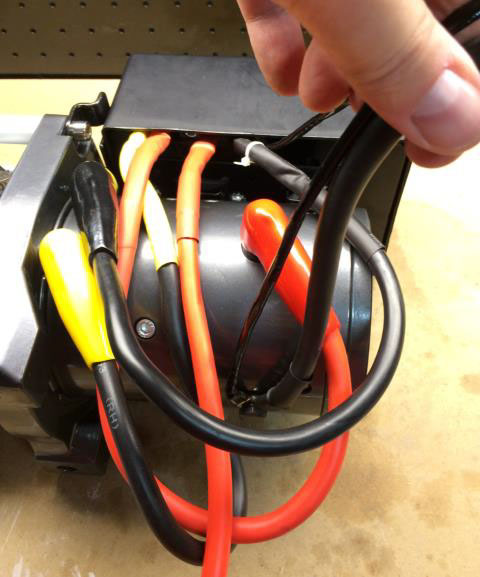
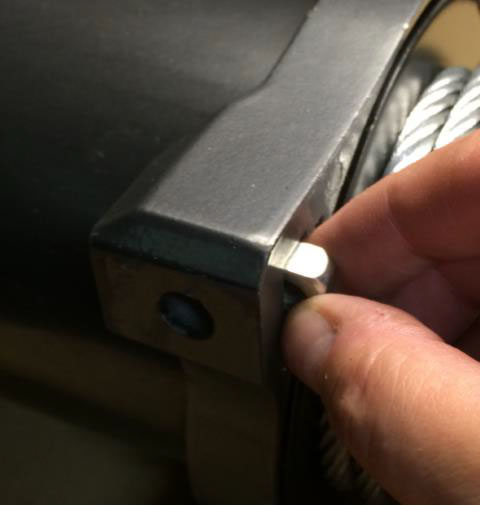
11. Insert the 4 square nuts just above the holes on the bottom of the winch. You can do this on your workbench, or after placing the winch on your bumper.
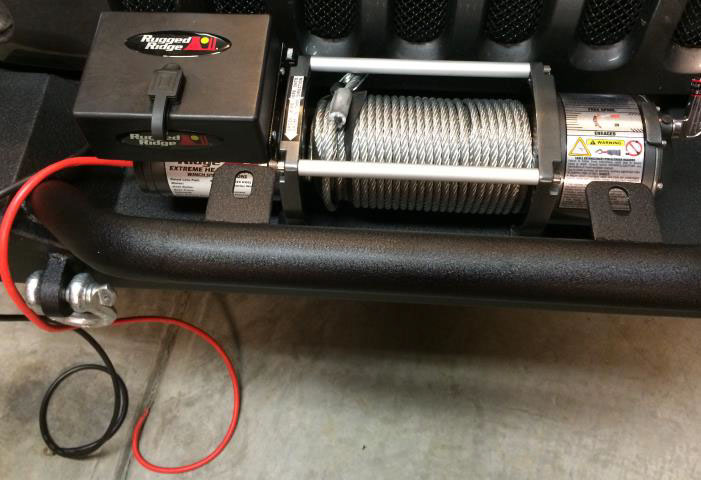
12. Insert the 4 longer bolts into the underside of your bumper and into the bolt holes of your winch. The bolts will screw into the square nuts you just inserted. From under your bumper, tighten with the 5/8” socket, ratchet and extension.
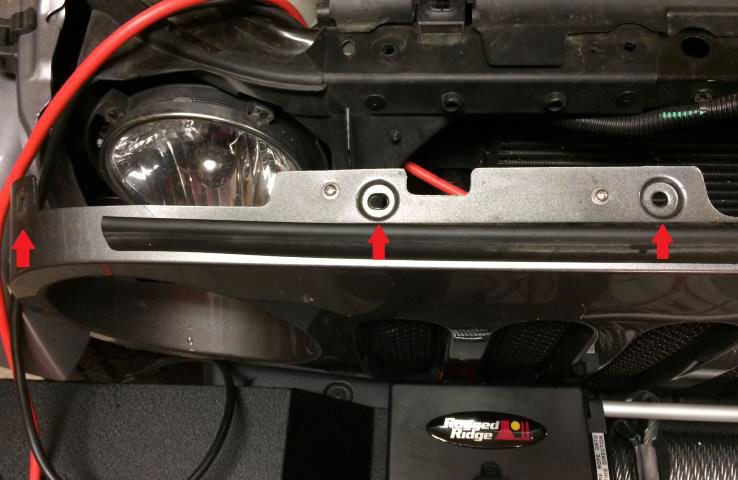
13. Using the flat head screwdriver, remove the 6 plastic tabs from the top of your Jeep’s grill, then gently pull it forward. This will make it easier to route your wires. The picture below shows the 3 tab holes on the left of the grill. There are 3 other tabs in the exact same place on the right side of the grill. Route your wires under the grill, staying to the far left of the radiator.
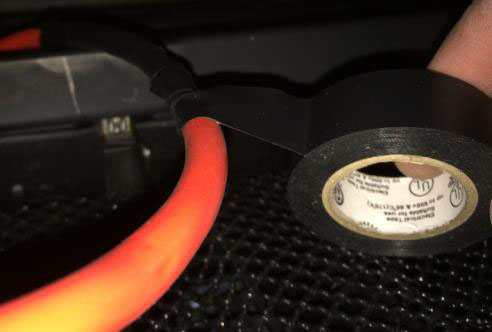
14. OPTIONAL: I chose to wrap part of the red wire with black electrical tape. It offers additional protection, as well as hides the red wire from being visible from the front of the vehicle. Only wrap the portion of the wire visible from the grill area.
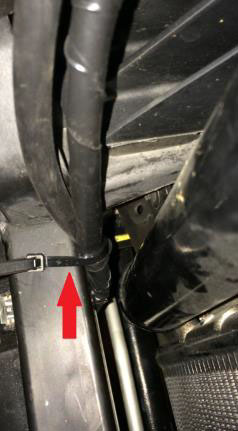
15. Attach a black zip tie to the metal frame to keep the wires together and safely away from the radiator.
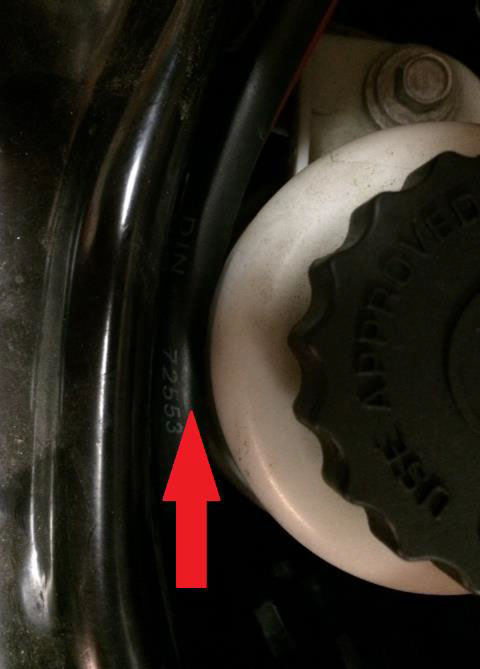
16. Route the wires on the underside of the power steering fluid reservoir.
17. Continue routing your wires under the plastic piece just to the left of the battery.
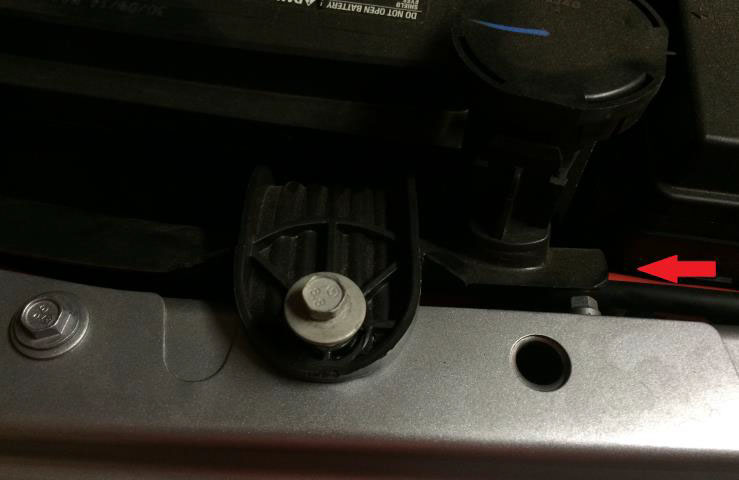
18. Your wires should be just long enough to reach the battery.
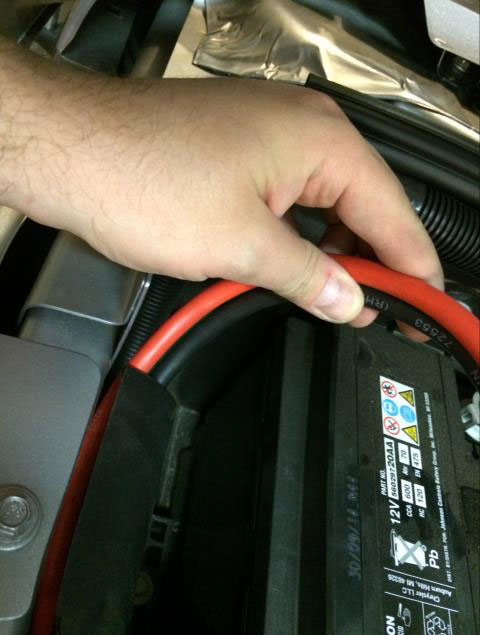
19. Using a 10mm socket/ratchet or wrench, use the provided accessory post to mount your wires. Attach the red wire to the positive battery terminal. Attach the black wire to the negative battery terminal.
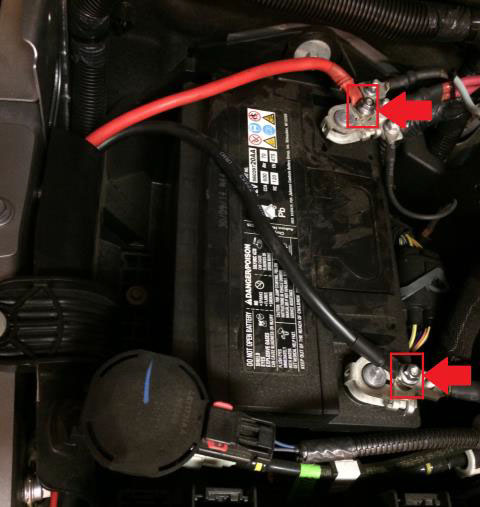
20. Reattach your Jeep’s grill by inserting the plastic tabs back into the holes. Then, be sure to push on the bottom of the grill to make sure all attachment points are fully back in place.

21. On the winch, use wire cutters to cut the rubber band holding the cable in place. Be cautious as the cable will release tension slightly. Completely remove the rubber band.
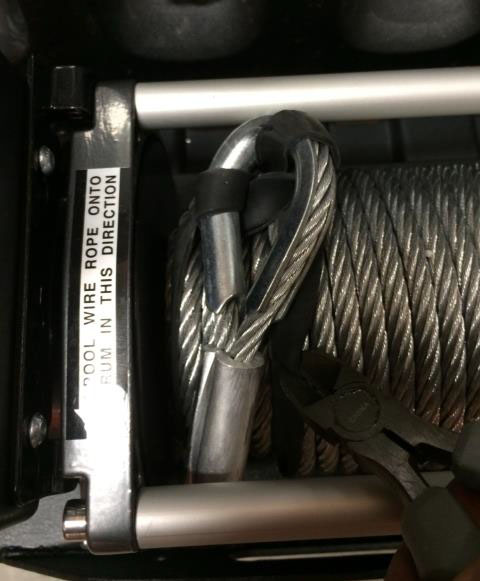
22. Move the cable down past the winch frame and through the fairlead hole in your bumper.
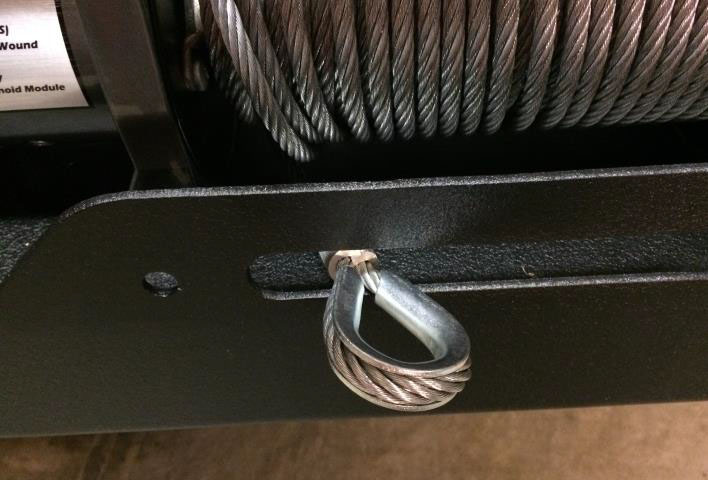
23. Attach the fairlead to the bumper using the 2 stubby bolts and nuts, using an 18mm socket/ratchet and an 18mm wrench. Depending on the location of the cable hole in your bumper, use the appropriate mounting holes in the fairlead. Once mounted, slide the cable through the fairlead.
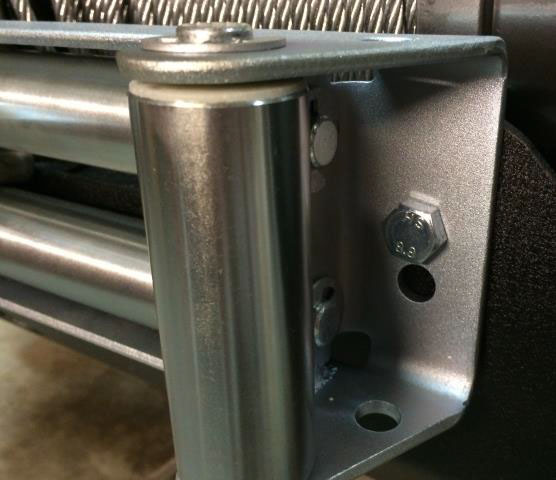
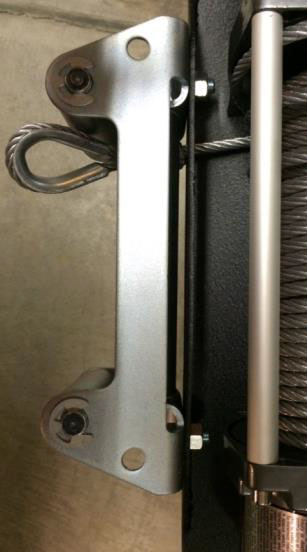
24. Remove the plug covering the remote control plug. Insert the plug at the end of the remote control wire, gently rotating the plug clockwise until it clicks.
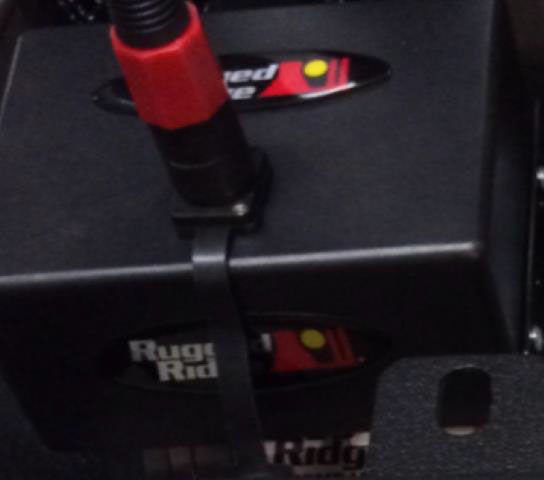
25. Using the remote control, press “OUT” to unwind approximately 6” of cable.
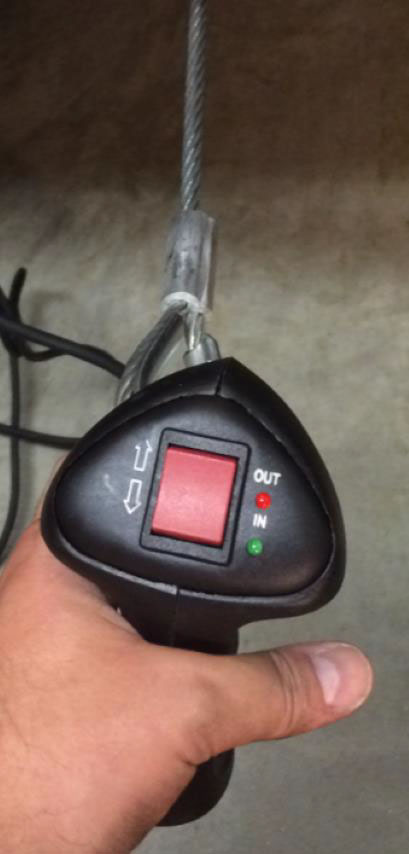
26. Using your pliers, remove the cotter pin from the steel latch, then remove the pin. Place the latch over the end of the steel cable, reinsert the pin, then reinsert the cotter pin, bending out the edges slightly to keep the cotter pin in place.
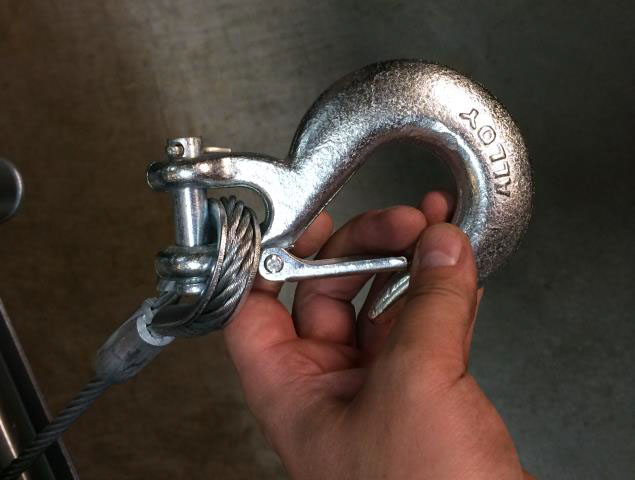
27. Attach the red strap to the steel latch.
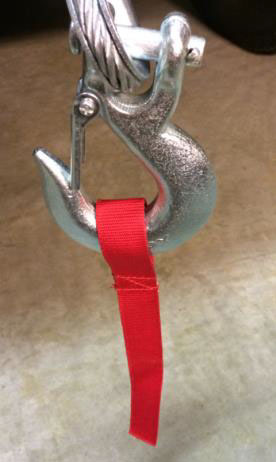
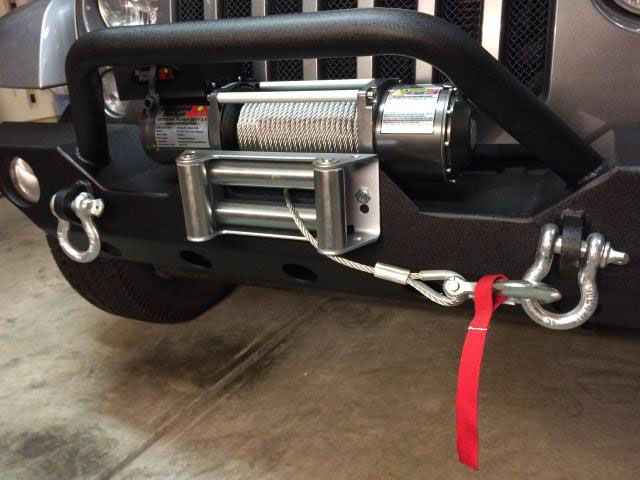
28. Attach the latch to one of the steel rings on your bumper, then use the remote control to gently tighten the cable. In this picture, I placed the cable below the right fairlead roller to keep it from rubbing on the steel roller itself during travel (note that I did NOT place any noticeable load on the cable after attaching; this location is to prevent rubbing and for aesthetics). This step is entirely optional and feel free to place the cable in the location of your choosing.
29. Place the supplied cover over the winch, with the “Rugged Ridge” logo facing the front of the Jeep. Tighten the rope to keep the cover secure, tucking the remaining rope under the winch.
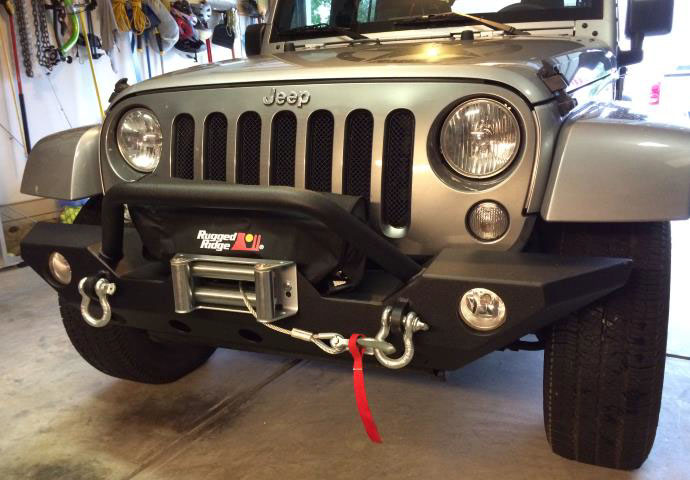
30. That’s it! Enjoy your new winch!
Written by ExtremeTerrain Customer Joel Schaeffer on 10/10/2015

