

How to Install Rugged Ridge Easy Load Trail Rack on your 1987-2006 Wrangler
Shop Parts in this Guide
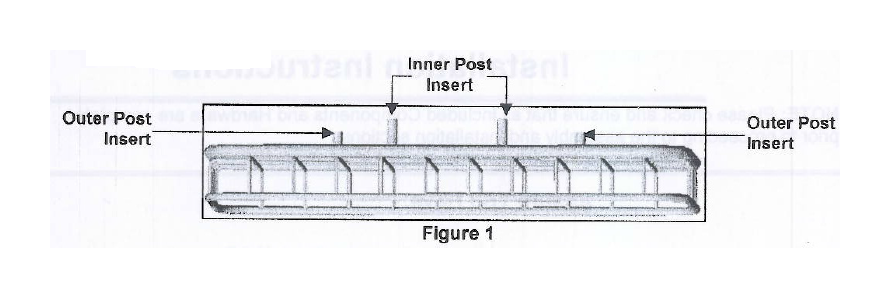
1. Lay the Basket up side down on a flat clean surface and locate the inner and outer post inserts (Figure 1),
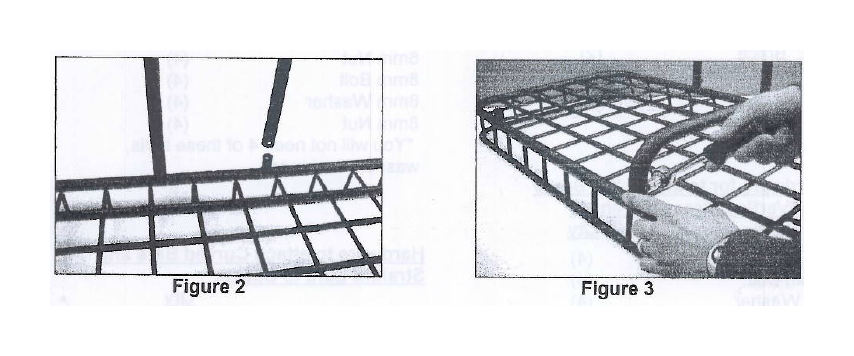
2. Loosely secure the (2) Straight Bars (item 4 on Page 1) to the inner posts as shown in Figure 2, using the included Carriage Bolts, washers, and nuts. Loosely secure the (2) Curved Bars (item 3 on Page 1) to the outer posts as shown in Figure 3, using the included Carriage Bolts, Washers, and Nuts.
Vehicle Preparation
1. Remove the vehicle's spare tire and tire mount, and set aside for later use.
2. Once Step 1 is complete, (9) mounting holes will become accessible.
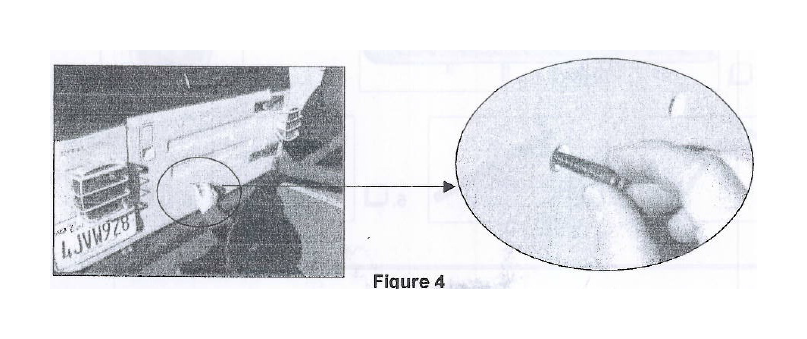
NOTE: The (4) outermost holes will need either (4) 1/4" Bolts or (4) 6mm Bolts, depending on the vehicle's production date. TEST each bolt in the vehicle's factory holes to distinguish which size Bolt to use prior to proceeding with the installation (Figure 4).
NOTE: Assistance is recommended while positioning and securing the "L" Braces onto the vehicle (Position the Foam against the vehicle).
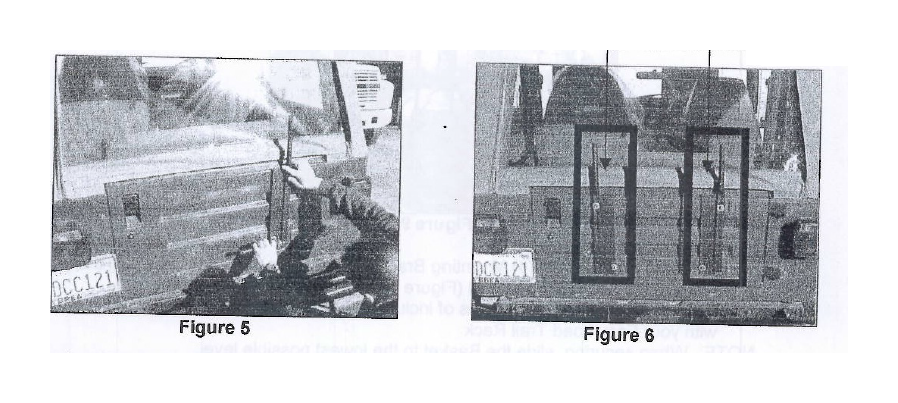
1. Position the "L1' Brace facing inward onto the vehicle and over the outermost holes (Figure5).
2. Secure the "L" Brace loosely to the vehicle using the Bolts/Washers provided (Figure 6).
NOTE: Be sure to hand tighten the "L" Brace Bolts. This will allow you to accurately align the Brace's Slotted Hole over the vehicle's factory holes.
3. Loosely tighten the (2) Bolts and Washers.
4. Repeat Steps 1-4 for the opposite side.
Vertical Brace Installation
NOTE: Assistance is recommended while positioning and securing the Vertical Brace and Spare Tire Mount onto the vehicle (Position the Foam against the vehicle).
1. Position the Vertical Braces and Spare Tire Mount over the Spare Tire Mount's factory holes.
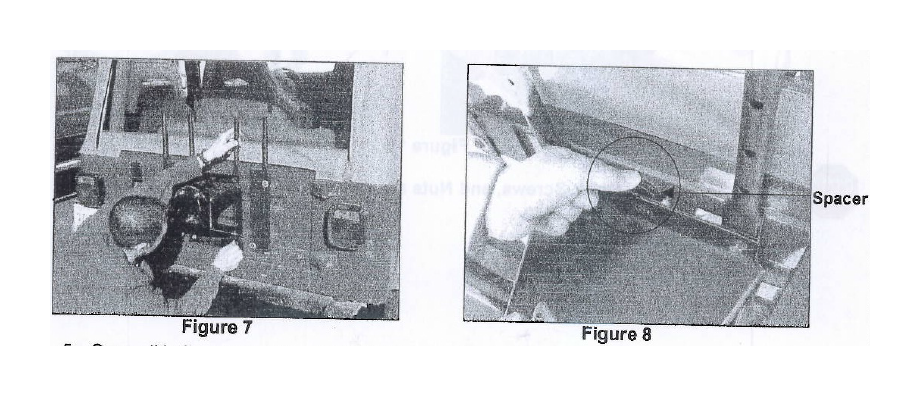
2. Secure the Vertical Brace loosely to the vehicle using the 5/16" Bolts/Washers provided (Figure 7). NOTE: Be sure to hand tighten the (4) Bolts of the Vertical Brace. This will allow you to accurately align the Vertical Brace's slotted holes over the vehicle's factory holes.
3. With the Vertical Brace and Spare Tire Mount in loosely in place, slide the Spacer over the top center hole and in between the vehicle and Spare Tire Mount as shown in Figure 8.
4. Loosly tighten all (5) Bolts and Washers.
5. Once all bolts are secure, re-install the spare tire and proceed with the Basket Installation.
Basket Installation
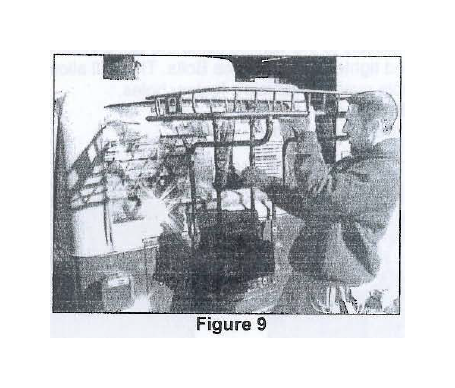
1. With the Basket and Bars properly assembfed, raise the Basket over the (4) Mounting Brace's as shown in Figure 9.
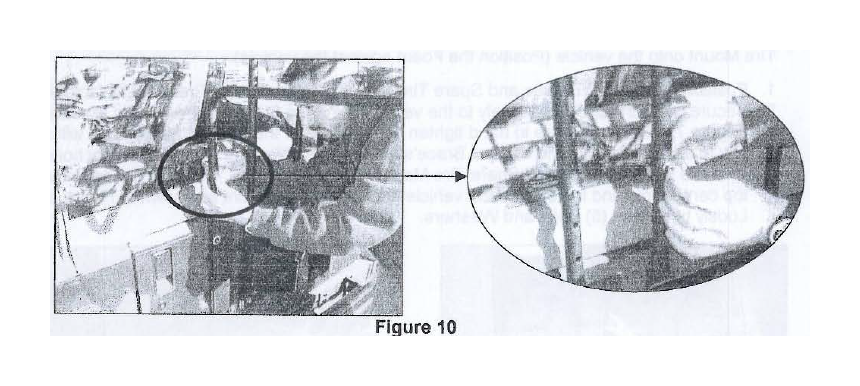
2, Slide the (4) Bars over the (4) Mounting Braces at the same time. Secure using the (4) Bolts, Washers, and Nuts provided (Figure 10).
NOTE: There are two different sizes of included hardware. Use the size that fits best with your Easy Load Trail Rack
NOTE: When securing, slide the Basket to the lowest possible level.
3. Tighten all nuts and bolts.
Ensure that ALL Bolts, Screws, and Nuts are securely tightened prior to traveling.

