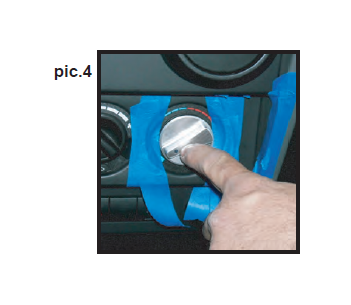

How to Install Rugged Ridge Climate Control Knob Set, Billet Style Aluminum w/ Blue Indicators
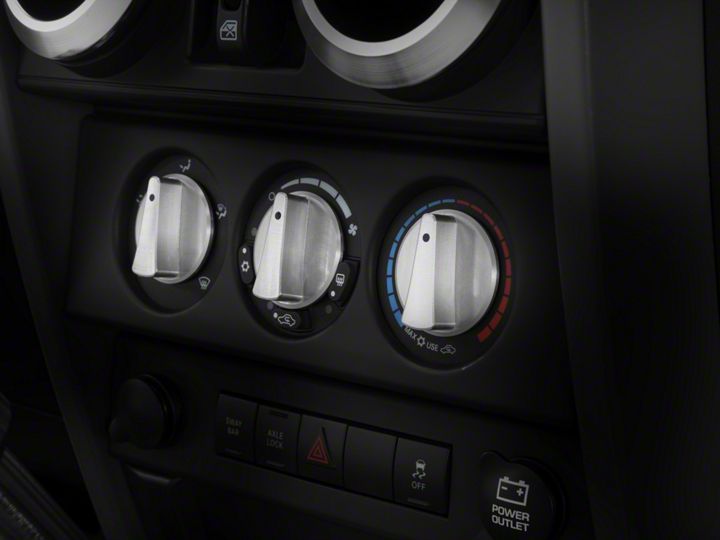
Shop Parts in this Guide
Contents:
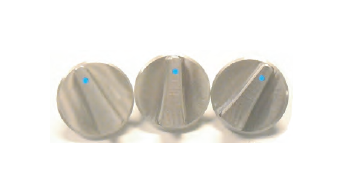
(3) Billet Climate Control Knobs
NOTICE : Read all installation instructions prior to installing billet knobs to avoid scratching or damaging center console and original plastic knobs.
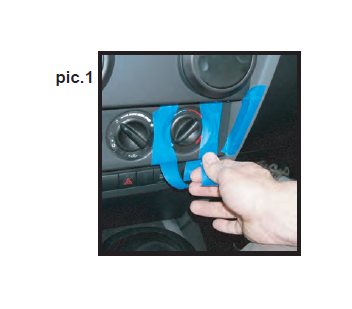
Step1: Before removing factory plastic control knobs mask off sides of knobs and outer console edges as shown (pic.1). use a minimum of three layers of masking tape to insure that console surfaces are not damaged during removal of knobs.
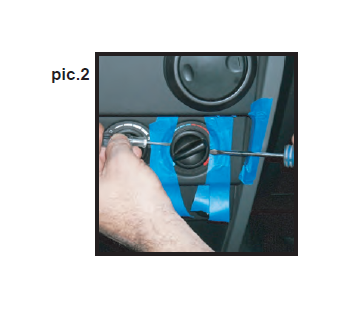
Step2: Slide two flathead screwdrivers between plastic control knob and masking tape as shown (pic.2). Pull both flathead screwdrivers away from dash. If needed some leverage can be applied to side of console. Make sure that masking tape has been applied to edge of console before applying leverage to avoid damage.
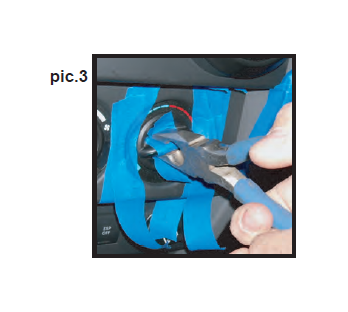
Step3: Some plastic knobs may not work free using screwdrivers. To remove these knobs place three layers of masking tape onto plastic knob and work loose using pliers (pic.3). The pliers should be used to help loosen plastic knob. Repeat step #2 for final removal of knob.
Step4: With plastic knob removed orient new billet knob to keyed shaft. Press completely into console and turn knob to insure proper function of control switch (pic.4).
Step5: Repeat steps 1 - 4 for other two knobs being careful to not damage console. Remove masking tape and check each knob for proper function.
