

How to Install Rugged Ridge CB/AM/FM Antenna Mount Kit (97-18 Jeep Wrangler TJ & JK) on your Jeep Wrangler
Installation Time
90 minutes
Tools Required
- Box Cutter/Knife
- Plastic Panel Tool/Flat Head Screwdriver
- Crescent Wrench
- 8mm Socket
- Socket Wrench

Shop Parts in this Guide
1. Using a small crescent wrench, rotate the antenna to loosen from mount (Figure A).

Figure A
2. With the antenna loosened, use a plastic trim tool or flat head screwdriver to pry the plastic trim around the antenna mount (Figure B).

Figure B
3. Remove the trim entirely, exposing the three bolts necessary to remove (Figure C).

4. Remove the three bolts using an 8mm socket wrench and save for later (Figure D).

Figure D
5. Open the glove box (Figure E).

Figure E
6. Remove the glove box and locate the antenna cable (Figure F).

Figure F
7. Disconnect the antenna cable and remove it.
8. Feed the smaller end of the Rugged Ridge antenna cable through the antenna mount and into the glove box area (Figure G).

Figure G
9. Place the antenna connection on the Rugged Ridge antenna mount (Figure H).

Figure H
10. Place the grommet over the antenna mount (Figure I).

Figure I
11. Reconnect the antenna stud (Figure J).

Figure J
12. Connect the Rugged Ridge antenna cable to the antenna mount via the antenna connection (Figure K).

Figure K
13. Using supplied screws, connect the antenna mount to the fender in place of the old mount (Figure L).
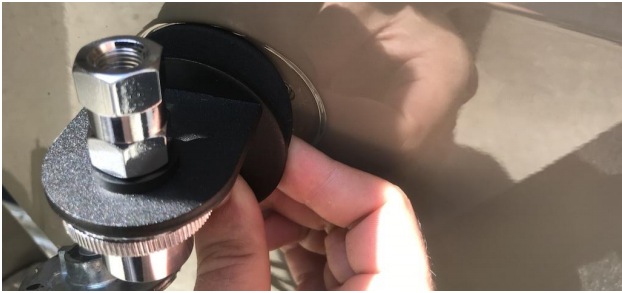
Figure L
14. Connect the CB wiring to the multiplexor (Figure M).
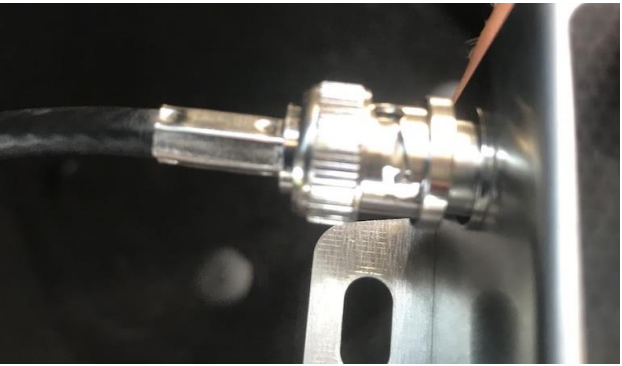
Figure M
15. Connect the radio antenna adapter to the multiplexor (Figure N).
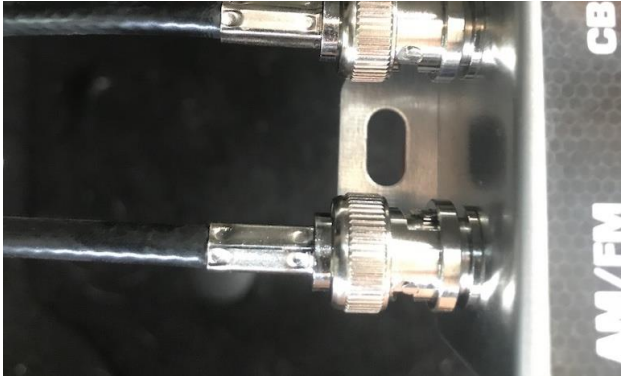
Figure N
16. Connect the exterior antenna wire to the multiplexor (Figure O).
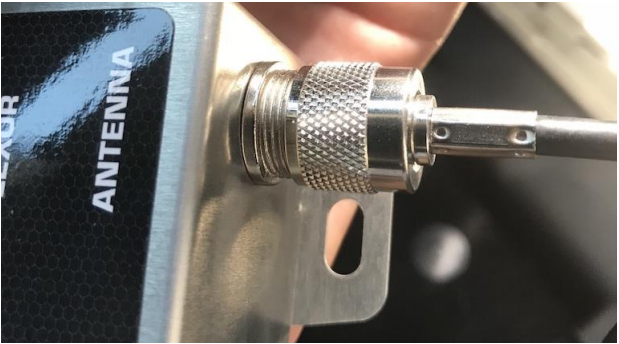
Figure O
17. Mount the multiplexor (and ground wire) to the interior passenger side door area (Figure P).
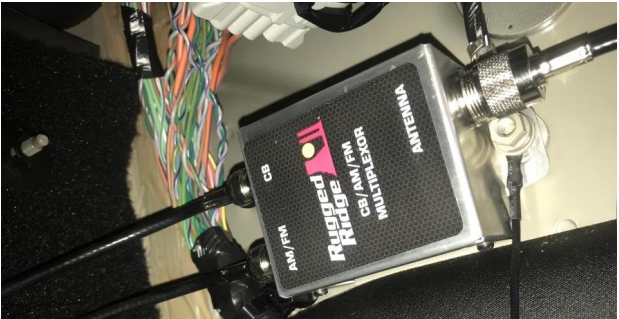
Figure P
18. Connect the appropriate wires to the multiplexor adapter wires (AM/FM to radio antenna; CB to CB radio).
19. Attach antenna to Rugged Ridge Antenna Mount.
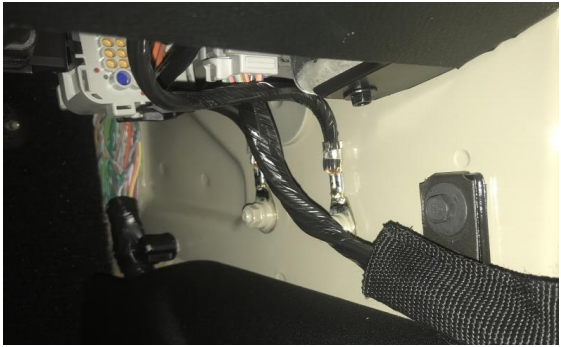
Before
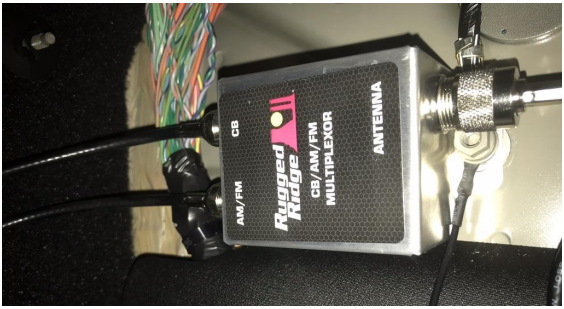
After
Installation Instructions Written by ExtremeTerrain Customer J. Sandlin 07/26/2018

