

Top Sellers for Tacoma
How to Install Rugged Ridge Black Cowl Body Armor on your 2007-2015 Wrangler JK
Installation Time
10 minutes
Tools Required
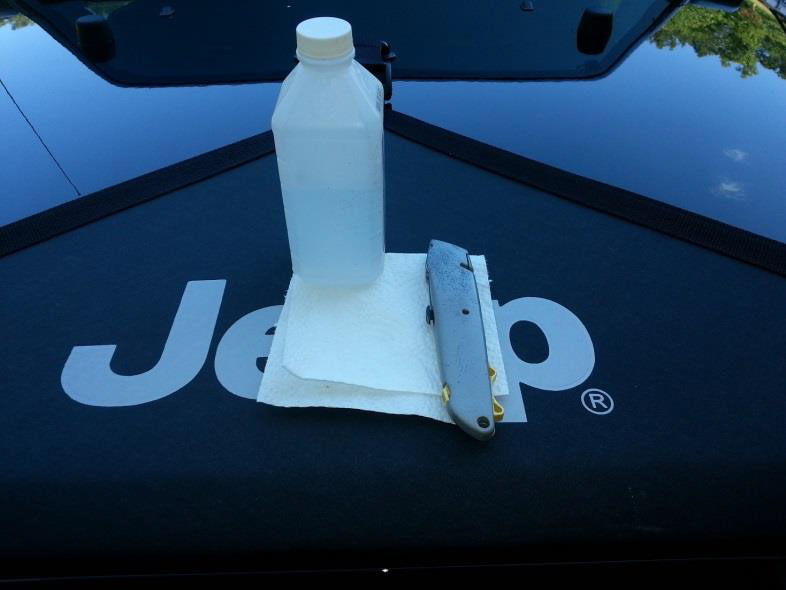
- Rubbing Alcohol
- Paper Towel
- Utility knife
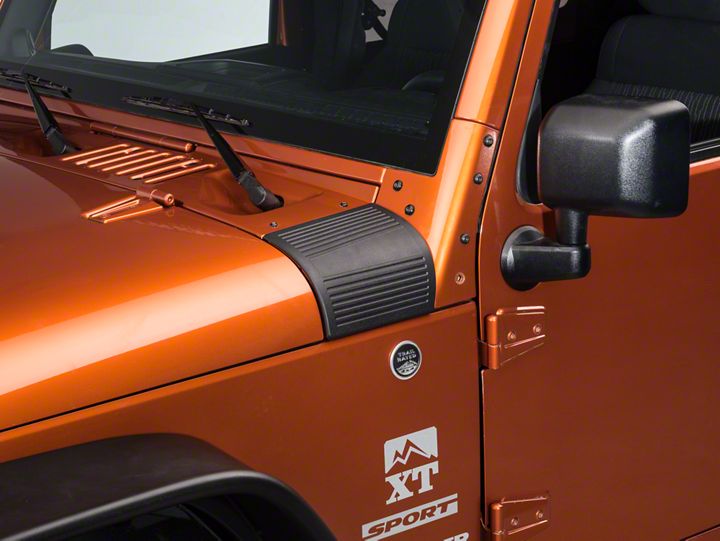
Shop Parts in this Guide
Tools
Before
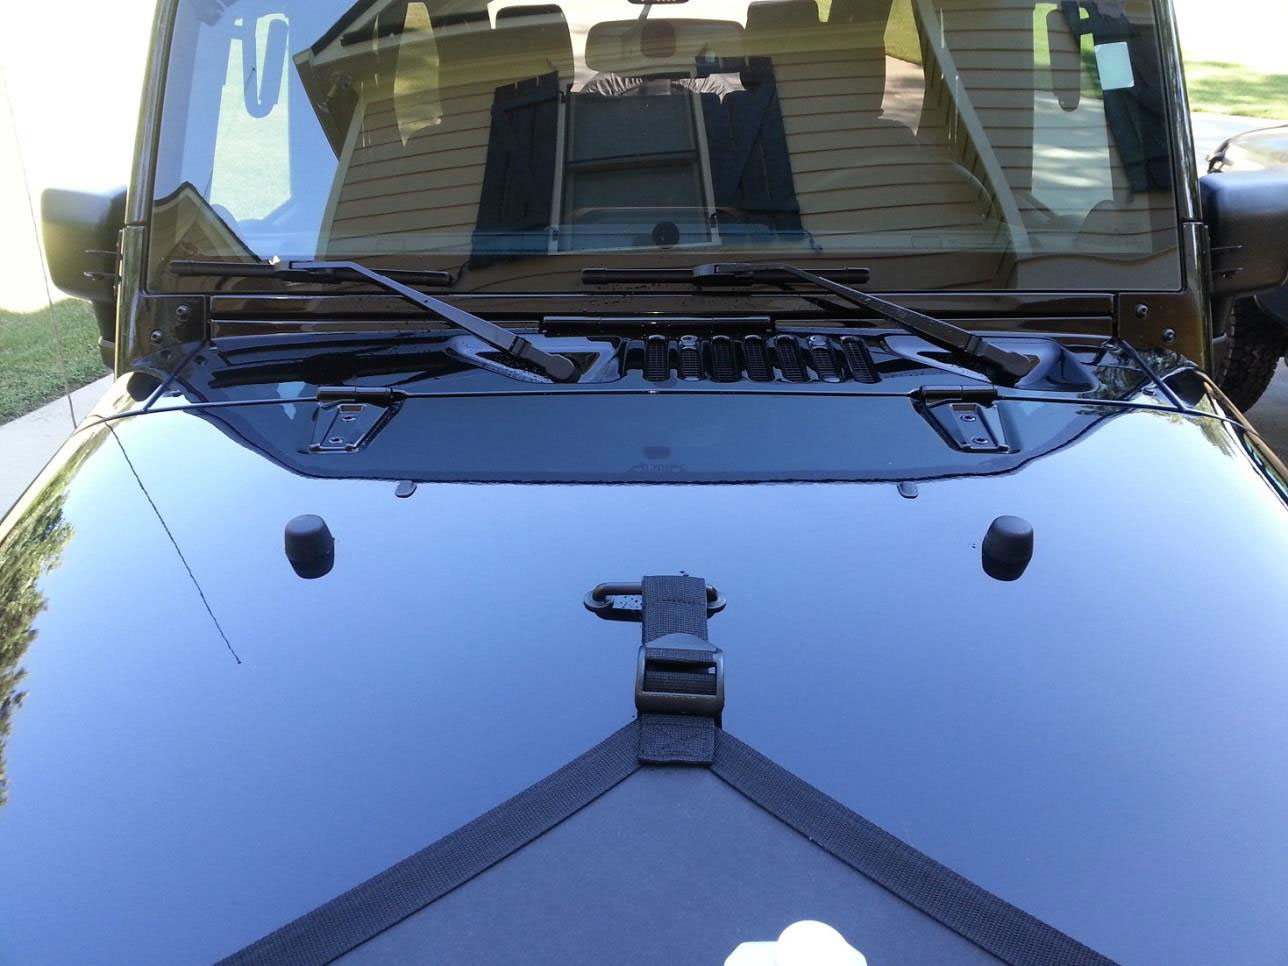
Installation Instructions:
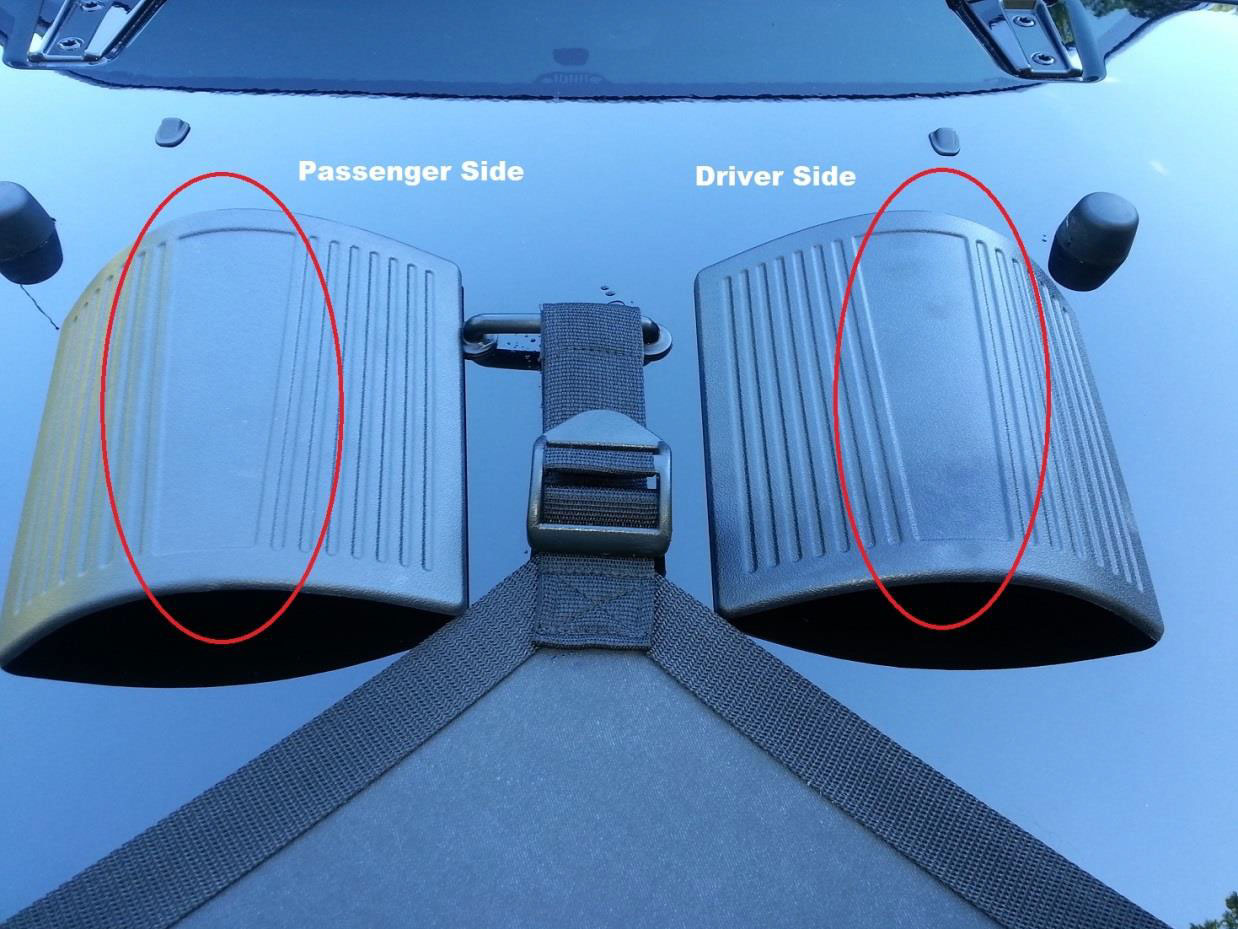
1. Layout the two Cowl Body Armor pieces. Make sure you have a passenger and driver side piece. Notice the center wide indention tappers down towards you. (Pic 1)
Pic 1
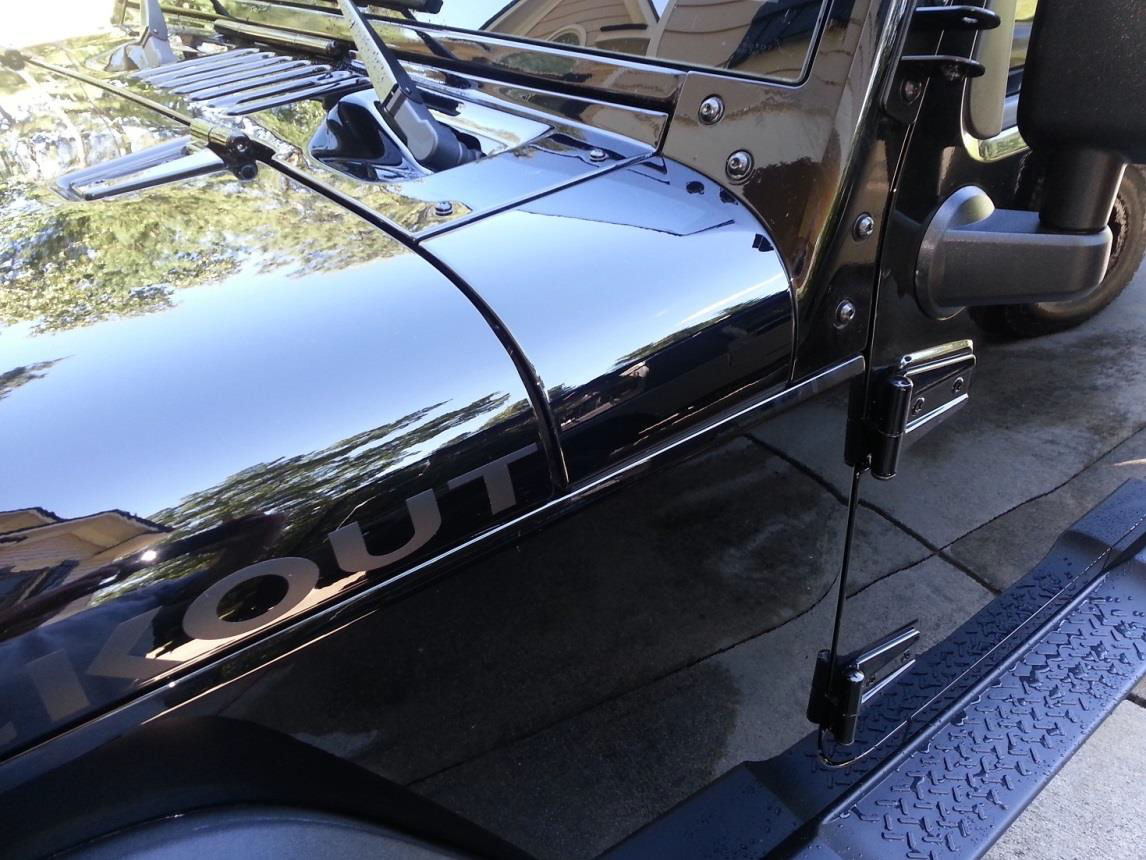
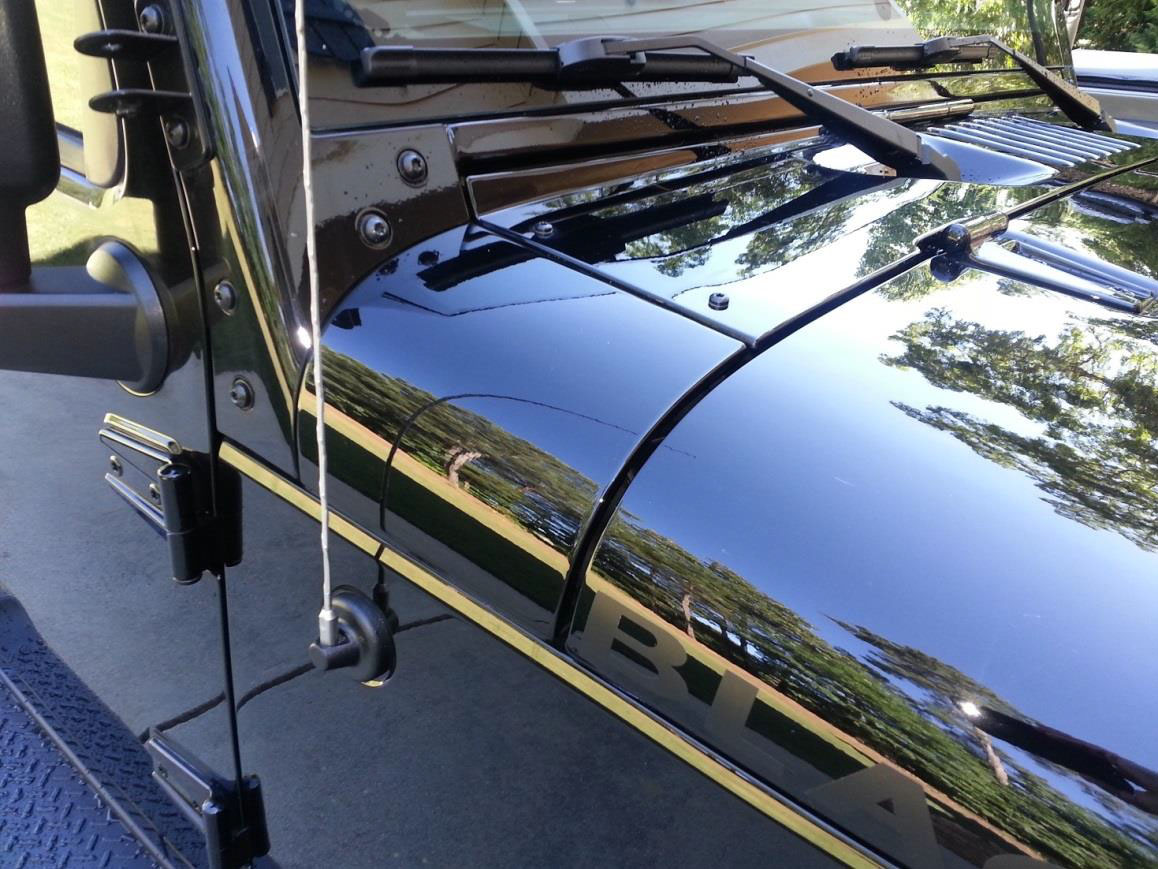
2. Clean the driver and passenger cowl areas with the alcohol. Go over the area thoroughly and allow the area to dry completely. (Pic 2A and 2B)
Pic 2A
Pic 2B
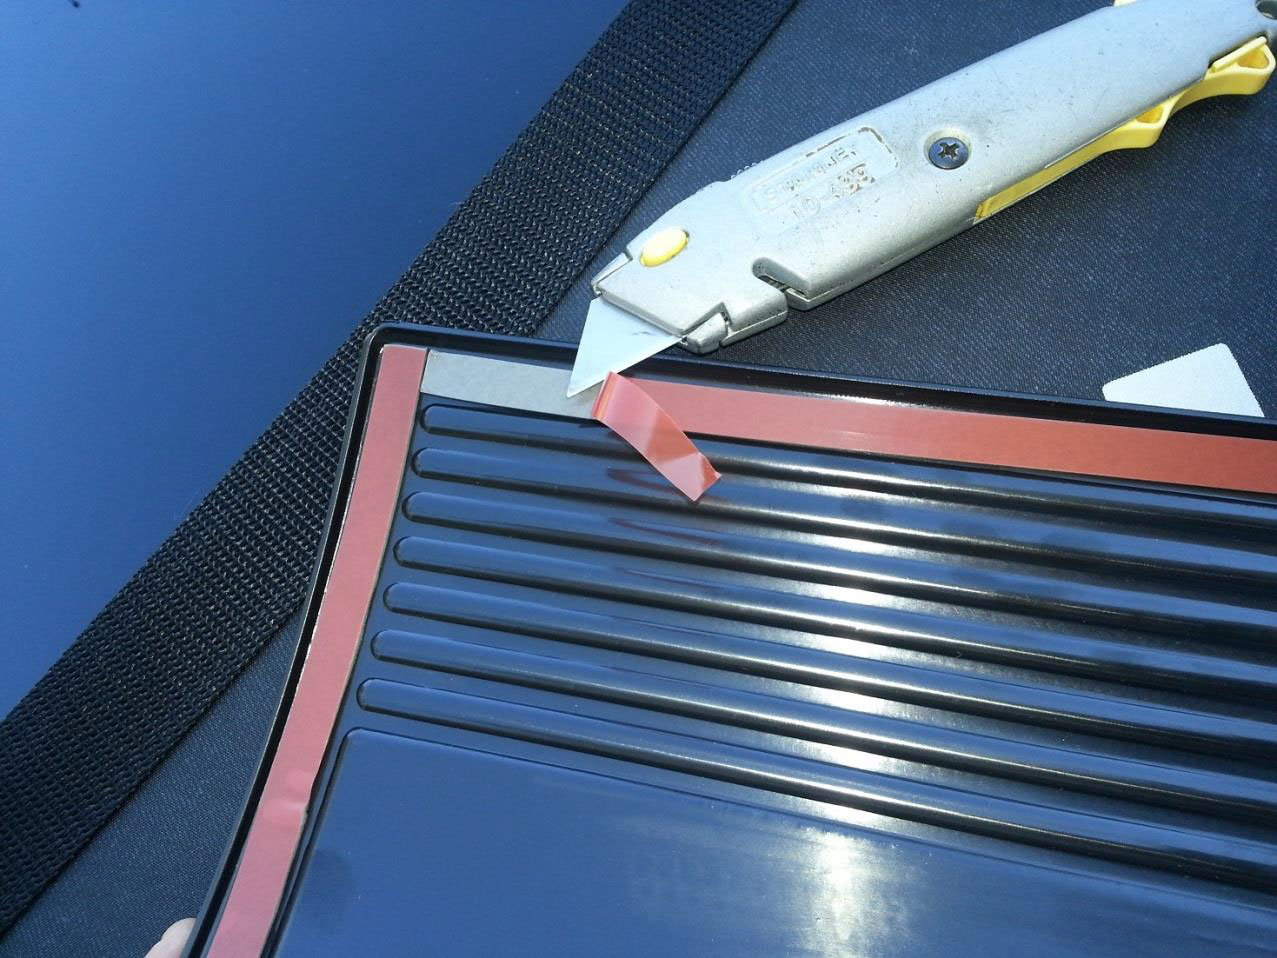
3. Peel the 3M tape cover off all four sides using the utility knife. Do this for both the passenger and driver side pieces. (Pic 3)
Pic 3
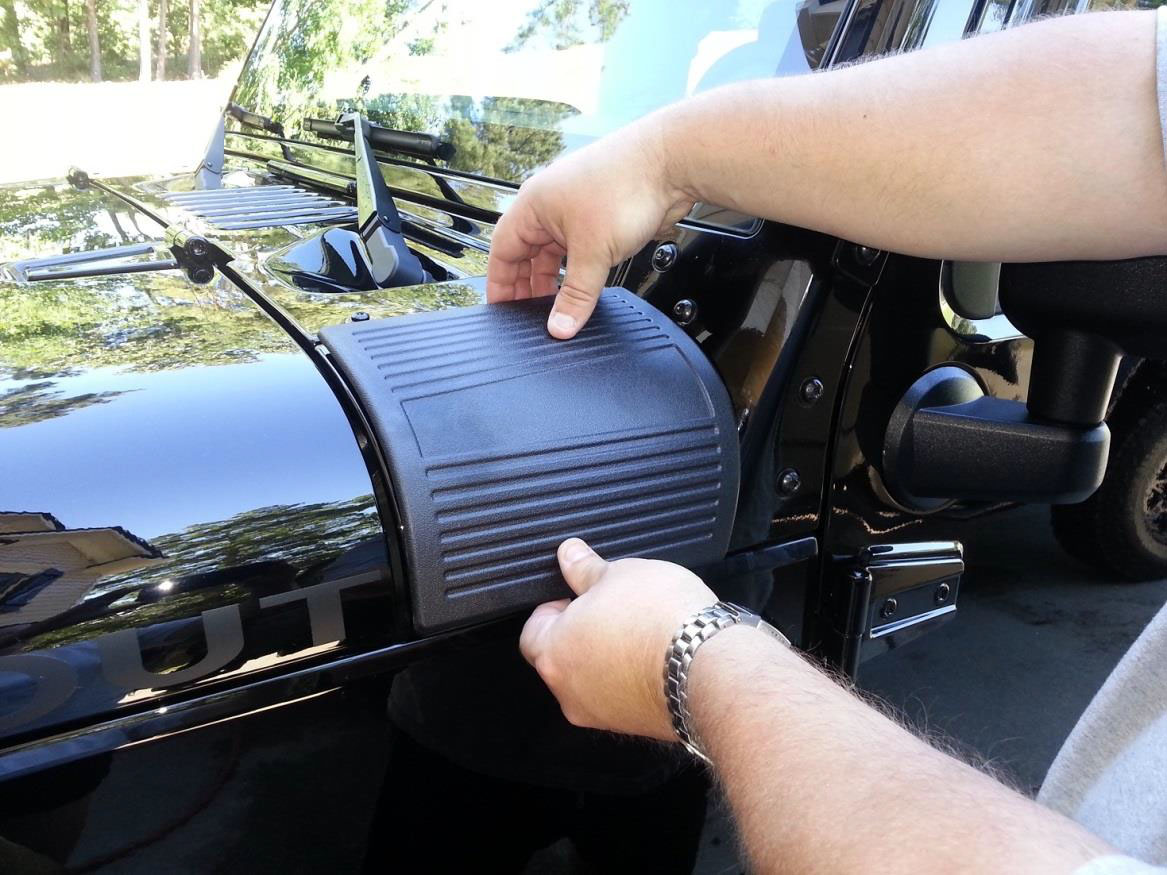
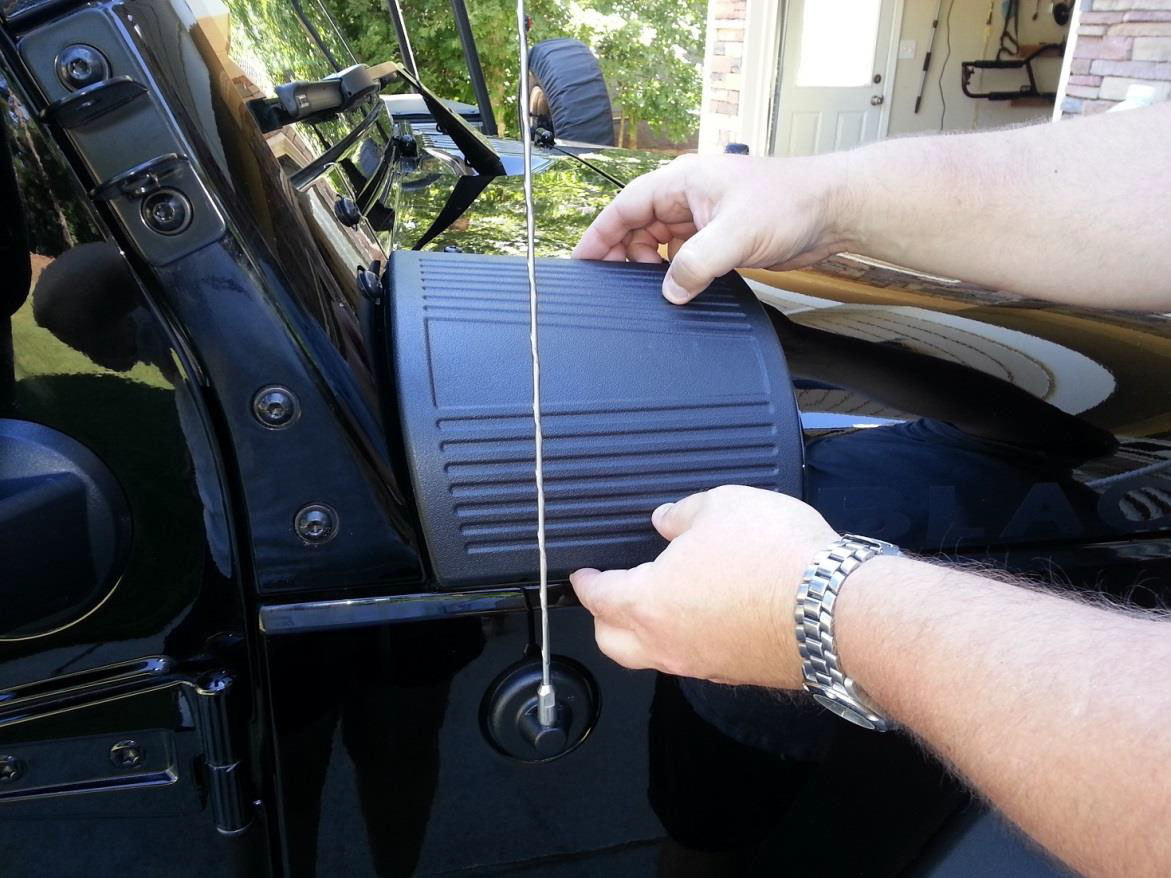
4. Start with the diver side. Align the Cowl Body Armor over the cowl. Use your finger tips to find the edges. Once the part is lined up, press firmly to attach the piece. Press evenly around all four sides to secure the parts. Follow the same process for the passenger side. (Pic 4A & Pic 4B)
Pic 4 (Driver Side)
Pic 5 (Passenger Side)
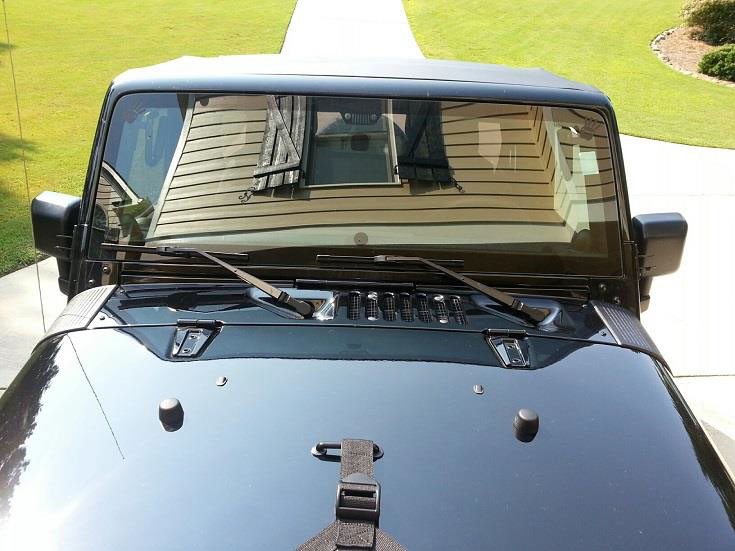
Finished
Installation Instructions Written by ExtremeTerrain Customer Clint Powers 06/29/2015


