

How to Install Rugged Ridge XHD D-Shackle Brackets on your 07-18 Jeep Wrangler JK; 2018 Jeep Wrangler JL
Installation Time
15 minutes
Tools Required
- Sockets: 18mm 19mm
- Socket Wrench
- Torque Wrench
- 5/16” Allen wrench or socket

Shop Parts in this Guide
Before Picture:
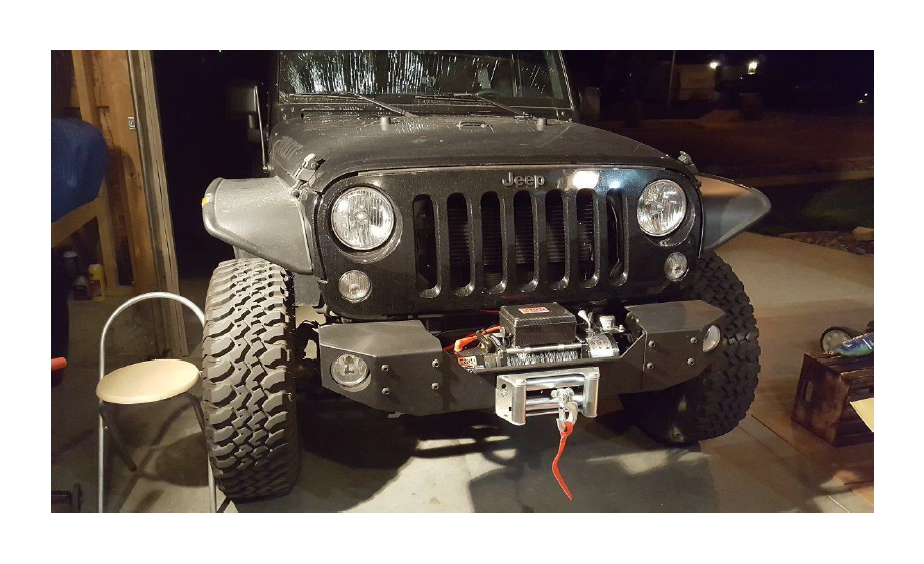
Installation Instructions:
1. Install one side at a time. First remove the 4 bolts holding the bumper to the frame horn using a 19mm socket and 5/16” Allen wrench.
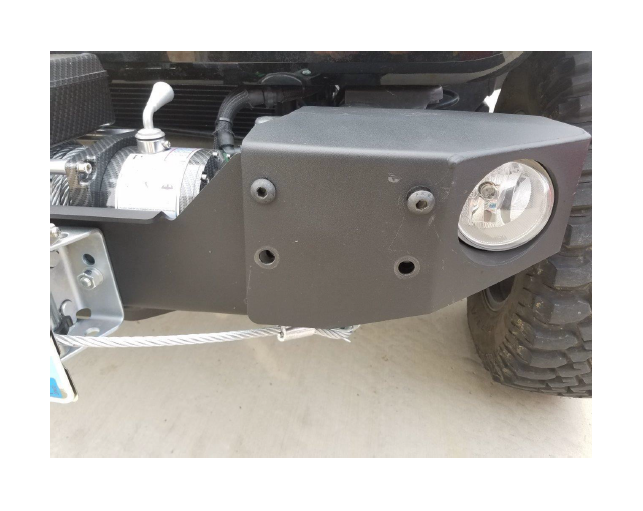
2. Place one of the supplied nut brackets behind the frame horn, and insert 2 supplied bolts through the bracket and bumper, and thread them into the nut bracket. Make sure to use the supplied lock washers and flat washers. Note: If you have a different bumper that does not have mount holes that line up with the frame horn holes, you will need to drill holes that line up with the frame horn holes. You can use the bracket as a guide.
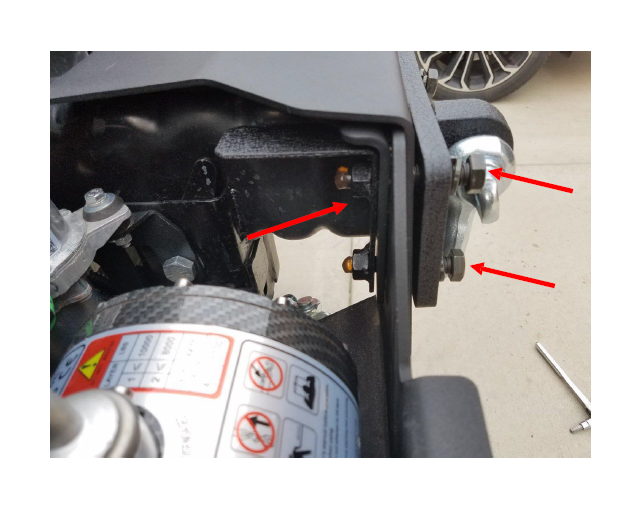
3. Place another nut bracket on the outside of the frame horn as shown below, and thread 2 more bolts with washers from the front of the bumper.
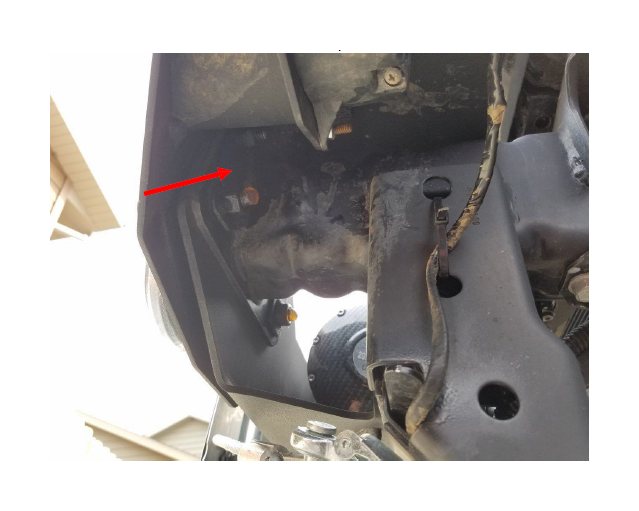
4. Using an 18mm socket and torque wrench, tighten all 4 bolts to 66.5 ft lbs. Be sure to snug each bolt and make sure the bracket is properly aligned before completely tightening them.
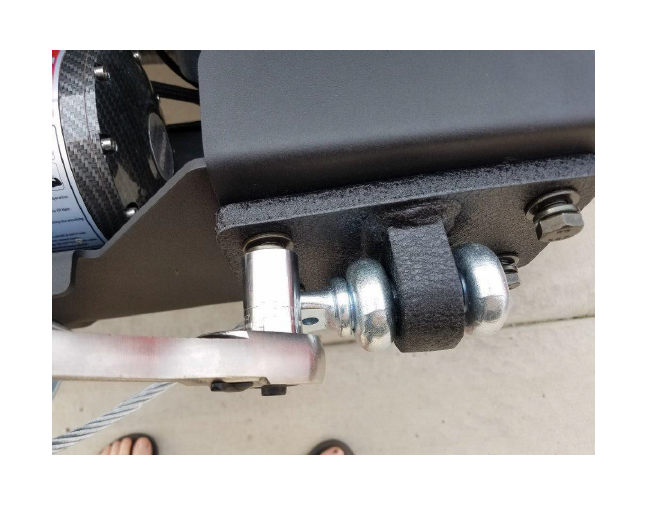
5. Next, complete steps 1-4 on the other side.
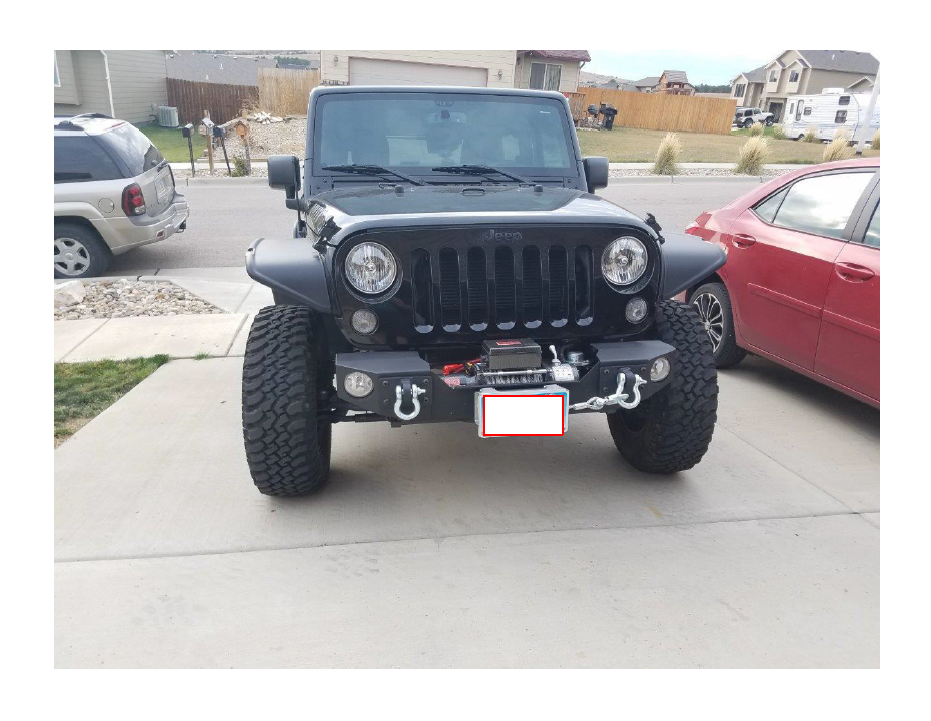
After Picture:
Note: Here it is shown with D-Rings installed, but they are not included with these brackets.
Note: I opted to use the bolts that came with my bumper instead of the ones supplied with these brackets.
Installation Instructions Written by ExtremeTerrain Customer John Parker 11/1/2016
