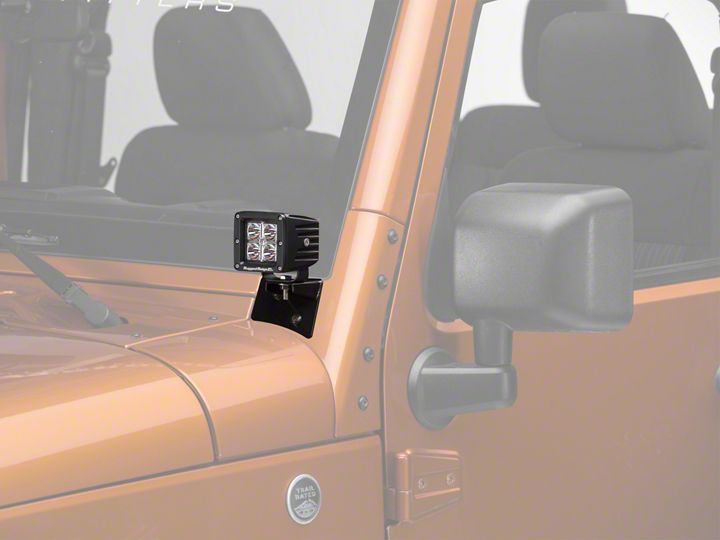

How to Install Rugged Ridge 3 in. Square LED Lights w/ Windshield Mounting Brackets (07-18 Jeep Wrangler JK) on your Jeep Wrangler
Installation Time
2 hours
Tools Required
- Socket Wrench
- T40 Torx Bit
- HW5 Hex Bit Socket
- 1⁄2” Socket

Shop Parts in this Guide
Installation Instructions:
1. Remove these two screws with a T40 Torx bit.

2. Take the windshield mounting bracket and place the included hex screw into the hole of the LED light bracket and the windshield mounting bracket. Place the washer and lock washer onto the screw, as seen in the picture.

3. Attach the included nut onto the screw and tighten with a 1⁄2” socket.

4. Insert the light into the bracket, along with the nuts.

5. Take the included screw and screw it into the hole on each side of the light with the HW5 hex socket bit.

6. This is what it will look like when the screw is fully seated.

7. Now take the T40 torx screws that were removed in step 1 and place them into the windshield mounting holes and hand tighten them into the windshield. NOTE: I completed this step with washers attached to the mounting bracket, but this does not need to be done because they are not included with the package.

8. Remove the two cowl torx screws with a T27 Torx bit.

9. Lift up on the cowl so that you can stick the wire under the cowl.

10. Wire the lights with a wire harness.
11. Repeat steps 1-10 for the opposite side LED light and mount.

12. You are done!

Installation Instructions Written by ExtremeTerrain Customer Thomas Sandoval 06/07/2017
