

How to Install a Rough Country Rear Coil Correction Plates on your 2007-2011 Wrangler JK
Shop Parts in this Guide
PRODUCT USE INFORMATION
Rough Country makes no claims regarding lifting devices and excludes any and all implied claims. We will not be responsible for any product that is altered.
If question exist we will be happy to answer any questions concerning the design, function, and correct use of our products by calling 1-800-222-7023.
NOTICE TO DEALER AND VEHICLE OWNER
Any vehicle equipped with any Rough Country product should have a “Warning to Driver” decal installed on the inside of the windshield or on the vehicle’s dash. The decal should act as a constant reminder for whoever is operating the vehicle of its unique handling characteristics. INSTALLING DEALER - it is your responsibility to install the warning decal and forward these installation instructions on to the vehicle owner for review. These instructions should be kept in the vehicle for its service.
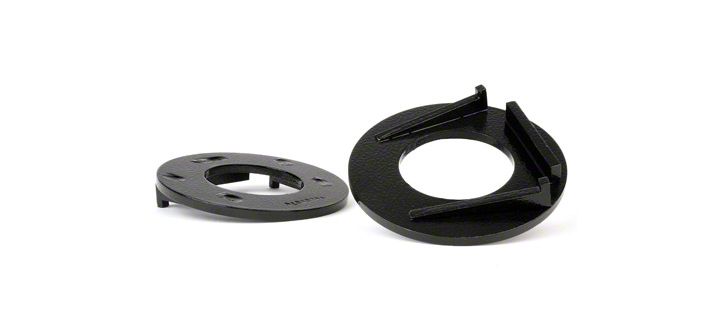
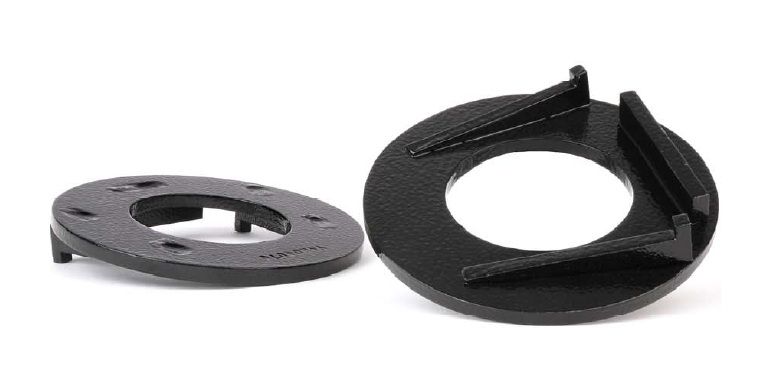
This kit is intended to be used with 3.5”-6” kits to correct the rear coil angle.
Kit Contents:
Coil Spacer (2)
INSTALLATION INSTRUCTIONS
1. Chock front wheels. Jack up the rear of the vehicle and support the vehicle with jack stands, so that the rear wheels
are off the ground. Position a jack so it supports, but does not raise the rear axle.
2. Remove the rear tires/wheels, using a 19mm deep well socket.
3. The next steps are performed to ensure sufficient travel to remove the coil springs
4. On the rear of the vehicle remove the factory sway bar link from the axle using a 18mm socket and wrench. Retain
hardware for reuse.
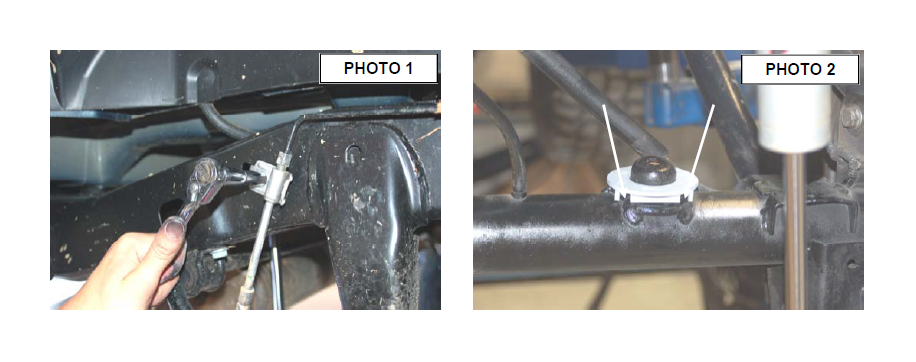
5. Using a 10mm wrench, unbolt the brake hose bracket at the frame. Retain hardware for later use. See Photo 1.
6. Remove the rear shocks from the lower mount using a 18mm wrench. Retain stock hardware.
7. Lower the axle enough to remove the stock coil springs.
8. Install the spacer on the stock coil seat as shown in Photo 2.
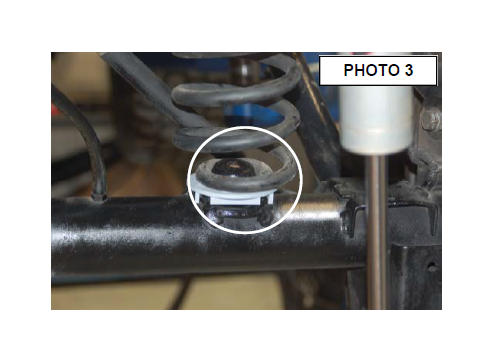
9. Install the coil spring as shown in Photo 3.
10. Reinstall the factory sway bar link using a 18mm socket and wrench on the axle.
11. Reinstall the brake hose bracket in the stock location using a 10mm wrench.
12. Reinstall the rear shocks on the axle mount using a 18mm wrench.
13. Reinstall the tires and wheels and lower to the ground.
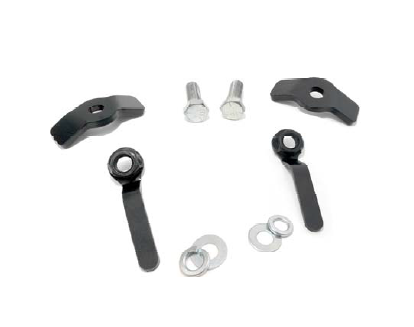
Also available for the rear of the JK Jeep is a Coil Retainer kit. Part # 1132.
POST INSTALLATION
Check all fasteners for proper torque. Re-torque all fasteners after 500 miles and recheck after 1000 miles.

