
How to Install Rough Country Power Steering Skid Brace on your 1997-2006 Wrangler

Shop Parts in this Guide
INSTRUCTION SHEET
Rough Country recommends certified technicians install our products. Please read instructions before beginning installation. Check the kit hardware against the parts layout and list found on this instruction sheet. Be sure you have all needed parts and know where they go.
“SKIDBRACE” INSTALLATION INSTRUCTIONS
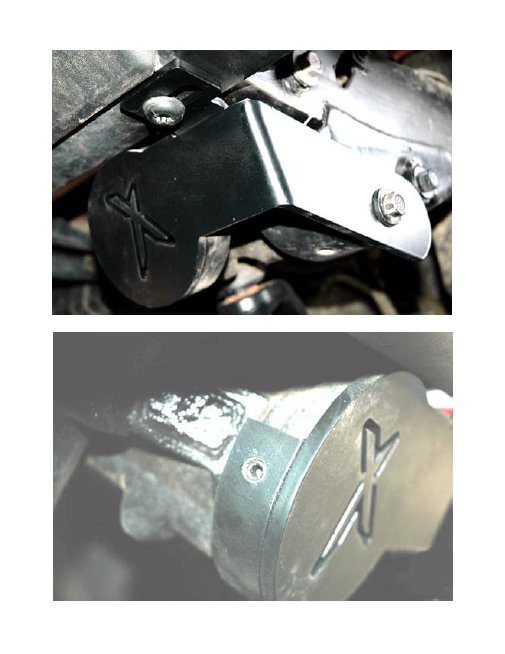
1. Remove lower hex head bolt from frame to steering box. Remove driver side bolt on bottom of front bumper (on aftermarket bumpers drilling and tapping a hole may be required). Retain these two bolts for reuse.
2. Place “skidbrace” into location. Using supplied locktite install bolt into steering box. Re-install bolt on front bumper.
3. Using locktite install longer set screw on driver’s side of skid plate. Again using locktite, install shorter setscrew on passenger side of skid brace. Tighten setscrews until “skidbrace” is held firmly in position, do not over tighten.
Kit Contents
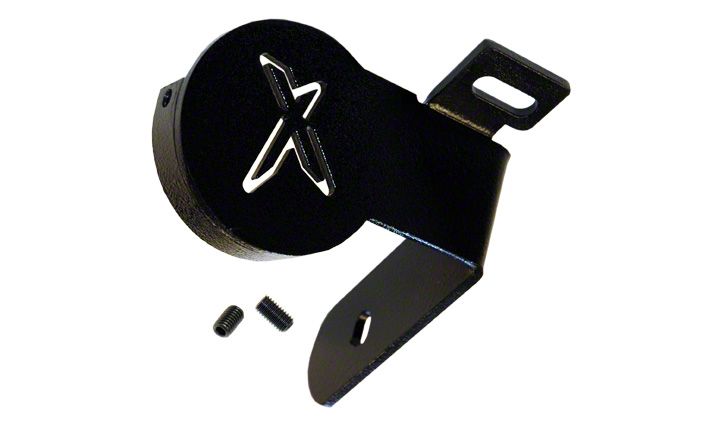
• “Skidbrace”
• Setscrew long (1)
• Setsrew short (1)
• Locktite (1)

MAINTENANCE INFORMATION
It is the ultimate buyers responsibility to have all bolts/nuts checked for tightness after the first 100 miles and then every 1000 miles.

