
How to Install Rough Country Boomerang Lift Shackles on your 1987-1995 Wrangler

Shop Parts in this Guide
PRODUCT USE INFORMATION
As a general rule, the taller a vehicle is the easier it will roll. We strongly recommend, because of rollover possibility, that seat belts and shoulder harnesses should be worn at all times. Avoid situations where a side rollover may occur. Braking performance and capabilities are decreased when significantly larger/heaver tires and wheels are used. Take this into consideration while driving. Also, speedometer recalibration is necessary when larger tires are installed.
Do not add, alter, or fabricate any factory or after-market parts which increase vehicle height over the intended height of the Rough Country product purchased. Mixing component brands, lifts, and/or combining body lift with suspension lifts voids all warranties. Rough Country makes no claims regarding lifting devices and excludes any and all implied claims. We will not be responsible for any product that is altered.
NOTICE TO DEALER AND VECHICLE OWNER
Any vehicle equipped with any Rough country product must have the “Warning to Driver” decal installed on the sun visor or dash. The decal is to act as a constant reminder for whoever is operating the vehicle of its unique handling characteristics. INSTALLING DEALER—It is your responsibility to install the warning decal and to forward these installation instructions on too the vehicle owner for review and to be kept in the vehicle for its service life.
PARTS LIST
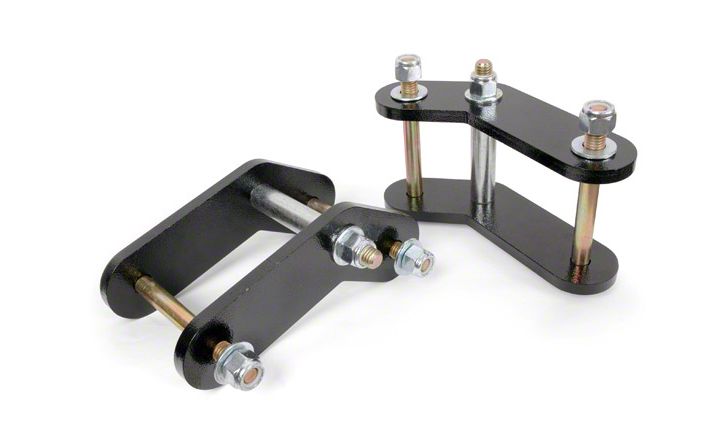
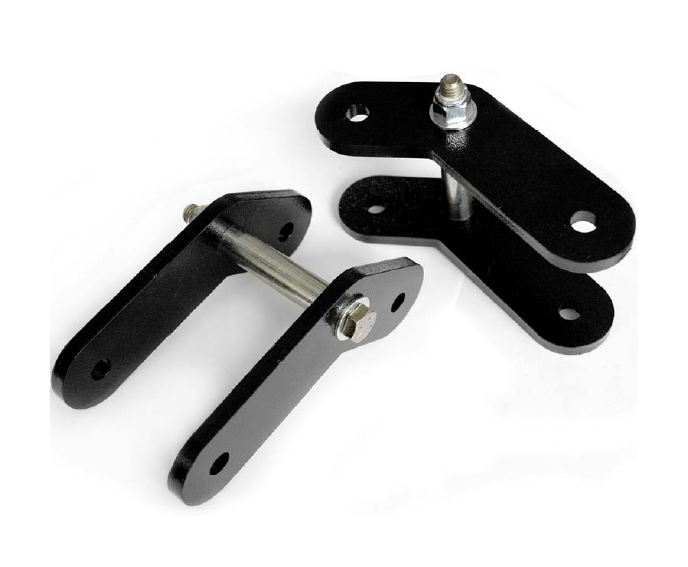
2-Assembled Shackles
1-Poly bag:
4-bolts
4-nuts
8-washers
INSTALLATION INSTRUCTIONS
1. Park vehicle on a clean, level surface and block the wheels for safety.
2. Raise the front (or rear if installing rear kit) of the vehicle.
3. Place jack stands under the frame rails and lower the axle onto the jack stands to remove pressure from shackle assemblies.
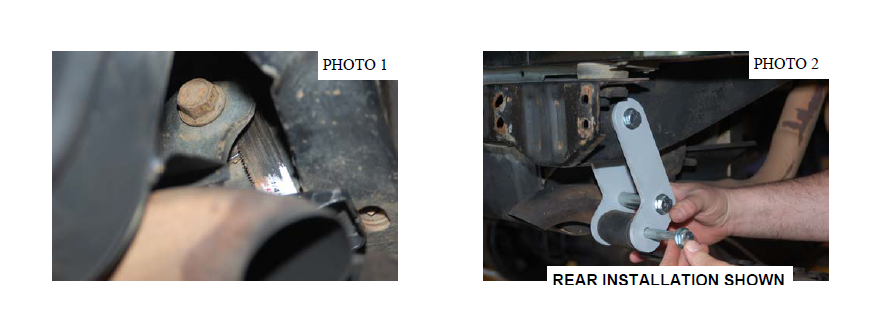
4. Remove the stock bolts that secure the stock shackle to the frame and retain stock hardware. Due to the limited clearance with the gas tank, it may be necessary to cut the stock bolt from the upper shackle mount. See Photo1.
5. Remove the stock shackles.
6. Using the floor jack lower the axle to allow for the installation of the new lifted Rough Country boomerang shackles.

7. Install the new Rough Country shackles using the supplied hardware as shown. If shackle or spring bushings need to be replaced do so at this time. Leave hardware loose. See Photo 2.
8. Jack up the vehicle and remove the jack stands. Lower the vehicle to the ground.
9. Bounce the vehicle to settle suspension. Tighten the uppers and lower bolts to 30-35 ft-lbs.
POST INSTALLATION
1. Check all fasteners for proper torque. Check to ensure there is adequate clearance between all rotating, mobile, fixed and heated members. Check steering for interference and proper working order. Test brake system.
2. Perform steering sweep. The distance between the tire sidewall and the brake hose must be checked closely. Cycle the steering from full turn to full turn to check for clearance. Failure to perform inspections may result in component failure.
3. Re torque all fasteners after 500 miles. Visually inspect components and re torque fasteners during routine vehicle service.
4. Readjust headlights to proper settings.
Note: Additional shackle length will change caster and driveline angles. Axle shims may be required to correct these angles and any driveline vibrations experienced after installation.
It is the ultimate buyers responsibility to have all bolts/nuts checked for tightness after the first 500 miles and then every 1000 miles. Wheel alignment, steering system, suspension, and driveline systems must be inspected by a qualified professional mechanic at least every 3000 miles

3/8” Heavy Duty Shackles Plates assembled with Grade 8 Hardware Included.

