

How To Install a Rough Country 2” Front/1-1/4” Rear Spacer Kit W/ Shocks on your 1997-2006 Jeep TJ
Installation Time
10 hours
Tools Required
- 13 mm socket and wrench
- 15 mm socket and wrench
- 17 mm socket
- 18 mm socket and wrench
- 19 mm socket and wrench
- T55 Torx Head Bit
- 9/16” Socket and wrench
- Floor Jack
- two jack stands
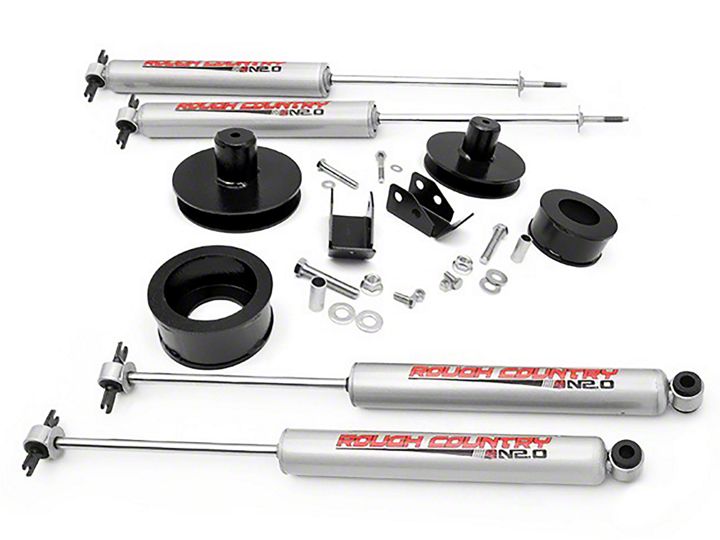
Shop Parts in this Guide
Notes:
My installation on a stock 97 TJ met several complications which lengthened install time. Some of these were rusted/broken bolts, stripped shocks and stripped T55 head bolt. To solve these issues I also used a cordless sawzall, 1/4” drill bit and cordless drill. I also purchased grade 8 SAE bolts and nuts at Ace hardware to replace broken bolts, etc.
Torque Specs:
| 5/16” grade 8 20 ft/lbs | grade 5 15 ft lbs |
| 3/8” grade 8 35 ft/lbs | grade 5 30 ft/lbs |
| 7/16” grade 8 60 ft/lbs | grade 5 45 ft/lbs |
| 10mm class 10.9 45 ft/lbs | class 8.8 32 ft/lbs |
| 12 mm class 10.9 75 ft/lbs | class 8.8 55 ft/lbs |
Installation Instructions:
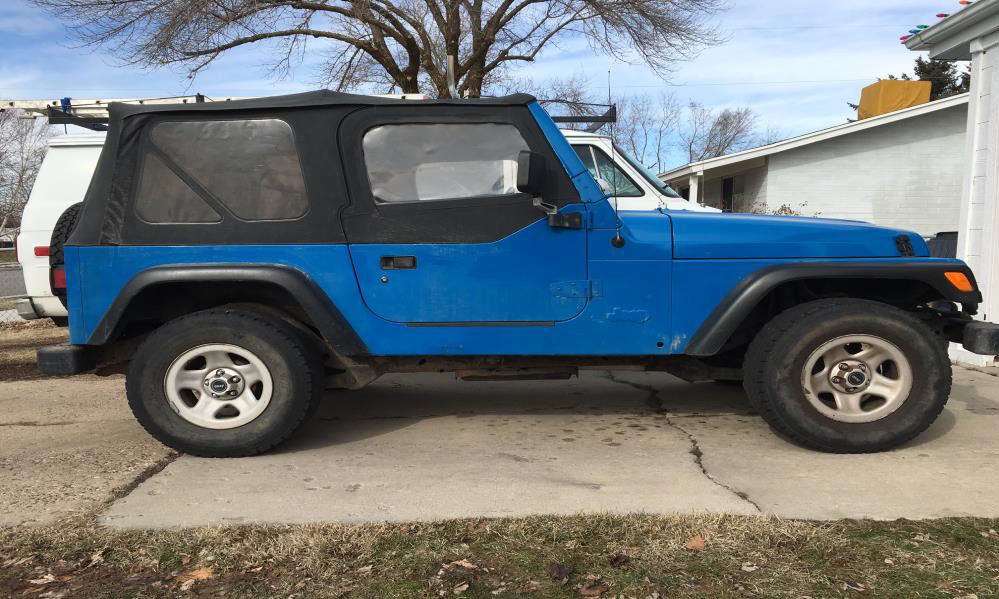
1. Park vehicle on flat surface. Set parking brake. Chock rear wheels. Loosen lug nuts on tires. Raise front of vehicle. (On front shocks and spacers, install one wheel at a time). Place jack stand under frame. Remove front wheel.
My Jeep Before The Lift
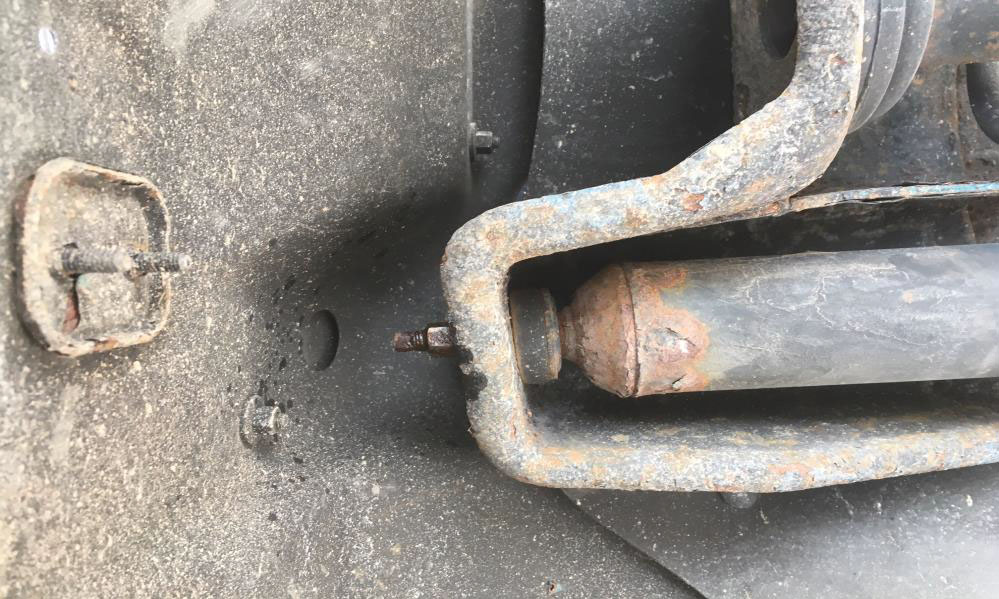
2. From either inside the engine compartment using long 15mm or 9/16” socket (depending on nut size), or inside the wheel well using a 15mm or 9/16” wrench, remove the upper stud nut from the front shock. (I had a complication here with my shocks being too worn. I used a sawzall with metal blade to cut the stud and nut)
Upper Stud and Nut on Original Shock
3. Remove lower shock bolts using 13mm socket and wrench. Save this hardware for later use.
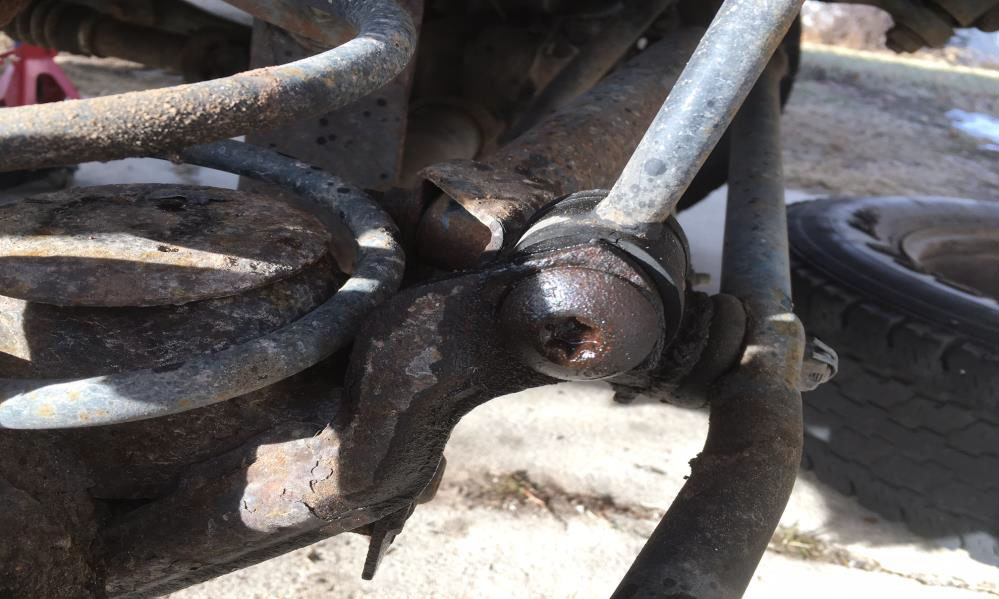
4. Place a floor jack under axle to support axle. Remove the lower sway bar links from the axle. (this allows axle to be lowered) Use a 18mm wrench or socket and a T55 torx head. (I had one stripped had to drill out and replace bolt).
Lower sway bar link bolt
5. Use a 13mm socket to remove the coil spring clip, on the bottom of the coil. Lower the axle and remove the spring.
13 mm spring clip bolt
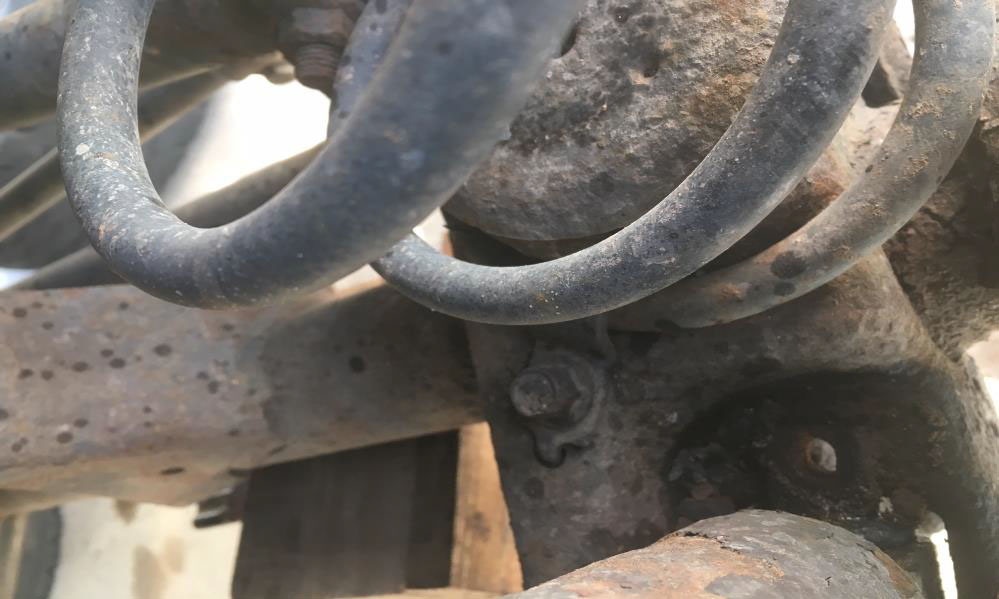
6. Use a hammer or large mouth pliers to remove the rubber bump stop. Use a 15mm socket to remove the bump stop cup. Lower the stock spring isolator (black rubber piece).
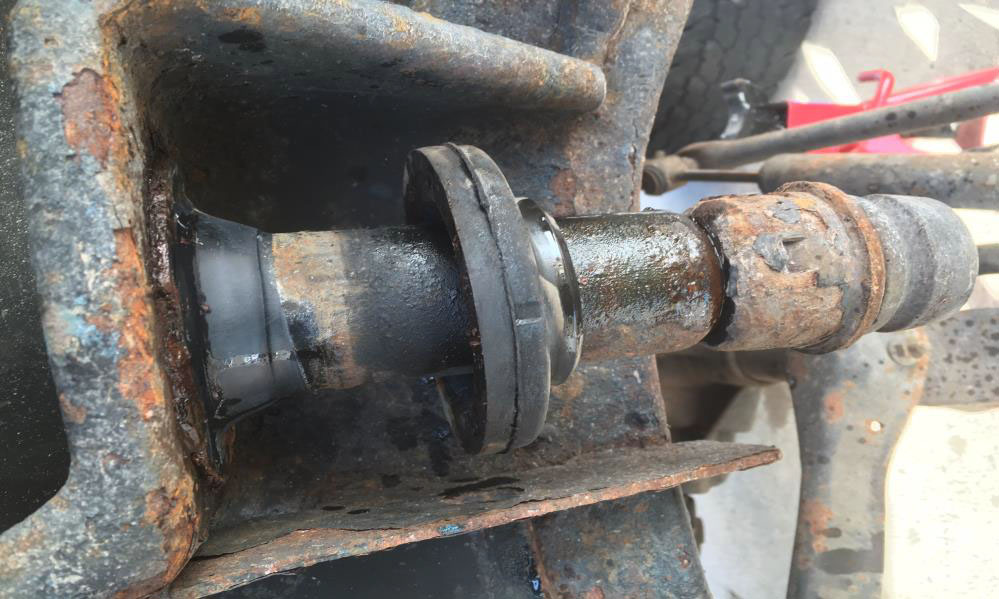
From left to right: stock coil spring isolator, bump stop cup, rubber bump stop
7. Install the new space with the stock spring isolator between it and the coil. Replace bump stop cup and rubber bump stop. ( I found using some dish soap helped with rubber stop going back in). Reinstall coil. Reinstall coil spring clip using 13 mm socket.
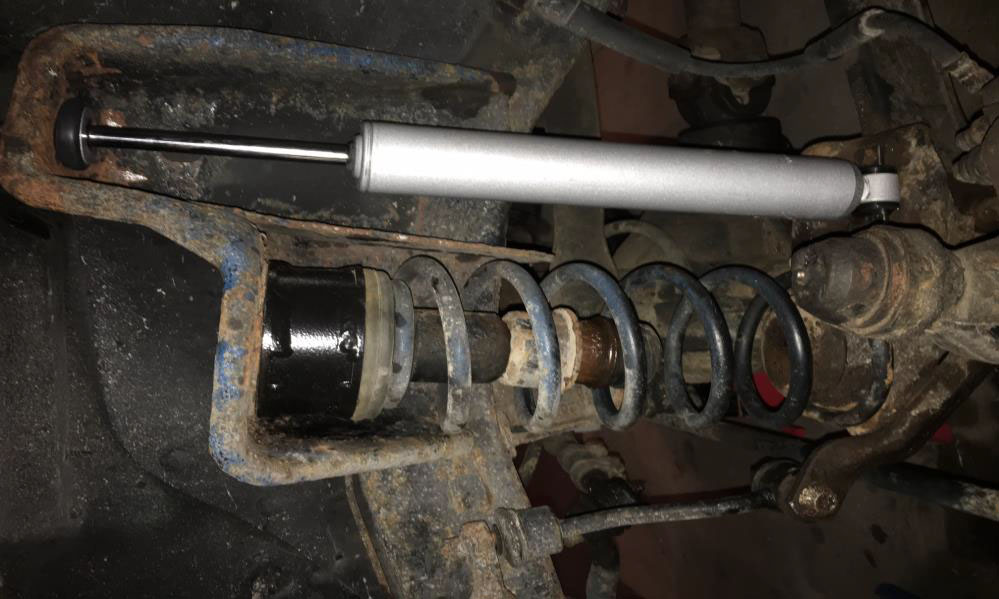
8. Install new shock using 13mm socket and wrench for bottom mounts and 9/16” wrench or socket for upper stud nut.
Finished installation with new spacer and new shock
9. Raise axle using floor jack to line up sway bar link. Reinstall bolt and tighten with 18mm socket or wrench and T55 torx head bit.
10. Torgque all bolts to factory specifications. Reinstall wheel. Remove jack stand and repeat on second front side.
11. For Rear Installation, both wheels are done at the same time. Chock front wheels. Loosen lug nuts on both wheels. Raise back of vehicle and place jack stands under the frame. Remove rear wheels. Place jack under differential to lightly support the axle.
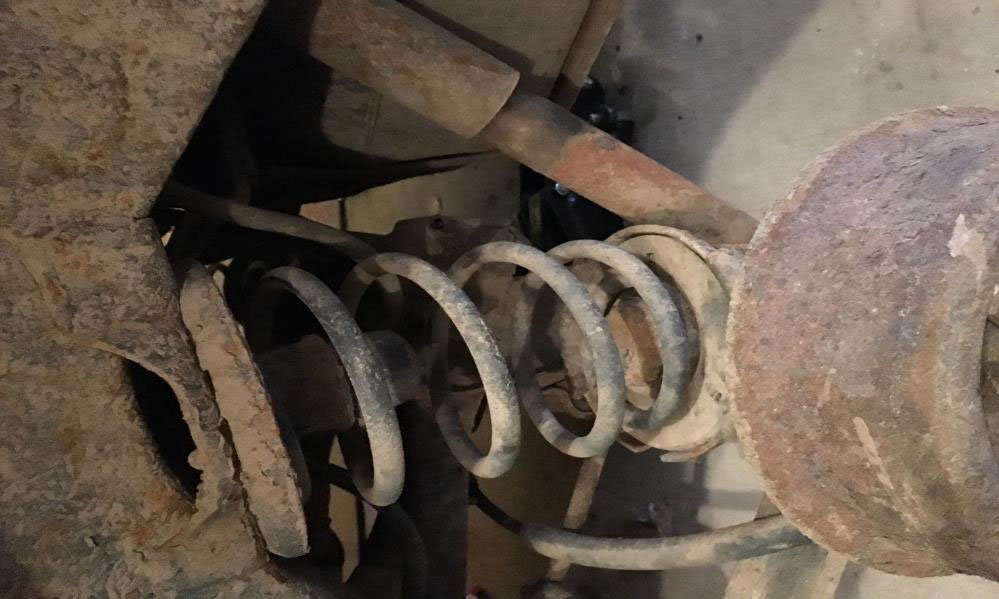
12. Remove shock absorbers first. Lower mount use a 18 mm and 15 mm socket or wrench. Save bolts for later use. Use a 13 mm socket to remove upper bolts. (I broke two of these off and had to drill out and replace)
Stock rear shock and no spacer
13. Remove the sway bar links using a 15 mm wrench or socket. Retain bolts.
Sway bar links
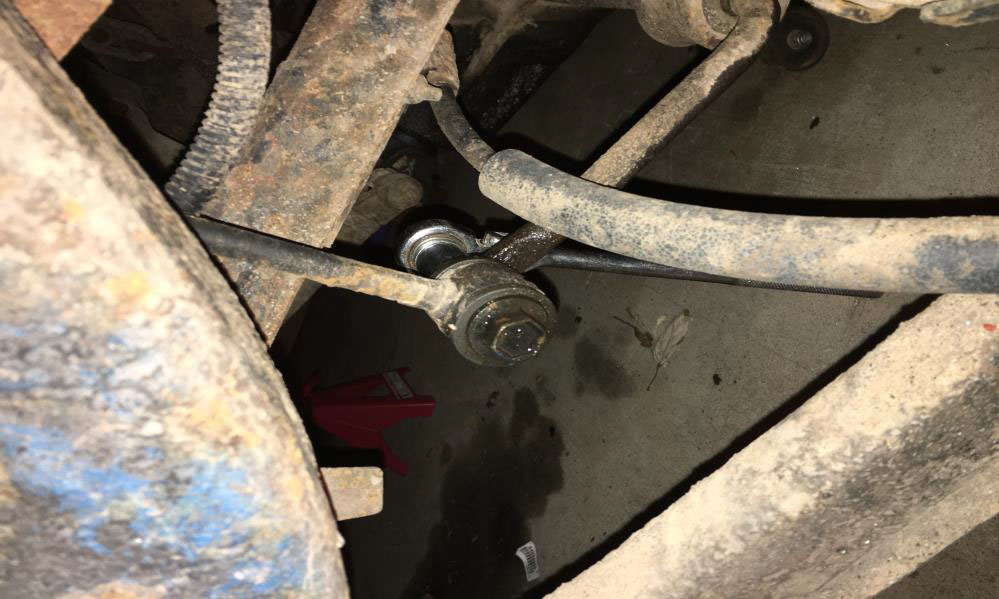
14. Carefully lower axle. Watch axle vent tube. Remove coil springs. (you may need to use a spring compressor to remove and replace springs. I was able to remove them no problem and replace using the clockwise rotation of the coil and a pry bar)
15. Use a hammer or pliers to remove rubber bump stop. Use a 15mm socket to remove bump stop cup. Throw 15mm bolt away. Using the supplied 17mm bolt, install the spacer, coil spring isolator and bump stop cup.
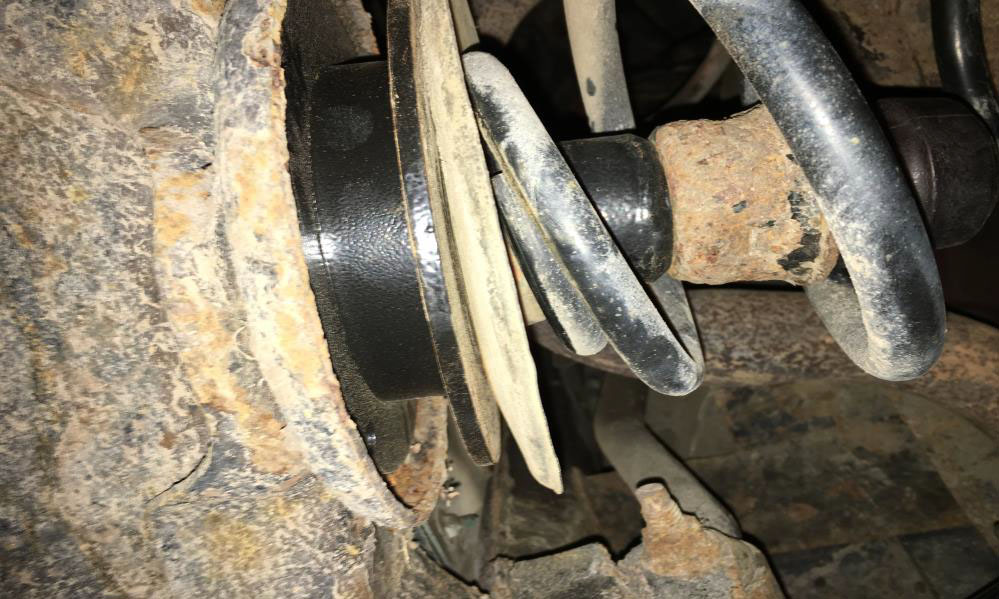
From left to right: new spacer, coil spring isolator, bump stop cup
16. Install the lower shock bracket using the 12mm and 65mm bolts, with crush sleeves and flange nuts. Tighten using a 19mm and 18mm socket and wrench. Install the 5/16” bolt and nut to back of bracket and tighten with 13 mm socket and wrench.
17. Install the rear shock absorber with factory hardware using a 15mm and 18mm wrench for lower and 13mm socket for upper.
Finished installation with new shock, shock bracket
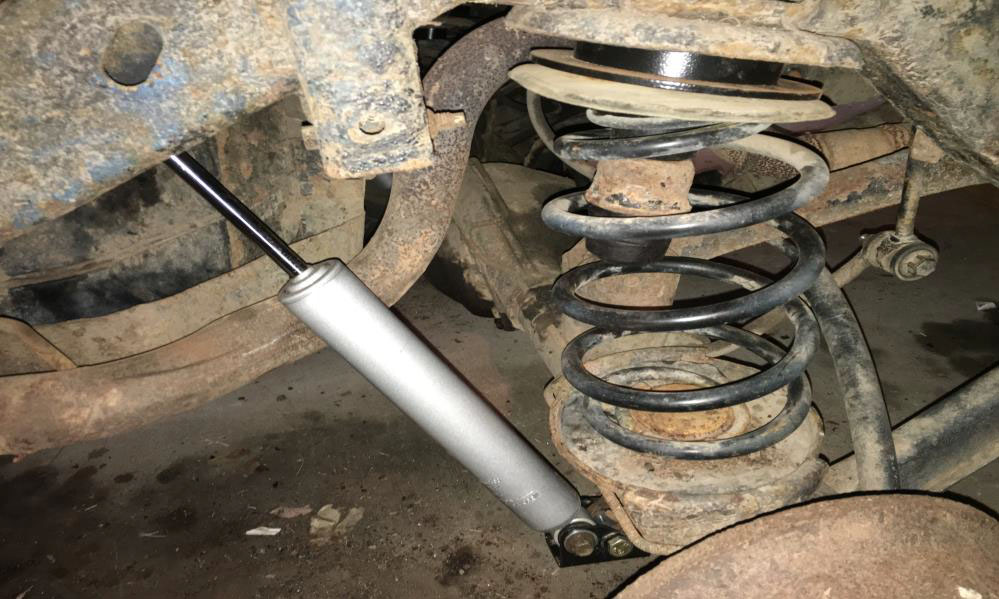
18. Adjust floor jack to align sway bar link. Use factory hardware and tighten with a 15mm wrench.
19. Torque all bolts to factory specifications.
20. Raise axle one side at a time to allow wheel to be mounted. Mount both wheels and remove floor jacks.
21. An Alignment is recommended at this time.

