

How to Install Rough Country 1.75 In. Coil Spring Spacer Set on your 1997-2006 Wrangler
Tools Required
- 5/8" Socket / Wrench
- 10mm Socket / Wrench
- 19mm Socket / Wrench
- 21mm Socket / Wrench
- 22mm Socket / Wrench
- Hydraulic Floor Jacks
- Heavy Duty Jack Stands
- Wheel Chocks (Wooden Blocks)
- Safety Glasses
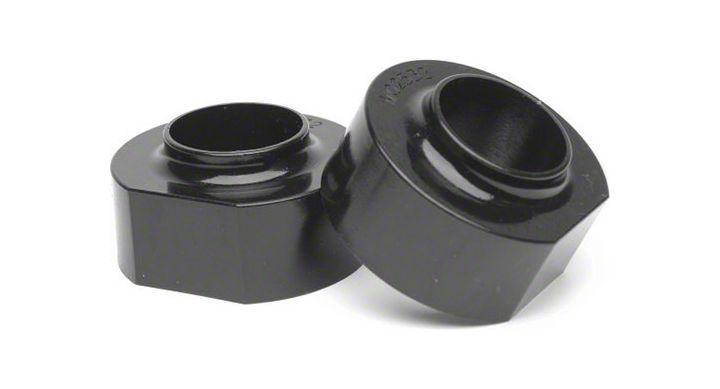
Shop Parts in this Guide
INSTALLATION INSTRUCTIONS
1. Chock the front wheels.
2. Jack up the vehicle.
3. Support the vehicle with jack stands.
4. Remove wheels/ tires.
5. Remove the 4 bolts from the filler neck guard with a 10mm socket. Retain hardware for reuse. See Photo 1 & 2.
6. Remove Fuel Filler guard and set aside.
7. Place jack under axle for support.
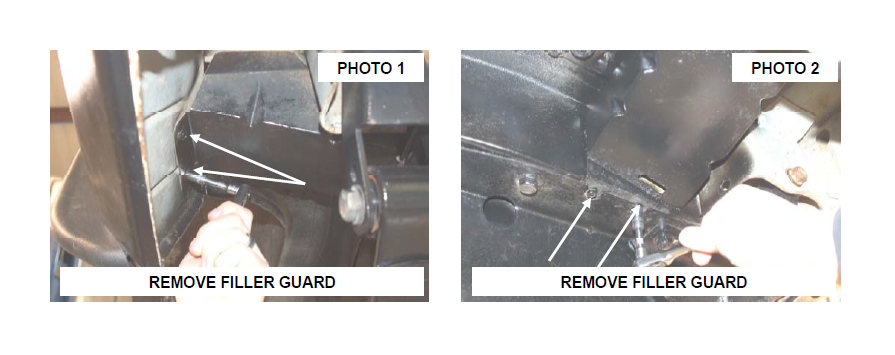
8. Remove the lower shackle bolt with a 21mm wrench & remove the upper shackle bolt with a 21 mm wrench. See Photo 3.
9. Lower axle and remove the shackle.
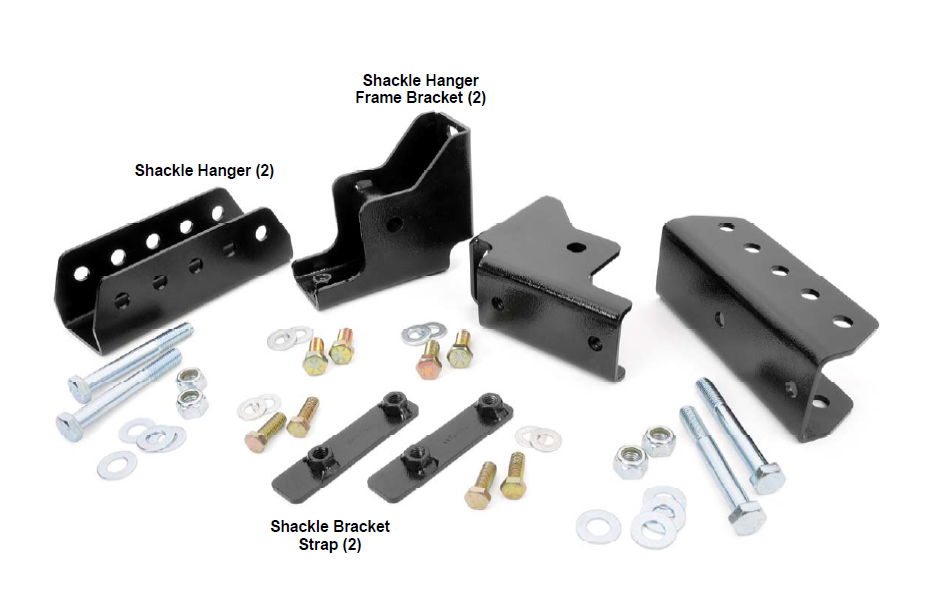
10. Install the new hanger bracket with the O.E. upper shackle bolt. See Photo 4. Do not tighten at this time.
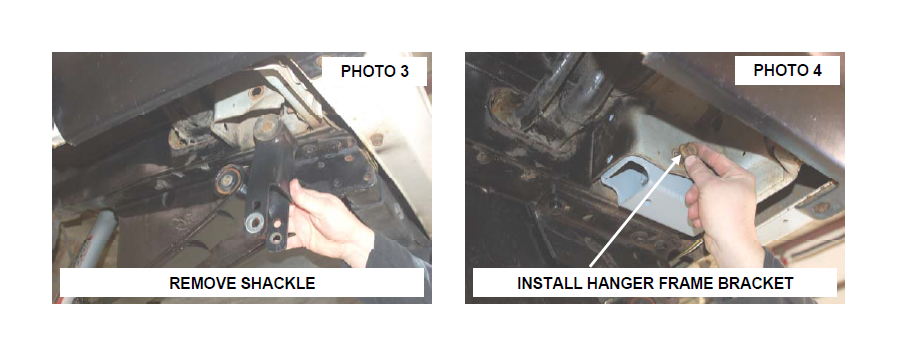
11. Install the flag nut plate with the longer tab to bottom as shown with supplied 7/16” x 1 1/4” bolt and flat washer. See Photo 5. Tighten using 5/8” wrench.
12. Torque all bolts at this time.
13. Reinstall Fuel Filler Guard with OE Hardware. DO NOT OVER-TORQUE.
14. Install the new hanger with the supplied 1/2” X 1 1/4” bolt and flat washers. See Photo 6.
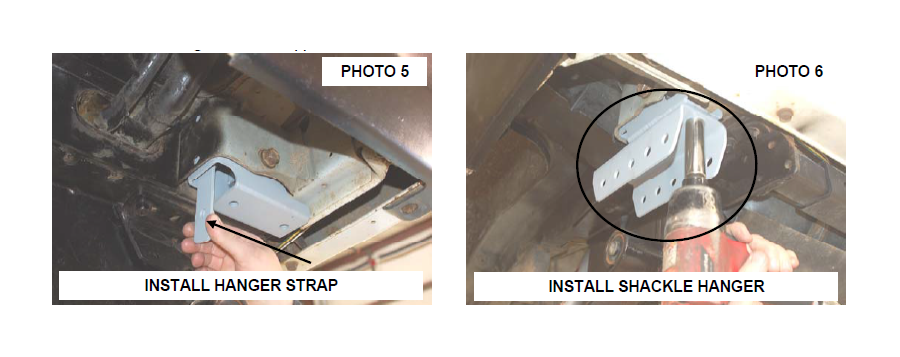
15. Tighten 1/2 inch hardware with 19mm or 3/4” socket / wrench.
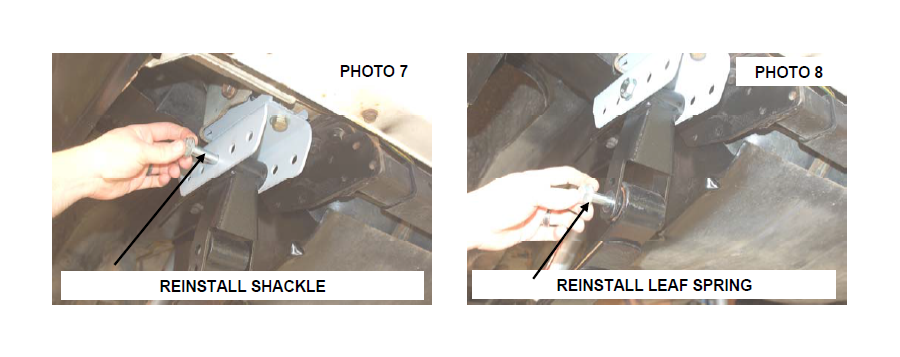
16. Install the shackle with the supplied 14mm x 110mm bolt, washer and lock nut. See Photo 7. Do not tighten at this time.
17. Install spring into shackle using supplied 14mm x 110mm Bolt, washers and lock nut. See Photo 8. Do not tighten at this time.
18. Reinstall wheels / tires
19. Remove jack stands
20. Place vehicle on ground.
21. Torque shackle and spring bolts to factory specifications using a 22mm socket / wrench.
POST INSTALLATION INSTRUCTIONS
1. Check all fasteners for proper torque.
2. Have headlight readjusted to proper settings.
3. Take the vehicle to be aligned to factory specifications by a certified alignment shop.
4. Re torque all fasteners after 500 miles. Visually inspect components and re torque fasteners during routine vehicle service.
MAINTENANCE INFORMATION
It is the ultimate buyers responsibility to have all bolts/nuts checked for tightness after the first 100 miles and then every 100 miles. A qualified mechanic must inspect wheel alignment steering system, suspension and driveline systems at least every 3000 miles.

