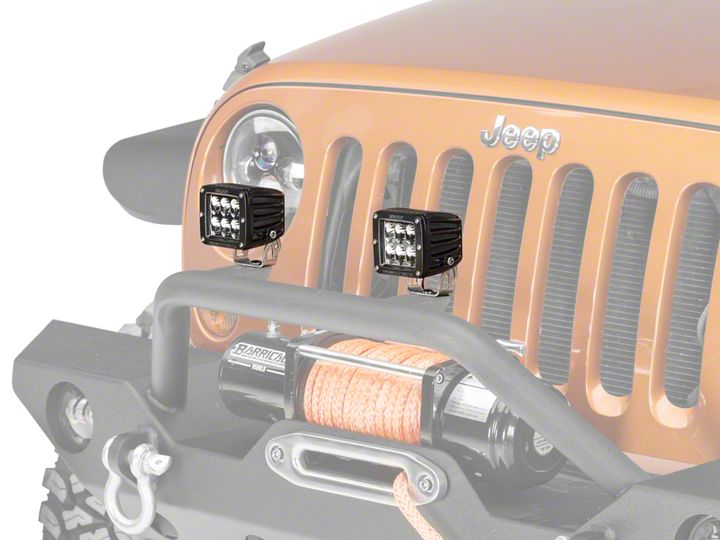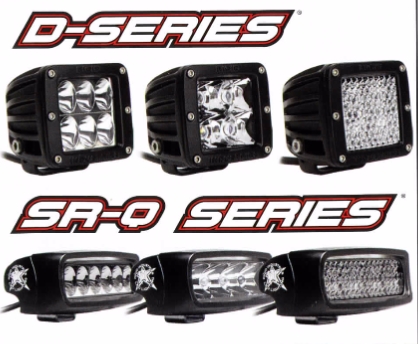

How to Install Rigid Industries D2 Series LED Driving Lights on your 87-18 Jeep Wrangler YJ, TJ, JK & JL

Shop Parts in this Guide
Congratulations on your purchase of Rigid Lights!
Rigid Industries' patented optics allow our lights to throw more light, more accurately than any other competitor. Combine that with Rigid's cutting edge electronics and extrusion design and the choice is clear! Don't forget about our limited lifetime warranty!
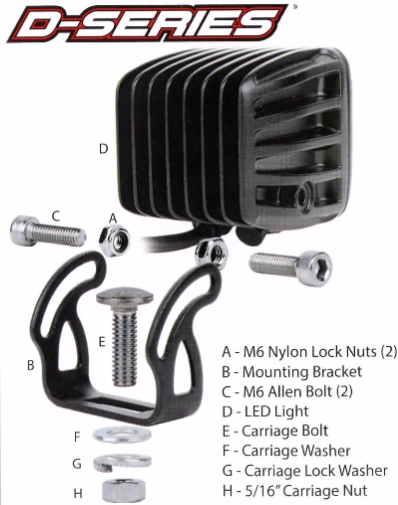
1. Assemble your LED light kit by attaching the mount [B] to the housing [D] using the provided bolt(s) [C] and nylon lock nut(s) [A]. Tighten until snug. Use the remaining bolt, washers, and nut [E, F, G, H] to mount the completed light assembly.A 5/16" hole is required.
2. Disconnect the negative battery cable from the battery.
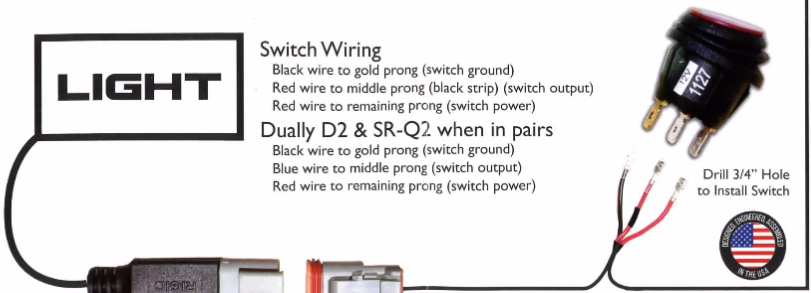
3. Attach the eyelet at the end of the red wire to the positive terminal of your battery or to any I 2V DC source. Secure the black wire to the negative battery terminal or any suitable ground. Route the wire harness to the switch location and to the light(s).
4. Use the appropriate fuse for the type and quantity of lights used:
Dually, SR-Q — 5A (single), 10A (pair)
D2, SR-Q2 — 10A (single), 15A (pair)
5. If your electrical system is 24V DC, be sure to install a 24V relay between the fuse and the battery.
6. Once all electrical connections are secure, reconnect the positive battery cable and test your new lights for proper function.
7. Adjust the projection angle and finish tightening the pivot bolt(s).


