

How to Install FOX 2.0 Performance Series IFP Steering Stabilizer (97-06 Wrangler TJ) on your Jeep Wrangler
Installation Time
1 hours
Tools Required
- 15mm Open End Wrench
- 18mm Socket
- 3/4" Open End Wrench
- 3/4" Socket
- 16mm Socket
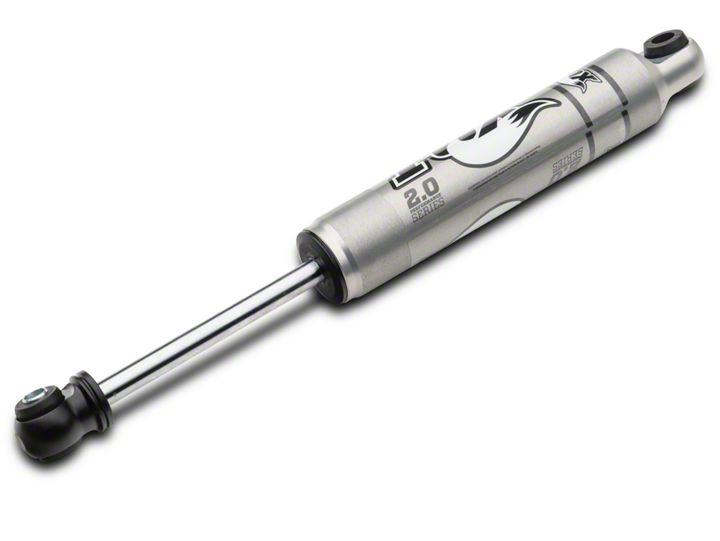
Shop Parts in this Guide
Installation Instructions
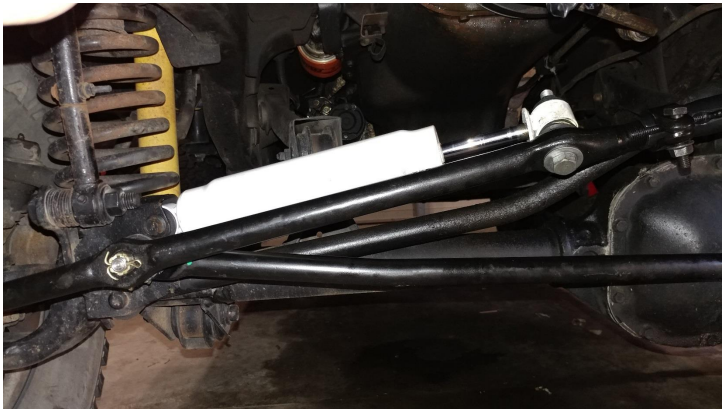
1. Before:
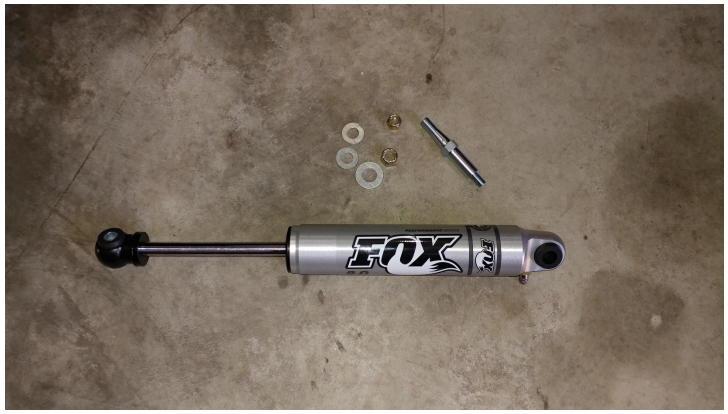
2. What comes with the FOX 2.0 Performance Series IFP Steering Stabilizer:
3. Remove the hardware from the draglink side of the existing steering stabilizer. The factory stud is pressed, like the one provide with the Fox stabilizer. This can be very hard to remove.
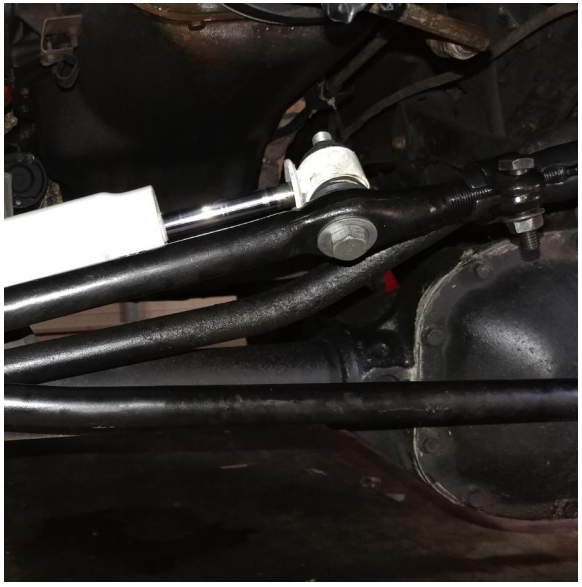
4. Remove the frame mount side of the factory steering stabilizer. Using a 15mm open end wrench and 18mm socket.

5. To access the bolt you may have to turn the wheel. To make the drag link and tie rod move.
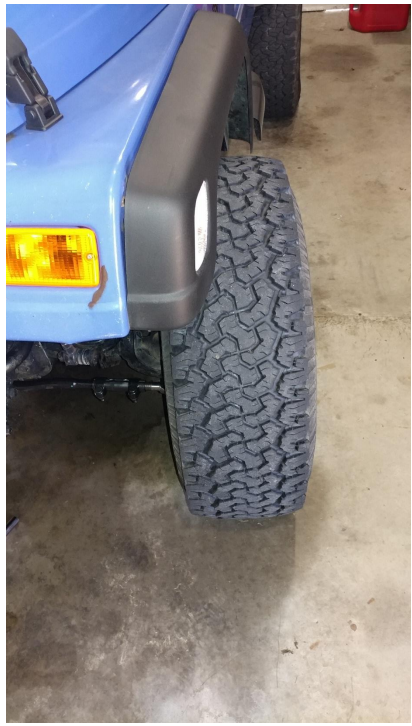
6. Everything removed.
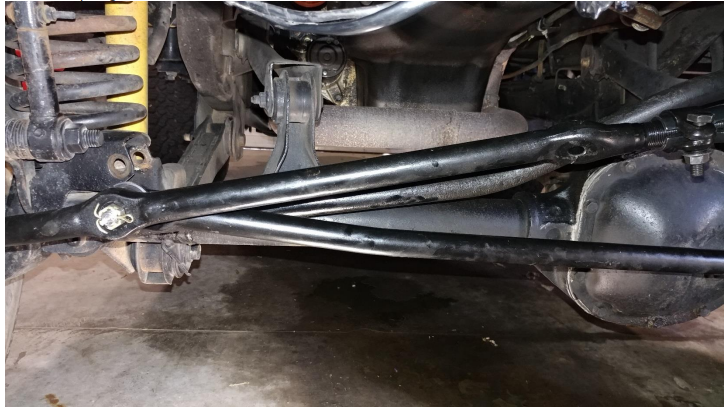
7. Using a 3/4" open end wrench and 3/4" socket press the tapered end of the new stud into the drag link location.
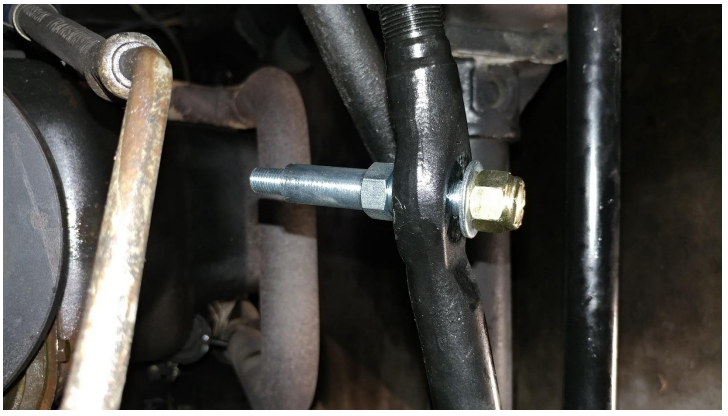
8. The new FOX 2.0 Performance Series IFP Steering Stabilizer will be hard to compress. To make installation easier I maxed out the steering to the driver side. This makes the distance between the drag link mount and frame mount almost equal to the steering stabilizer length.
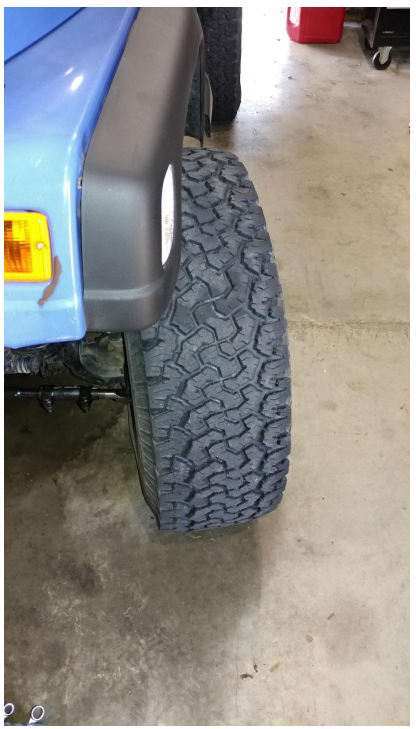
9. Slide the new FOX 2.0 Performance Series IFP Steering Stabilizer onto the drag link stud and tighten the 16mm nut.
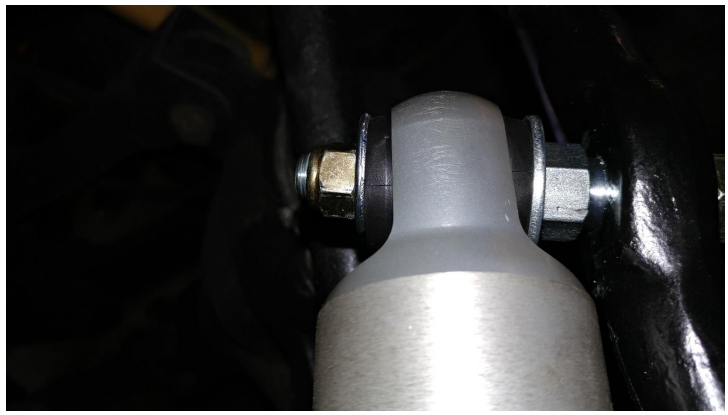
10. Reinstall the factory bolt and nut on the frame side. Using a 15mm open end wrench and 18mm socket.
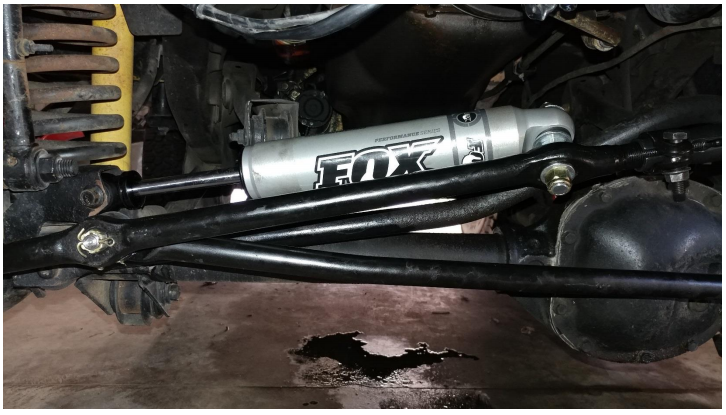
11. Installation complete.
Installation Instructions Written by ExtremeTerrain Customer T. Boyer 12/4/2017

