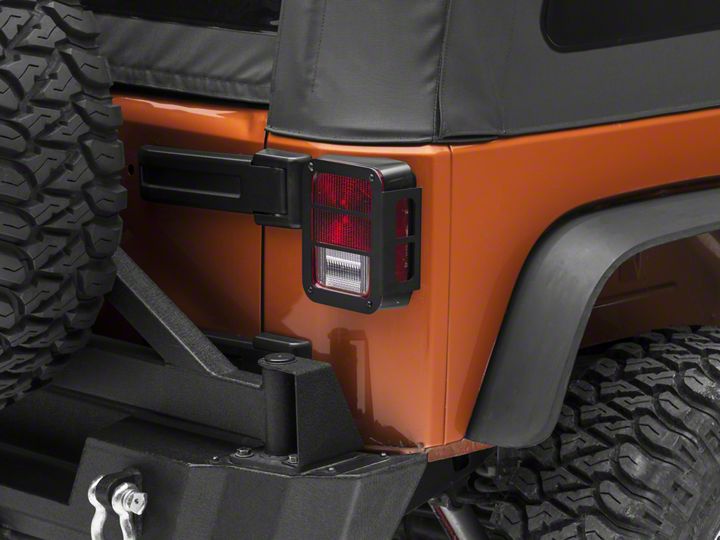

How to Install RedRock 4x4 Tail Light Guards - Black (07-18 Jeep Wrangler JK) on your Jeep Wrangler
Installation Time
60 minutes
Tools Required
- Box Cutter/Knife
- Philips Head Screwdriver

Shop Parts in this Guide
Installation Instructions:
1. Using a Philips head screwdriver, unscrew two screws from the rear tail light (Figure A).

Figure A
2. Holding the tail light in place with one hand, unscrew the other two screws from the rear tail light (Figure B).

Figure B
3. Remove all screws from the tail light (Figure C).

Figure C
4. Keeping the tail light securely in place, align the tail light guard over the tail light so the holes line up (Figure D).

Figure D
5. Thread each of the two screws removed in Step 1 into place to hold the tail light and tail light guard in place (Figure E).

Figure E
6. With the tail light and tail light guard secured, thread the two screws removed in Step 2 into place (Figure F).

Figure F
7. Using a Philips head screwdriver, tighten all four screws until the tail light and tail light guard are securely mounted against the vehicle body (Figure G).

Figure G
8. Repeat Steps 1-7 on the other tail light.

Before

After
Installation Instructions Written by ExtremeTerrain Customer J. Sandlin 07/05/2018

