

How To Install a Redrock 4X4 Snorkel on your 2000-2006 4.0L Jeep Wrangler TJ
Installation Time
3 hours
Tools Required
- Marker
- Silicone
- Allen Set
- Socket Set
- 3" hole saw
- power drill
- rotary cutter
- painters tape
- rivet gun
- 3/16” Drill Bit

Shop Parts in this Guide
Contents:
(1) - Snorkel
(11) - Rivets
(1) - Front Bracket
(1) - Side Bracket
(3) - Hose Clamp
(2) - Allen Studs and Nuts
(3) - Washers
(3) - Screws
(1) - Snorkel Intake
(1) - Snorkel Bracket and hardware
1
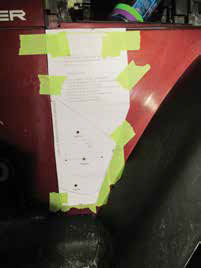
-Place the Supplied template along the back edge of the fender.
-Line the top edge of the template with the top of the fender (I used the bottom radius of the top fender edge).
-Mark holes with marker and drill. The 3” hole saw WILL REQUIRE more additional trimming to allow for proper fit.
2
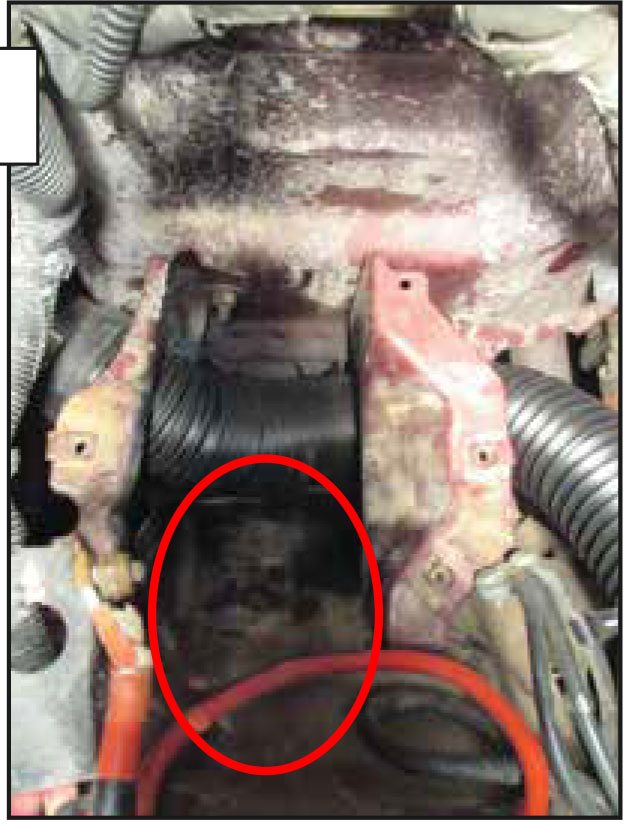
-Remove the battery and battery tray to gain access to back side of the snorkel.
-Remove the vacuum canister to be relocated later (located where the red circle is above).
3
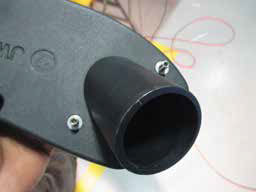
-Install snorkel through fender and thread in the studs. Install the large washers and the lock nuts.
-Slide the accordion tube and hose clamp over the inlet and tighten.
4
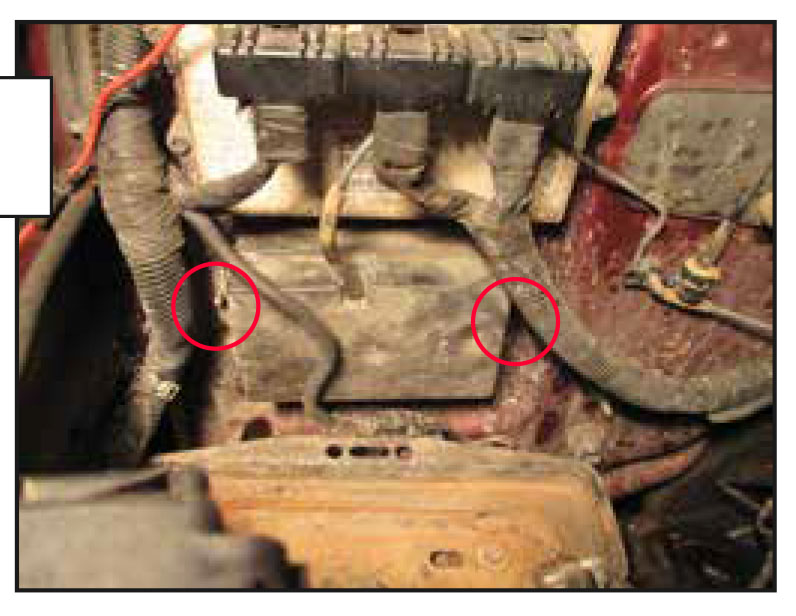
Relocate the vacuum canister to the rewall below the ECU, using the exposed stud and the provided nut.
Secure the other side of the canister with the provided Screw.
5
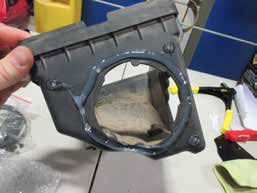
-Remove the Air box, and line up the air block off plate.
-Mark and drill the rivet holes.
-Be sure the surface is clean and free of dirt before applying silicone sealant.
-Rivet block off plate in place.
6
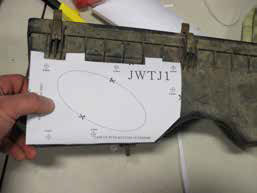
-Using the template for your application, mark and drill holes for the new intake plate.
-Clean the surface and use enough silicone to seal the plate to the air box.
7
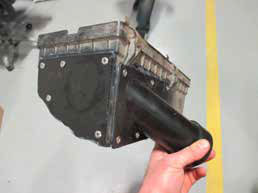
-Seal any other holes in the air box to prevent unwanted leaks.
-Use the supplied spacer on the new intake tube.
-Re-install.
8
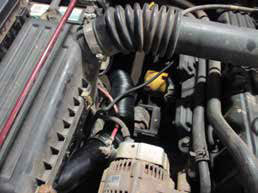
-Connect intake air tube from the snorkel.
-Make sure the tube isn’t rubbing on anything that would result in a hole.
9
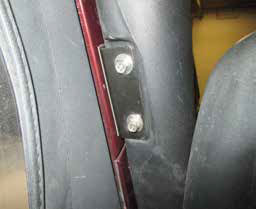
-Mark Snorkel mounting bracket on the A pillar and secure with provided hardware.
10
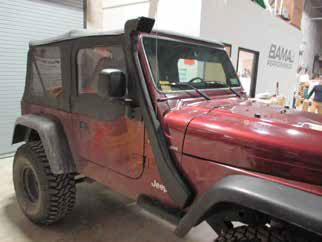
-Mount the snorkel inlet with provided hose clamp.
PRODUCT SKU: J102771 J102772

