

How to Install RedRock 4x4 Locking Hood Catch Kit (07-17 Wrangler JK) on your Jeep Wrangler
Installation Time
30 minutes
Tools Required
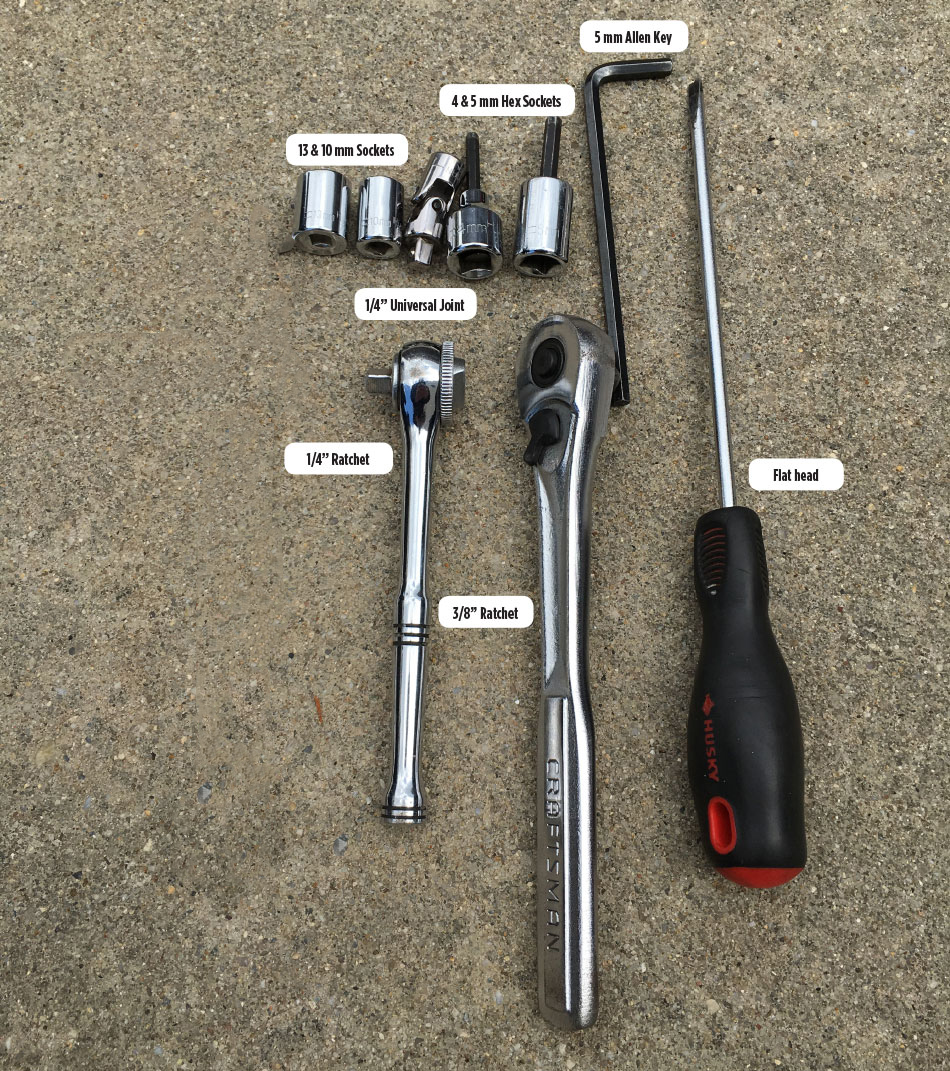
- 1/4" & 3/8" Ratchets
- 13 & 10 mm Sockets
- 1/4" Universal Joint
- 4 & 5 mm Hex Sockets or Allen Key
- Flat Head Screw Driver

Shop Parts in this Guide
Installation Instructions:
1. Un-latch factory hood catches
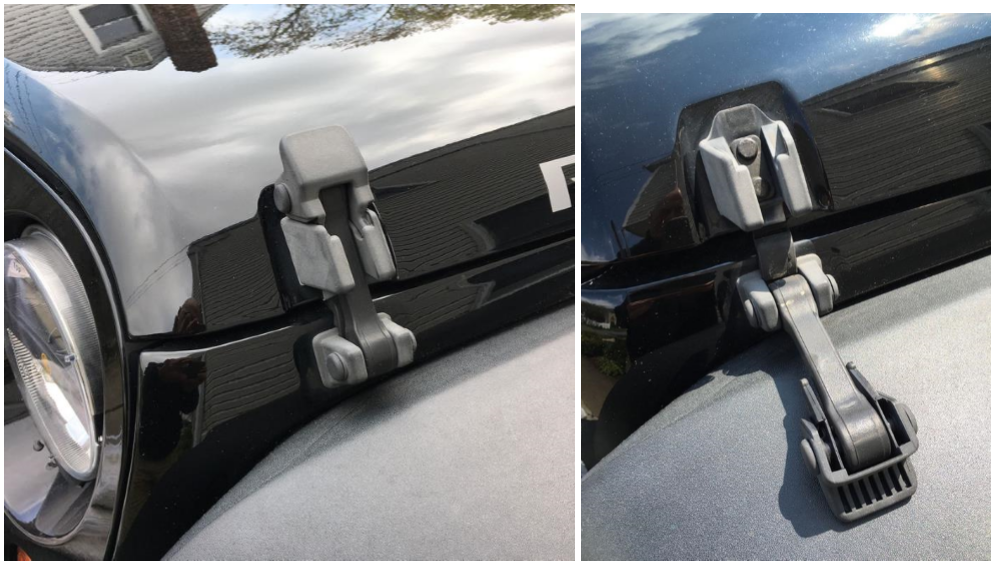
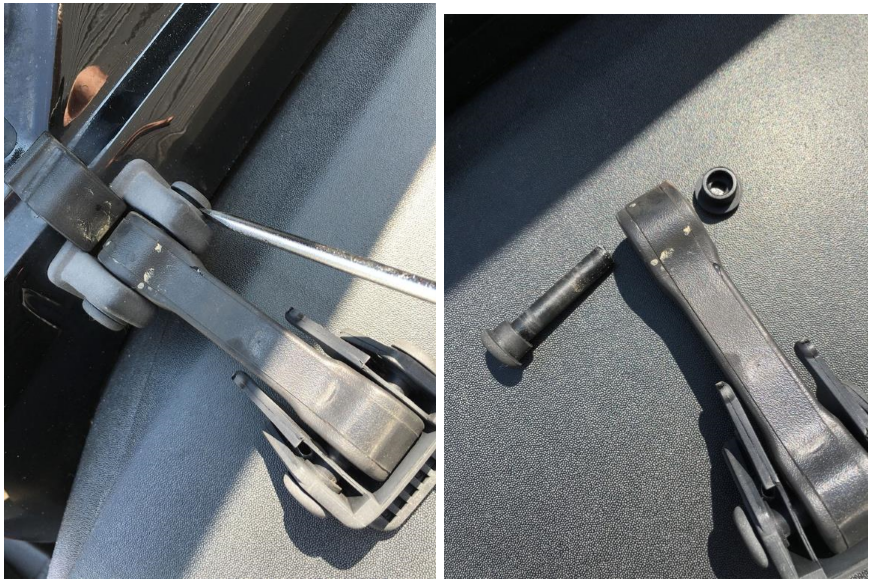
2. Using the flat head screw driver, pry off the cap end of the center factory pin.
3. Using the 10mm socket and ¼” ratchet, unbolt the (2) bolts from the top bracket, clean the surface after removal.
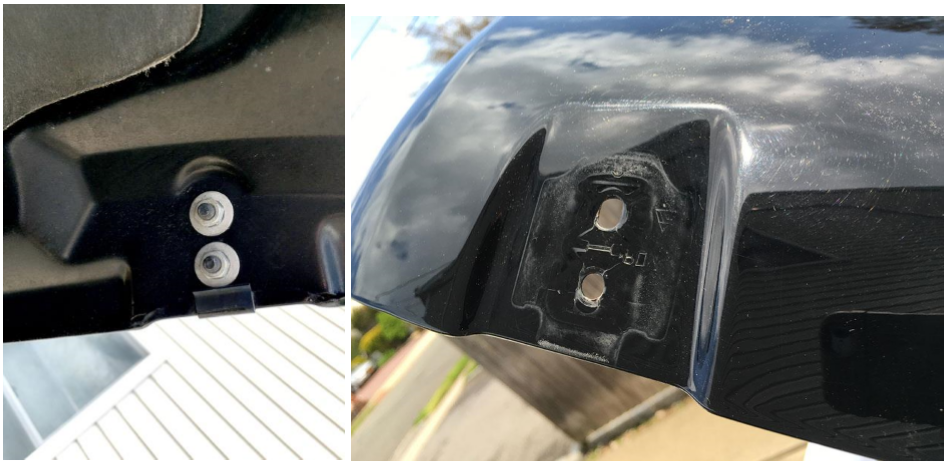
4. Using the 13mm, universal joint and ¼” ratchet, remove the (1) bolt securing the bottom bracket, clean the surface after removal.
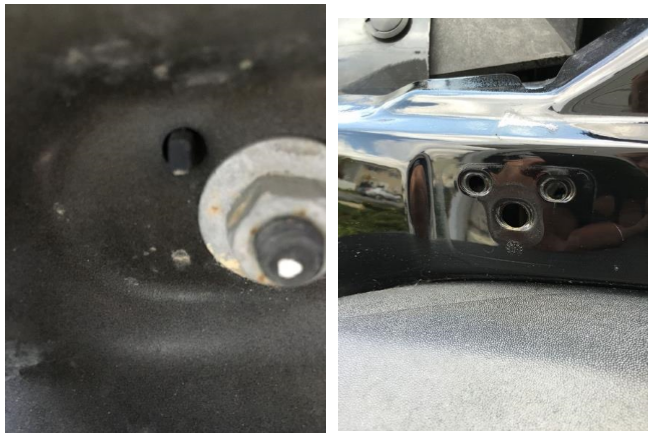
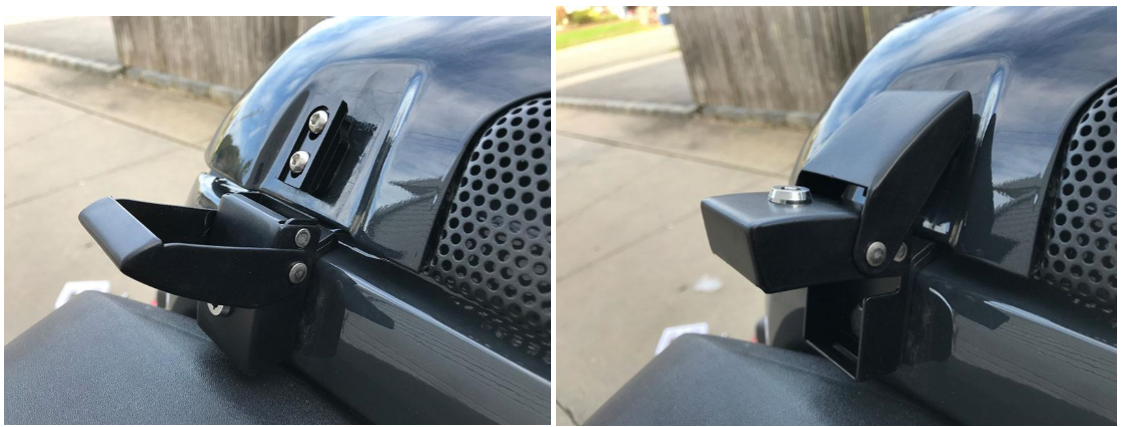
5. Attach the new top bracket using the hardware provided. Tighten into position with the 4mm hex socket and 10mm socket.

6. Open the hood latch with the provided key and place rubber isolator onto the back plate.

7. Position and align the bottom bracket. Pay close attention to the alignment tabs and the holes on the fender. Secure into position with the 13mm nut within the fender. Note: the outer side of the bolt is spot welded for easier installation and doesn’t need to be held while tightening.
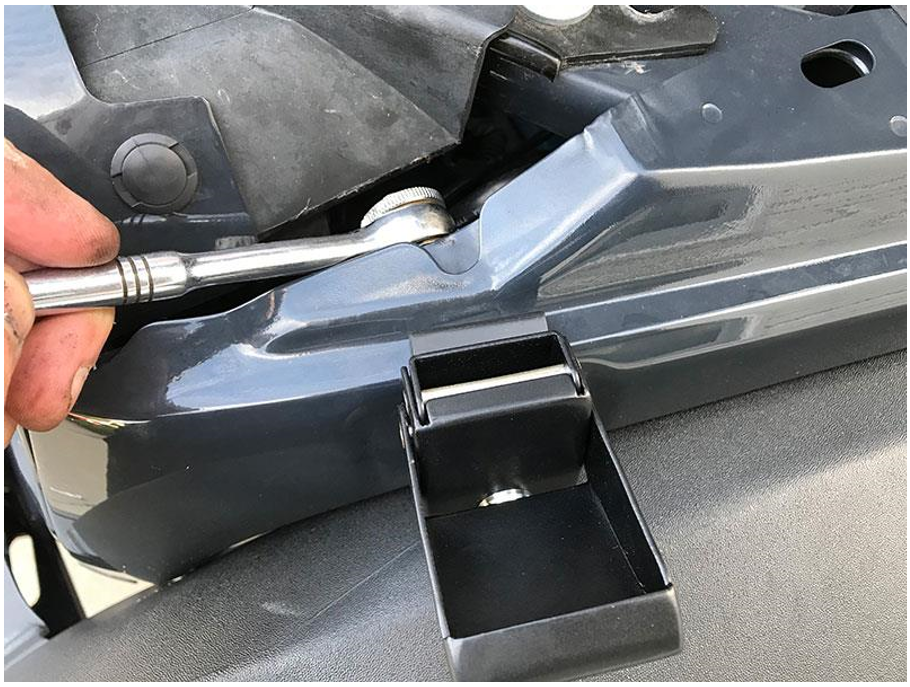
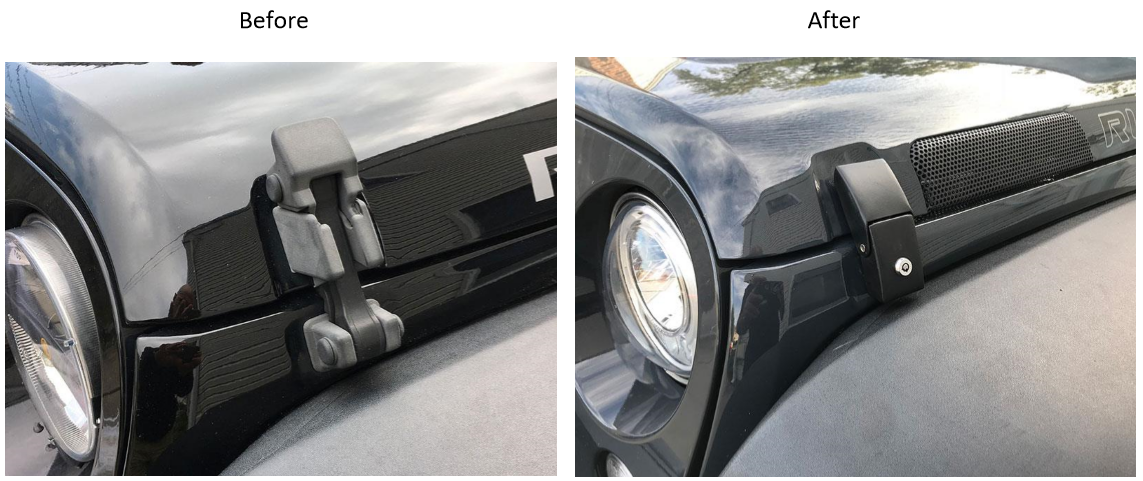
8. Once the bottom latch is secured, lift and engage the top lip of the latch and close to ensure proper fitment. The top portion of the latch can be adjusted up/down according to preference. Repeat on the other side to complete the installation.
Installation Instructions Written by ExtremeTerrain Customer Louis Orellana 10/23/17