
Top Sellers for Grand Cherokee
How to Install RedRock 4x4 Exhaust Spacer Kit for 2.5+ in. Lift (12-18 Wrangler JK) on your Jeep Wrangler
Shop Parts in this Guide
Item List:
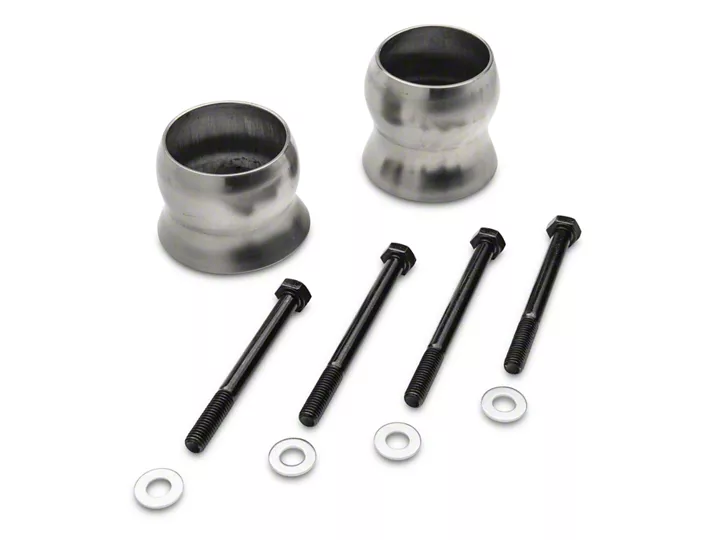
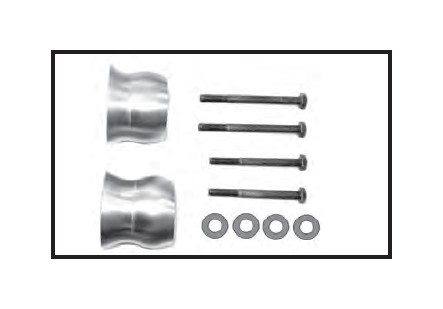
(1) RH Spacer (long) - Passenger side
(1) LH Spacer (Short) - Driver’s side
(2) M8 x 90mm Hex Head Bolt (Long)
(2) M8 x 80mm Hex Head Bolt (Short)
(4) M8 Flat Washer
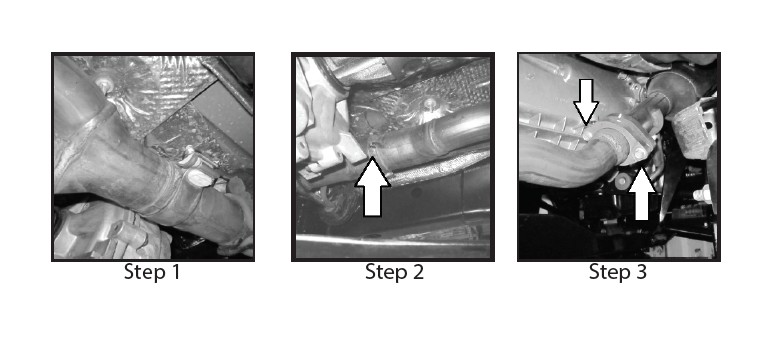
Step 1: Exhaust Must Be Cool. Loosen Y-pipe to mid-pipe exhaust clamp. This will allow the Y-pipe to be moved further back onto mid-pipe.
Step 2: Remove index tab from Y-pipe. Index tab is located towards transfer case. Grind weld flush with pipe.
Step 3: Remove the (4) M8 bolts from LH & RH exhaust Y-pipe flange.
NOTE: Removal of aftermarket skid plates may be required to gain access of noted exhaust components.
Step 4: Place pry bar or small pipe between factory front skid bar and exhaust flange. Carefully pry apart. Exhaust can also be pried at mid-pipe hanger.
Step 5: Install both exhaust spacers between Y-pipe and engine down pipes. Longer spacer goes to RH passenger side. Short spacer to LH driver’s side.
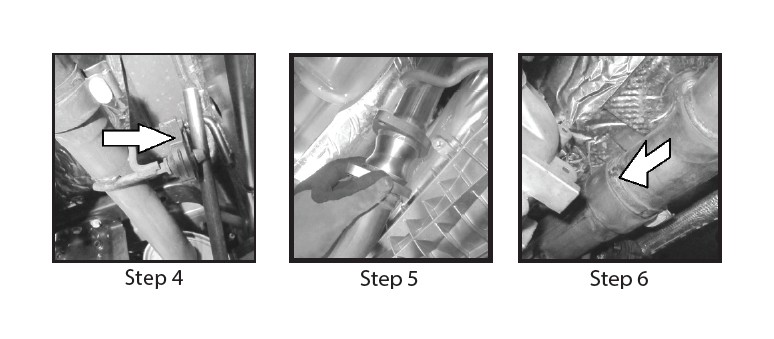
Step 6: Push Y-pipe back over mid-pipe where index tab was removed.
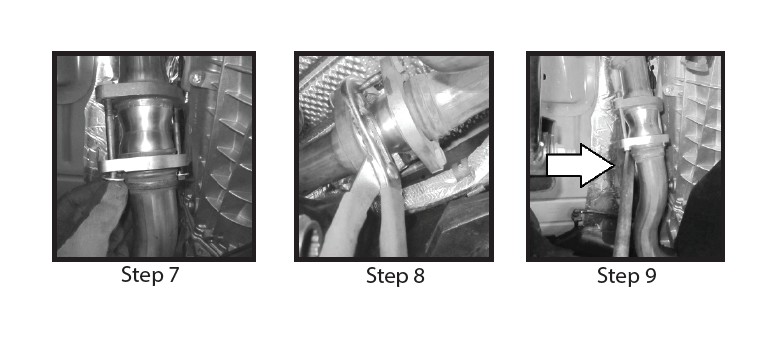
Step 7: Install longer M8 x 90mm bolts and M8 flat washers to RH passenger side. M8x 80mm bolt and washer to LH driver’s side.
Step 8: Rotate spacers until the two sections of pipe are aligned as close as possible.
Step 9: Inspect pipe alignment. If needed use small pipe or pry bar to position Y-pipe before the (4) M8 bolts are tighten.
Step 10: Tighten Y-pipe to mid-pipe exhaust clamp.
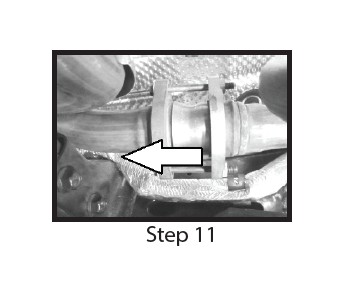
Step 11:Check pipe clearance at driver’s side front cross member and rear axle bend. Loosen bolts and adjust if more clearance is needed.
