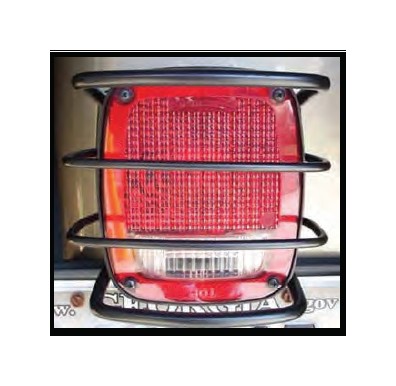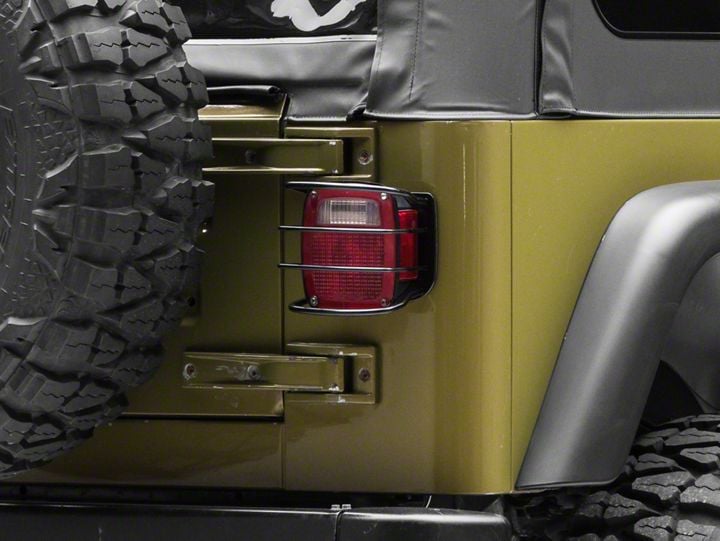

How to Install RedRock 4x4 Euro Tail Light Guards (87-06 Wrangler YJ & TJ) on your Jeep Wrangler
Shop Parts in this Guide
Step 1: Remove the four Phillips head screws from the tail light lens.
Step 2: Remove the tail light lens cover. Note: Use caution as the lens may stick to the light housing.
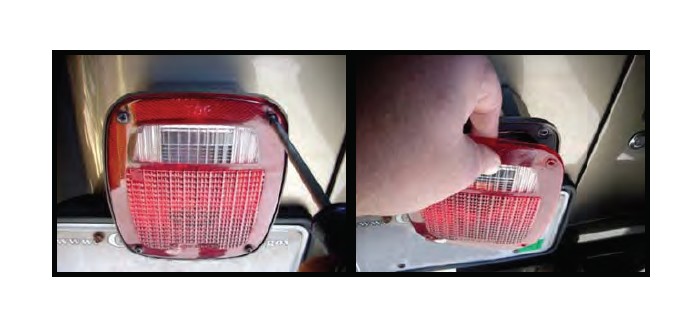
Step 3: Remove the 3 tail light assembly retaining bolts.
Step: 4 Remove the tail light housing from from the body.
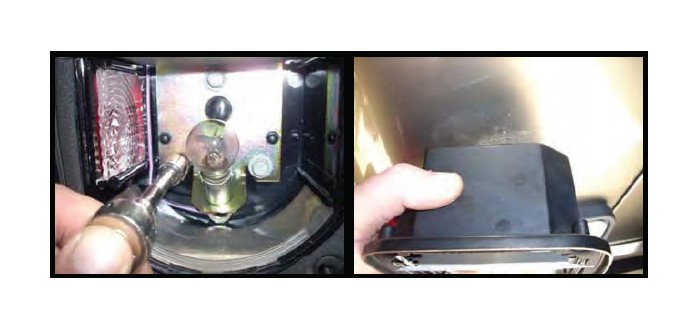
Step 5: Carefully pull the tail light wiring through the hole. Guide the connector through the hole.
Step 6: Disconnect the tail light harness from the main harness.
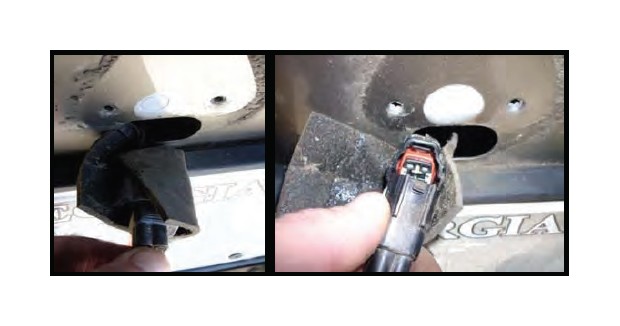
Step 7: Guide the tail light wiring through the new Euro Tail Light Guard.
Step 8: Re-connect the wiring connectors and guide the wiring back into the body.
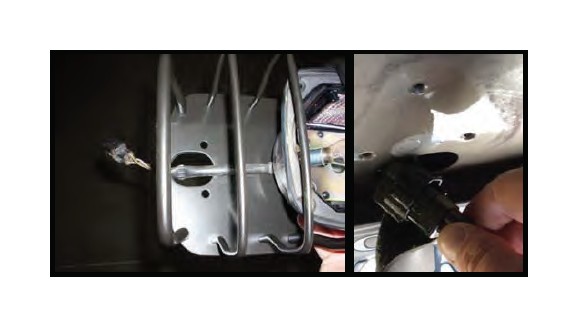
Step 9: Reinstall the tail light assembly and Euro Tail Light Guard to the original mounting holes using the factory hardware previously removed.
Step 10: Carefully guide the taillight lens back on to the tail light housing.
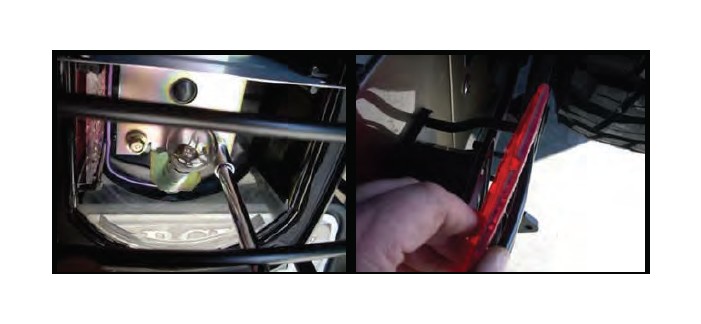
Step 11: Reinstall the four screws removed in step 1. Caution: Be careful not to over tighten these screws. Over tightening will crack the lens.
Step 12: Repeat steps 1-11 for the opposite side.
Step 13: Check tail light operation. Installation of your New Euro Tail Light Guards is now complete.
