

How to Install RedRock 4x4 Rocker Guards on your 1987-2006 Jeep Wrangler YJ, TJ or LJ
Installation Time
1 hours
Tools Required
- Power Drill
- Drill Bits
- 10mm Socket
- Socket Wrench
- Socket Extension
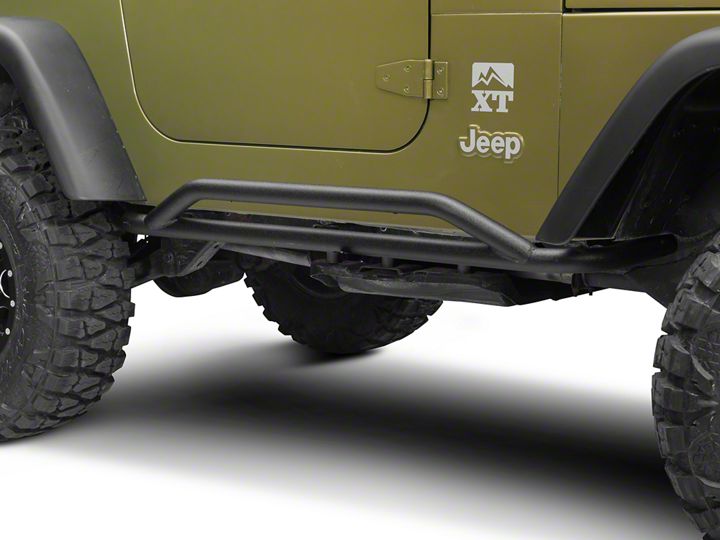
Shop Parts in this Guide
Contents:
(2) - guards/armor
(16) - screws
It is recommended that you have an additional person available to help during this installation, parts can be awkward to hold and support by yourself. Block wheels and set parking brake before beginning work.
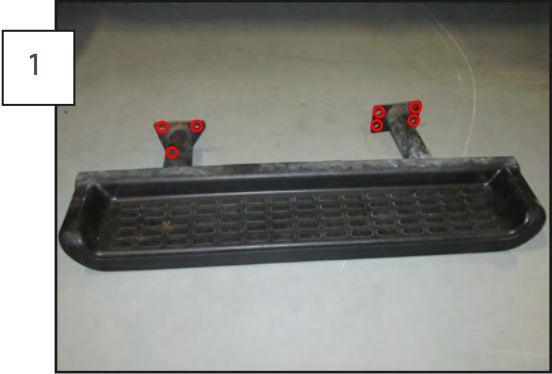
If your Jeep came with a factory step, start by removing the (7) 10mm bolts where the steps attach to the frame. Remove the factory step and repeat on the other side. Reinstall the (7) stock bolts back into the frame to keep the threaded holes sealed.
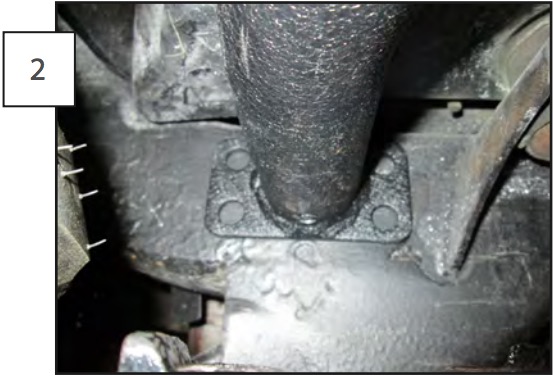
Hold one of the guards level with the jeep body and position the front, horizontal, plate against the frame.
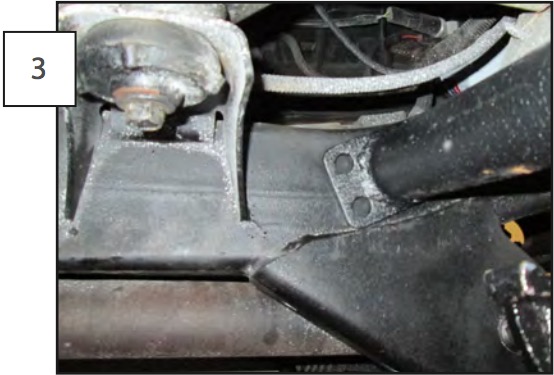
Position the rear, angled, plate against the rear of the frame; just above the rear control arm frame mount. Hold the guard and measure the guard from the body pinch weld, to ensure it is parallel with the vehicle. Measure the vertical position from the body/frame mounts and match the measurements on the opposite side of the vehicle.
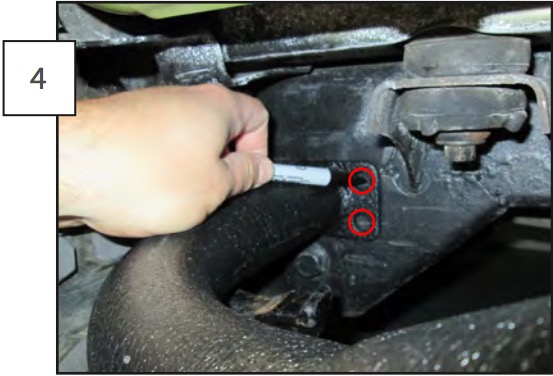
While the guard is still parallel with the vehicle body, mark each of the 8 holes with a marker. Remove the guard and drill 1 5/16” hole at each mark. Insert the included screws and thread them into the predrilled holes. Be sure not to drill the hole too large for the threads.

