

How to Install a RedRock 4x4 Grille Guard on your 2007 - 2015 Jeep Wrangler JK
Installation Time
2 hours
Tools Required
- Grille Guard
- 4 Mounting Brackets
- Philips Screwdriver
- Flat-head Screwdriver
- Wrench with 1.5” socket extension and 19mm
- 17mm and 13mm sockets
- 10X 12-1.75mm bolts with washers and nuts
- 2X 8mm rod bolts with washers and nuts
- 2X 10-1.5mm bolts with washers and nuts
- 19mm open-end wrench
- Adjustable crescent wrench
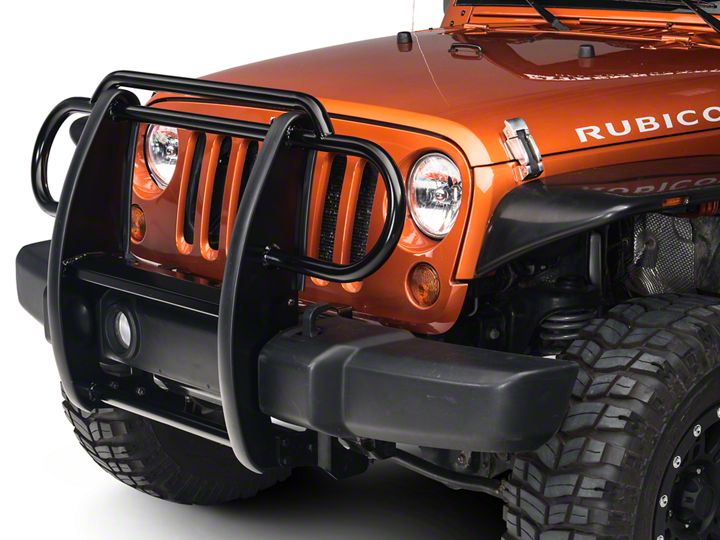
Shop Parts in this Guide
Pre-Install Notes:
Ensuring you have all the tools when you begin can cut the installation time down to 1 hour.
Installation Instructions:
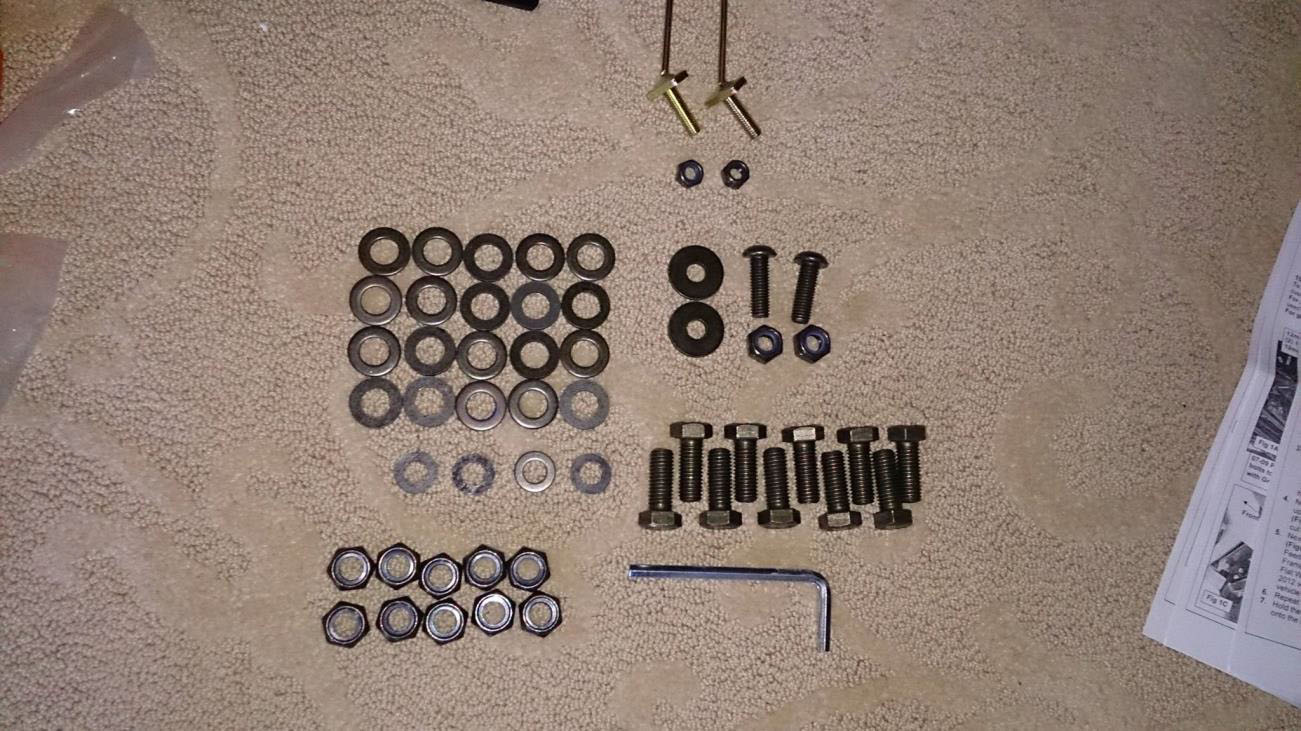
1. Check and ensure all hardware is accounted for.
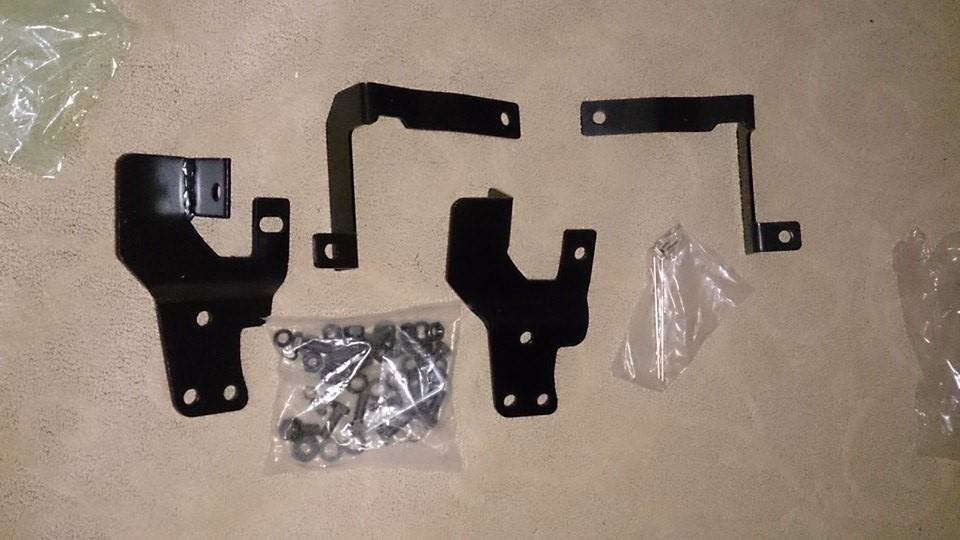
The kit includes all mounting hardware, 4 brackets and 1 grille guard.
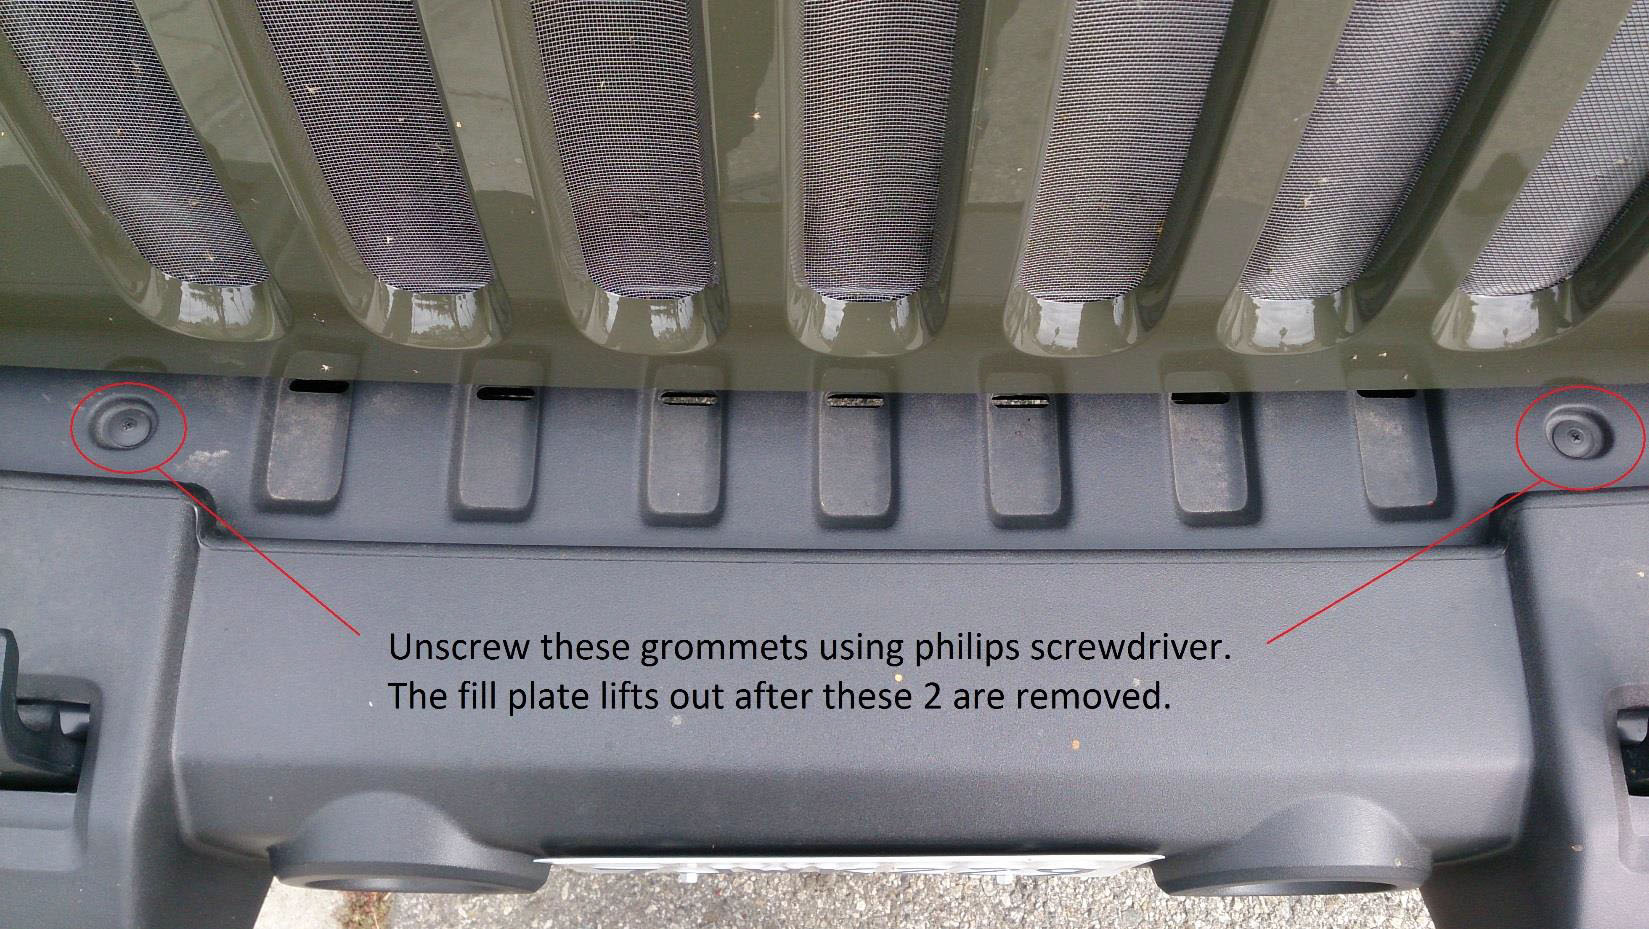
2. First remove the air dam and fill plate surrounding the bumper by pulling out the plastic grommets.
The 2 grommets for the Fill plate require a Philips screwdriver. Pull the back edge of the Fill plate (where the drain cutouts are) towards the fog lights to lift it out.
The 6 grommets for the Air dam require a flat head screw driver to pry loose. 4 are located in front of the air dam and 2 are located behind.
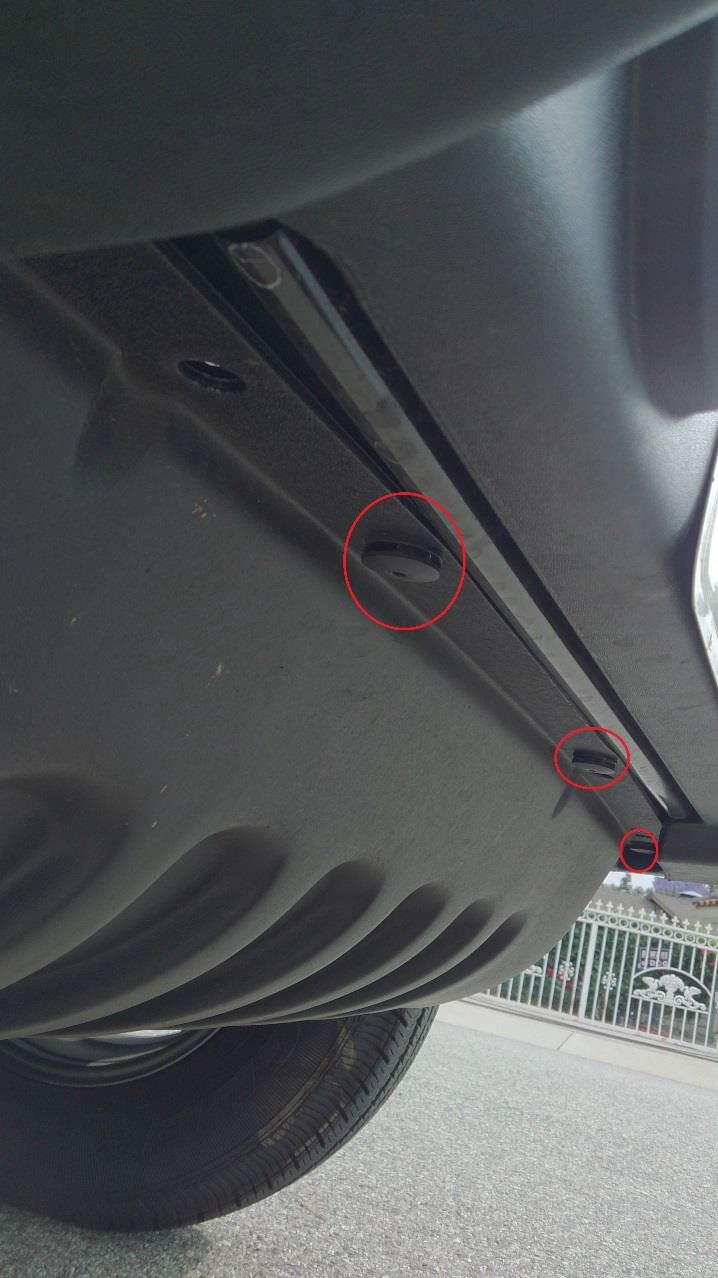
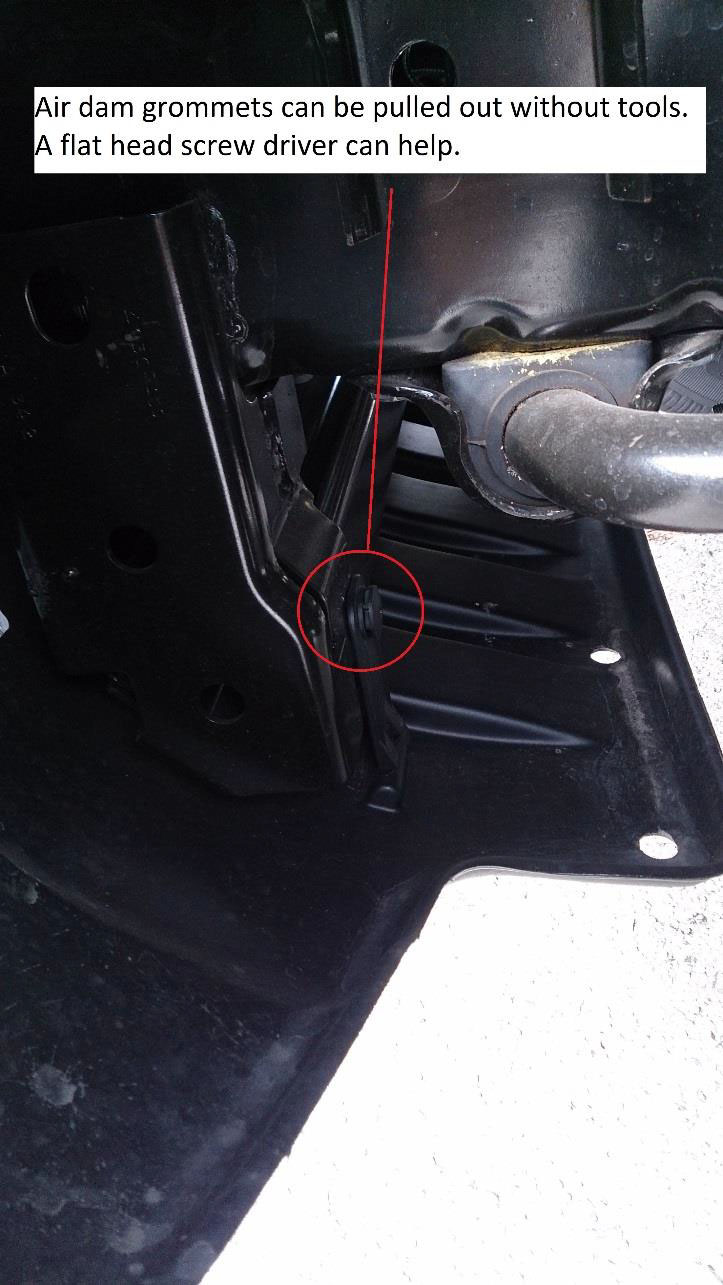
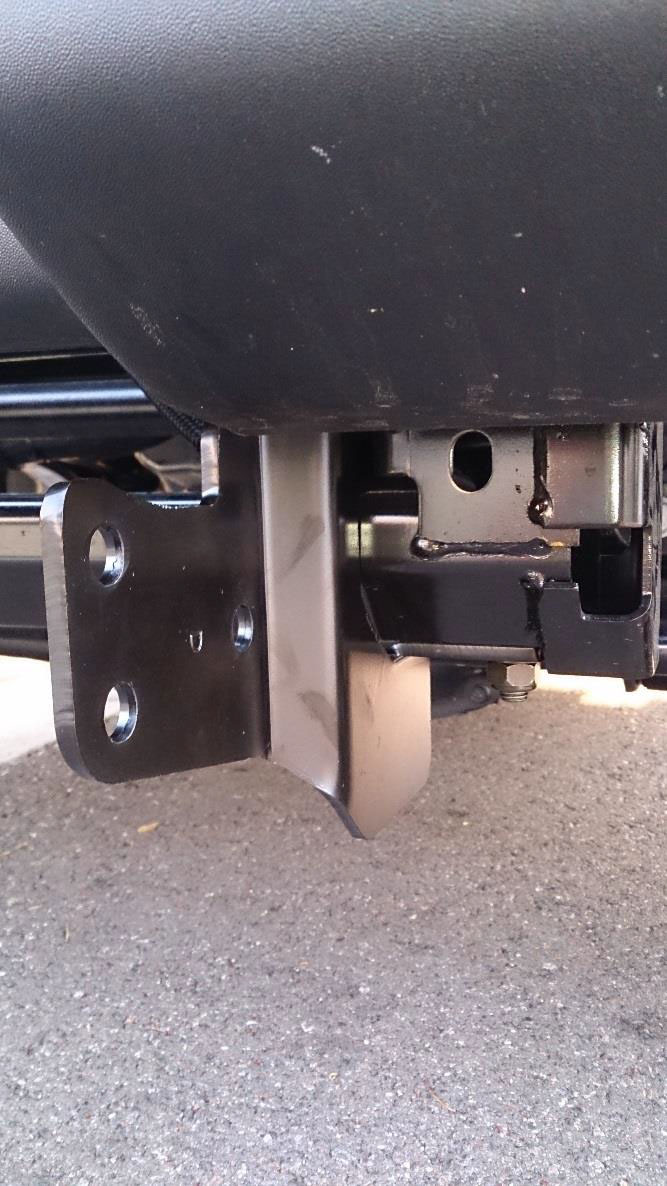
3. Take the lower passenger and driver side mounting brackets and locate them against the bumper. NOTE: 07-09 models will use the outer mounting location and 2010-12 models will use the inner mounting location. Using a total of four 12-1.75mm x 30mm hex bolts, 8 washers and 4 nuts (2 for each bracket), secure the mounting brackets to the bumper using a 19mm socket wrench and an adjustable crescent wrench.
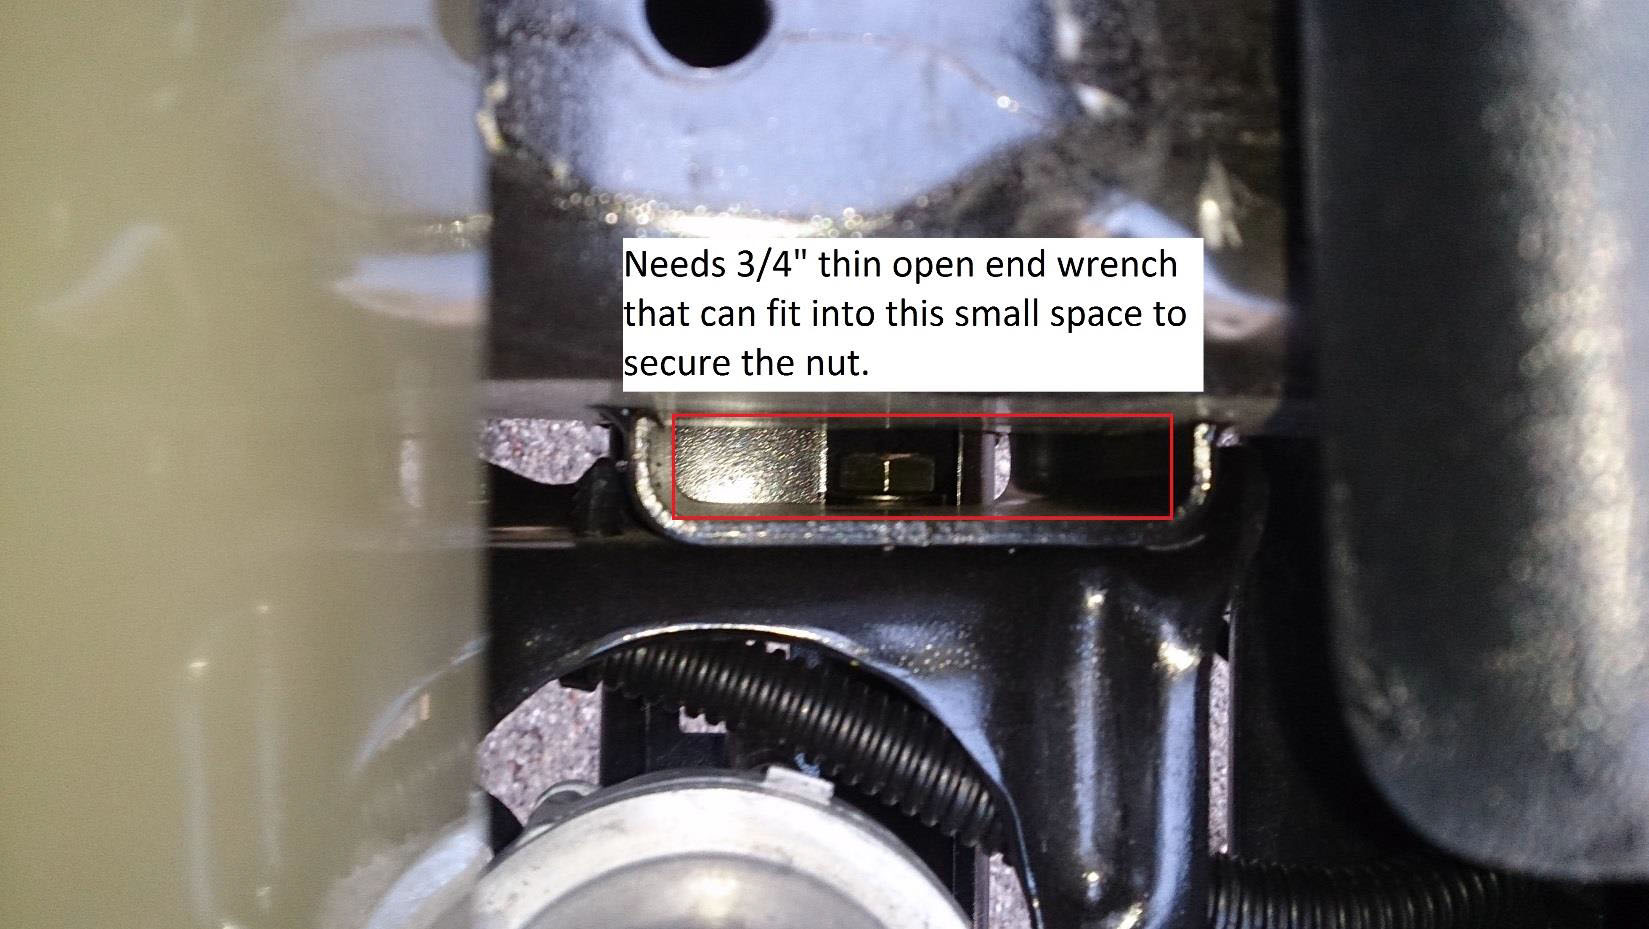
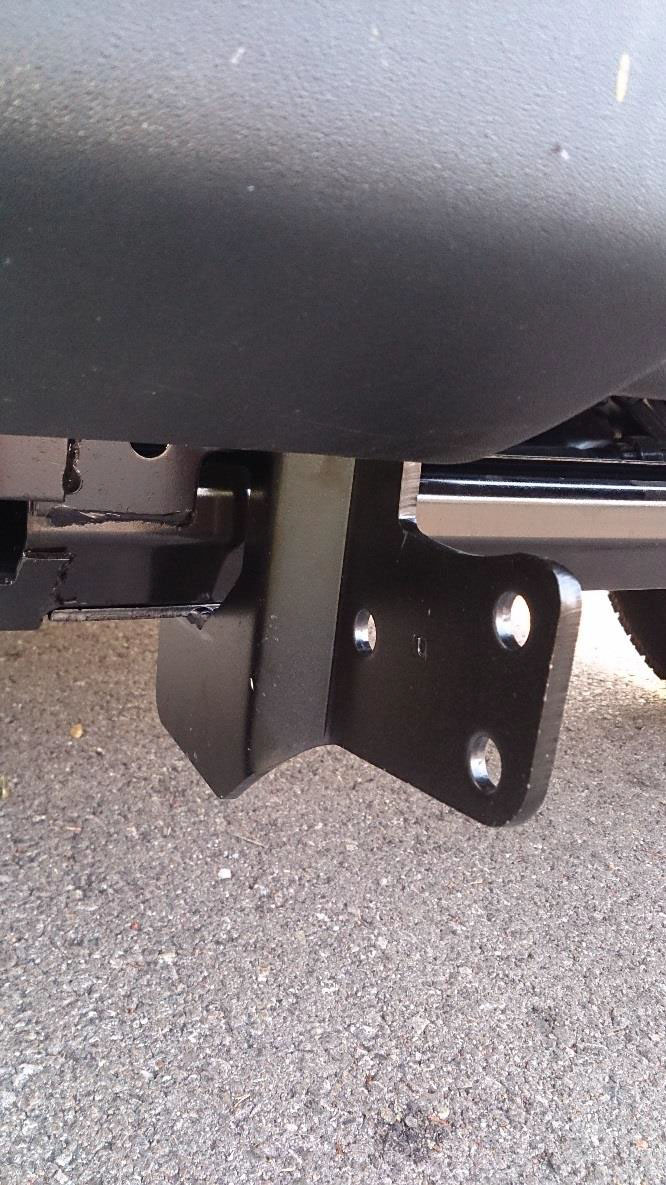
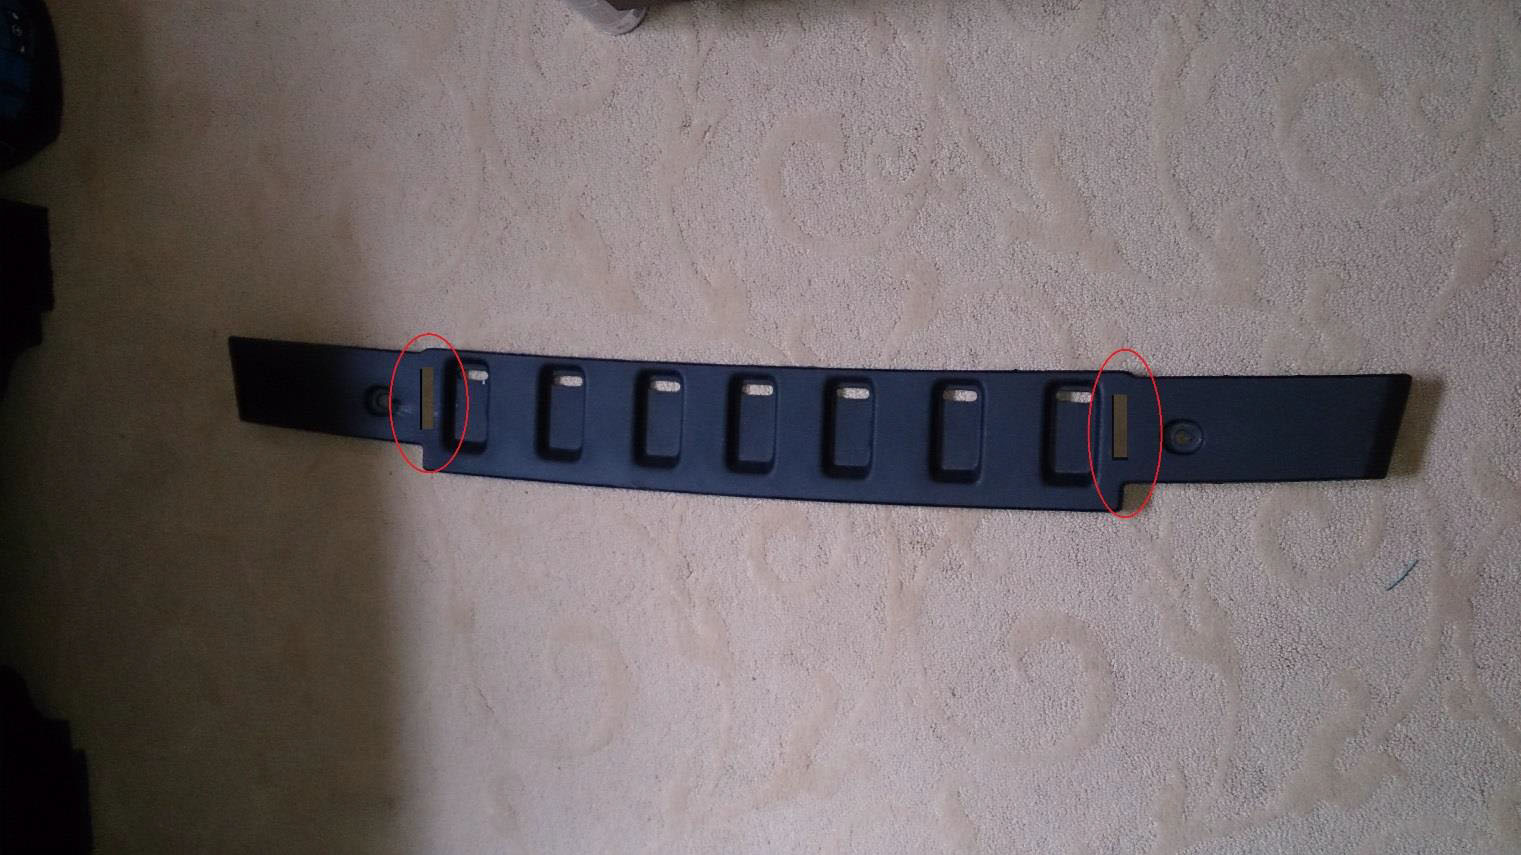
4. Place the top fill plate back in position and use a pencil to mark cutting locations. Cut 2 slots to clear the Top Brackets.
Place the Lower air dam back in position and mark the slots to cut in the same fashion.
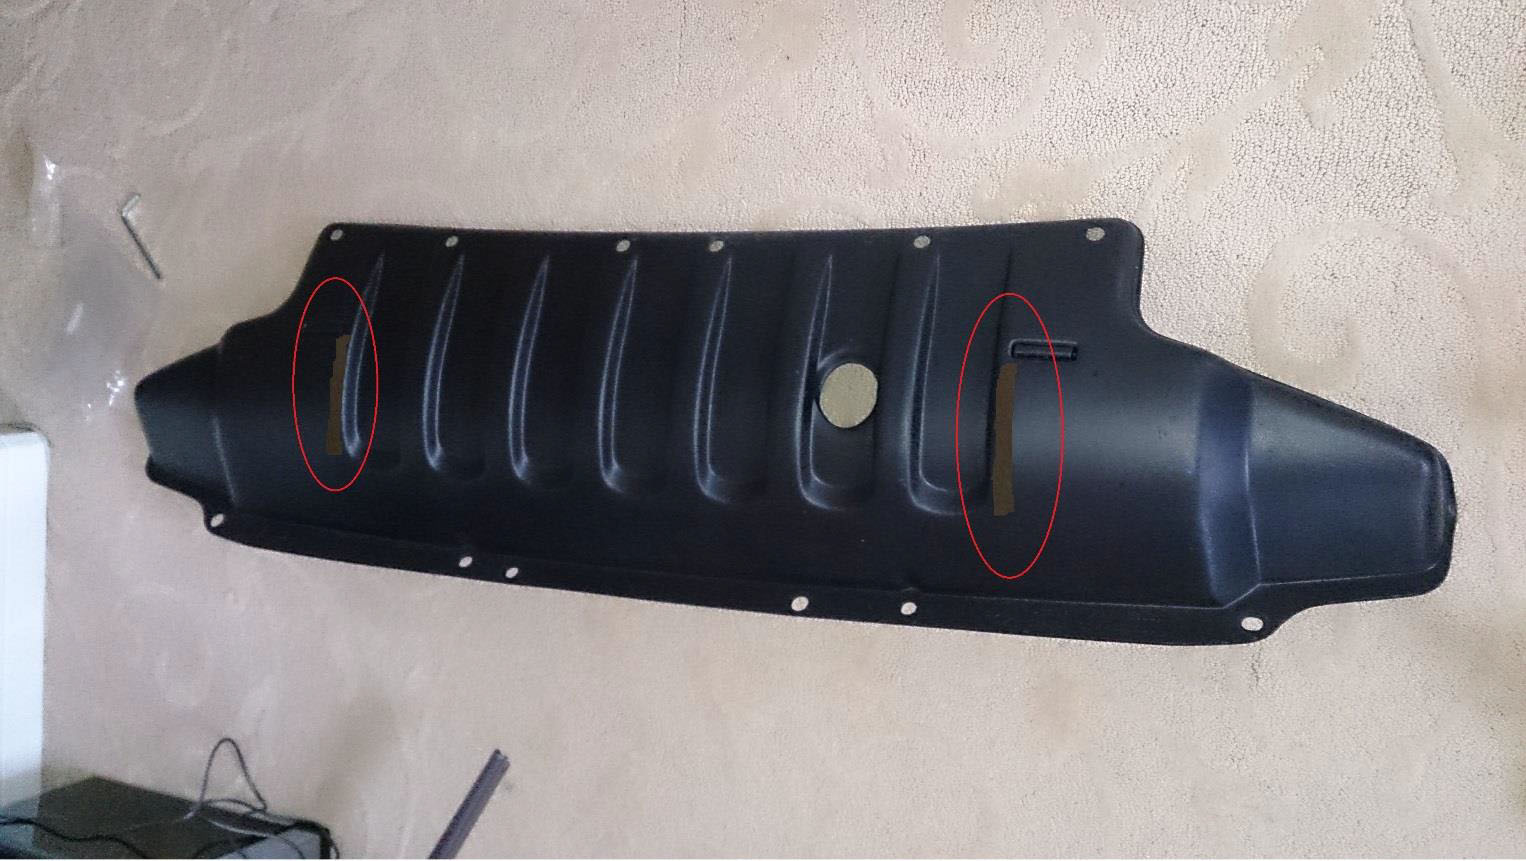
After Cutting, reinstall the fill plate only. The next step will lock the fill plate in place.
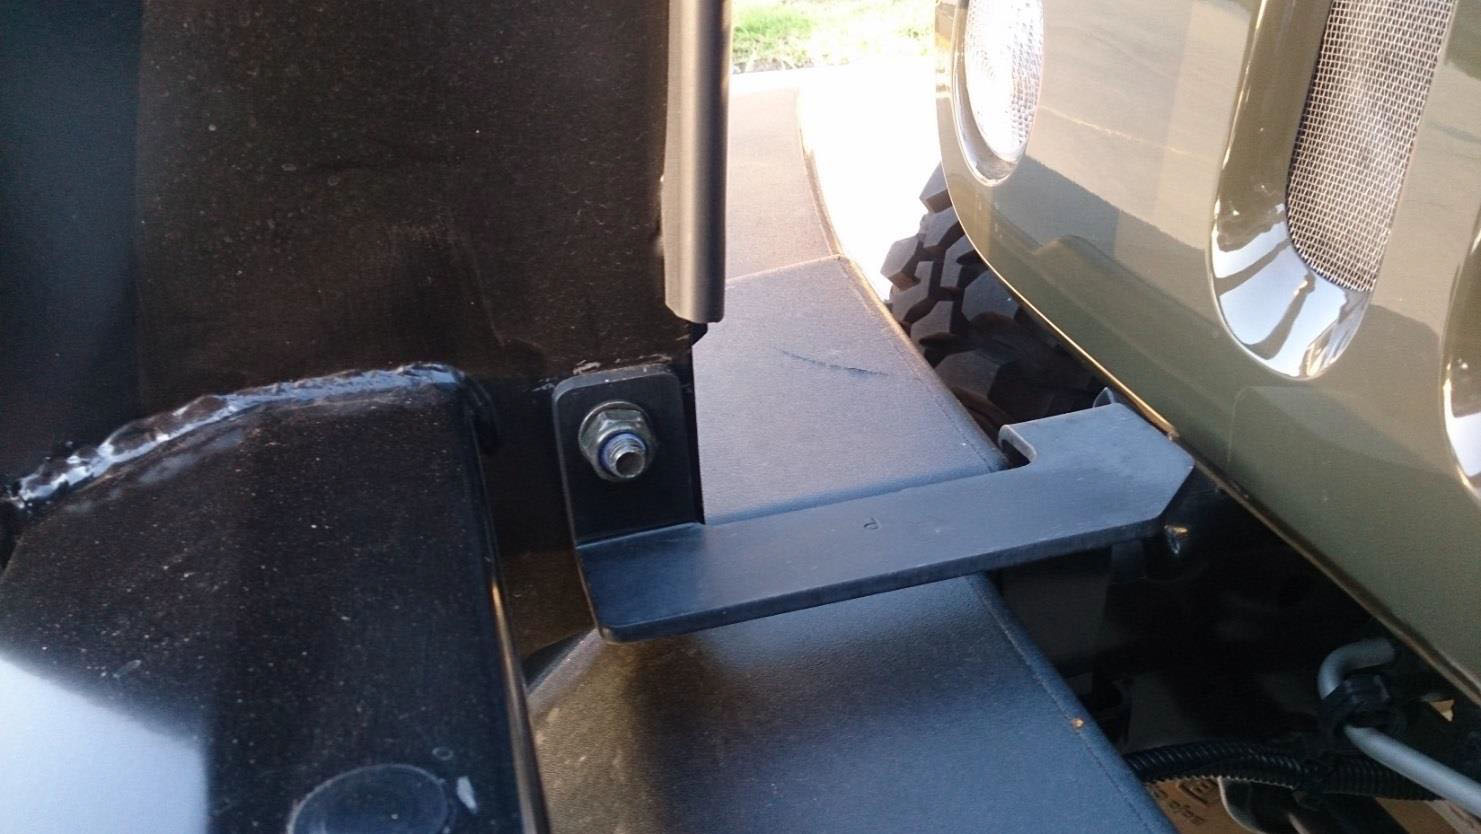
5. Take the upper driver and passenger mounting brackets and locate them against the bumper. Use the rod bolt, the rod bolt nuts, and rod bolt washers to secure these. A 13mm socket wrench is needed to secure the bolts.
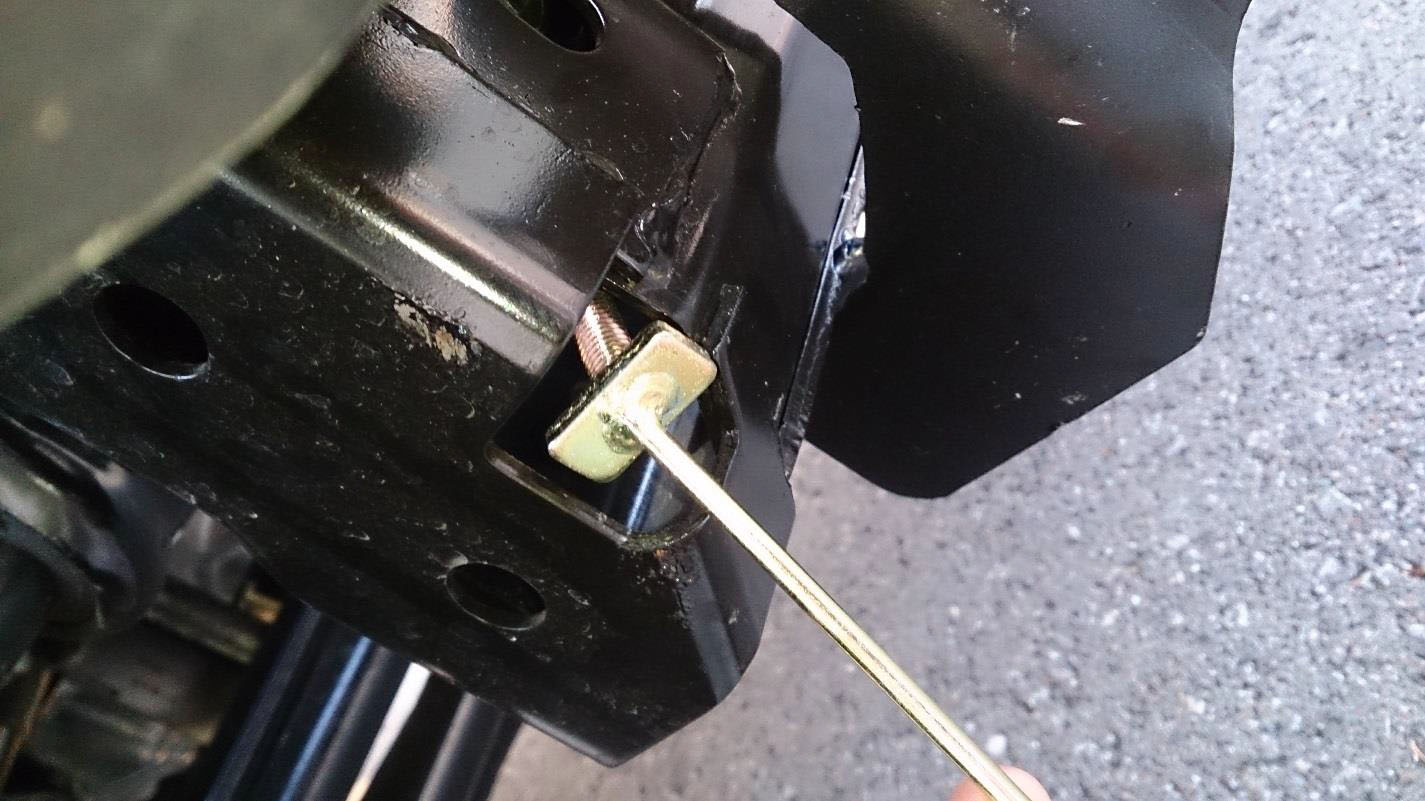
Insert the rod bolt through the bottom gap and line up with the upper hole in the bumper.
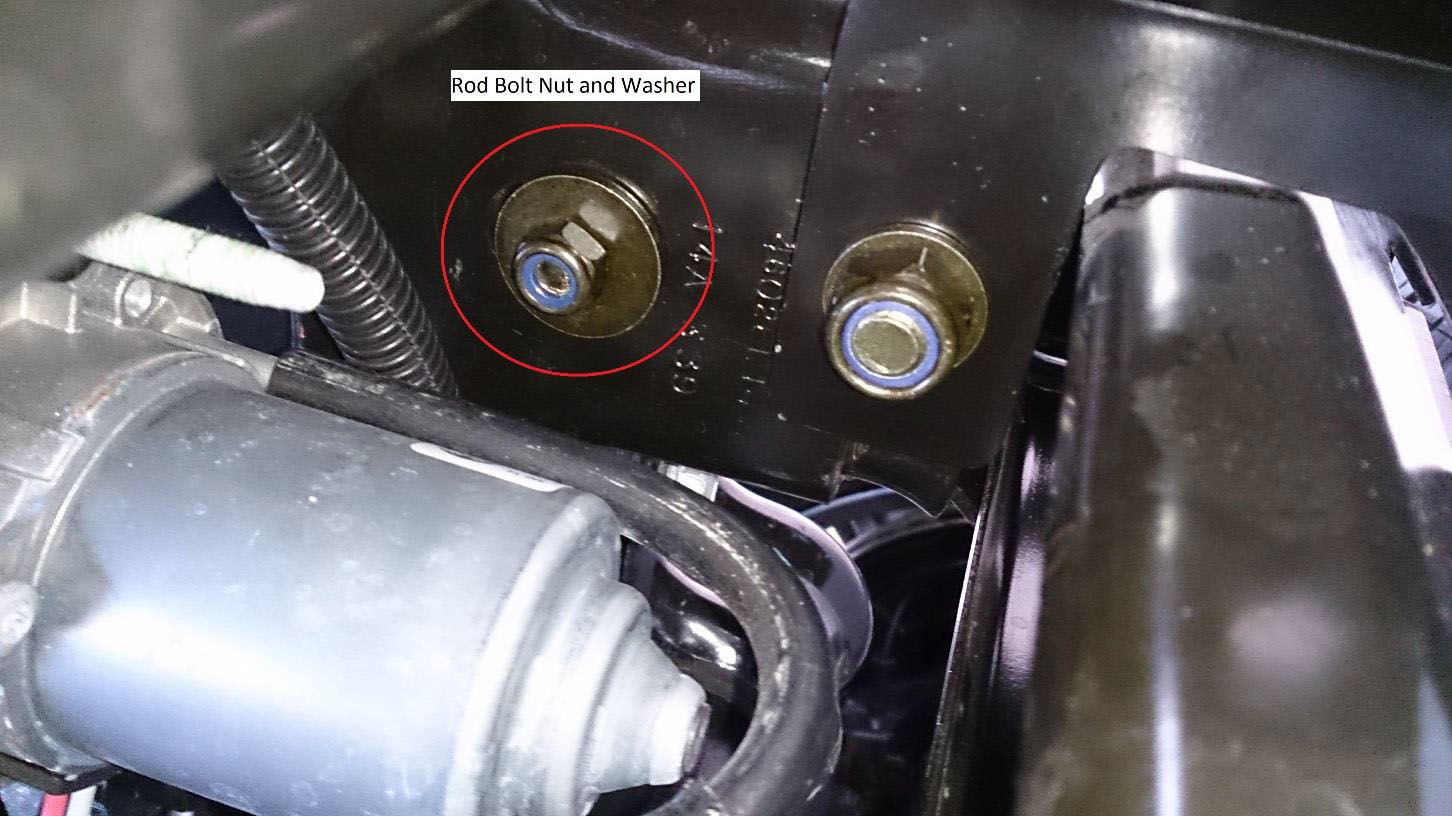
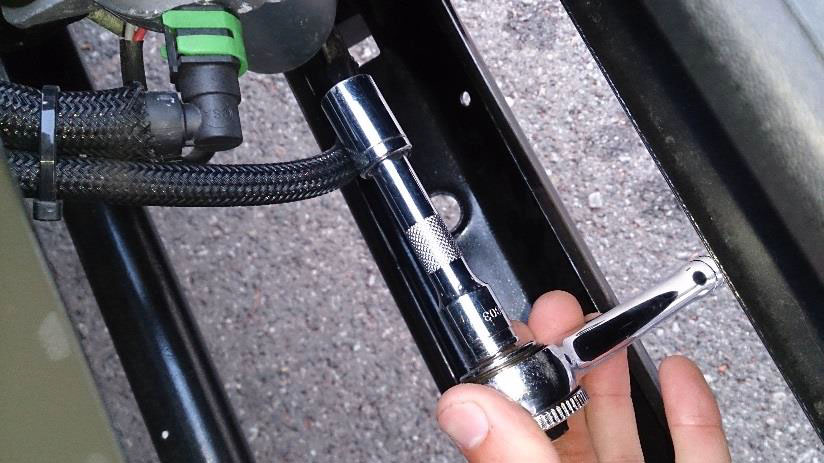
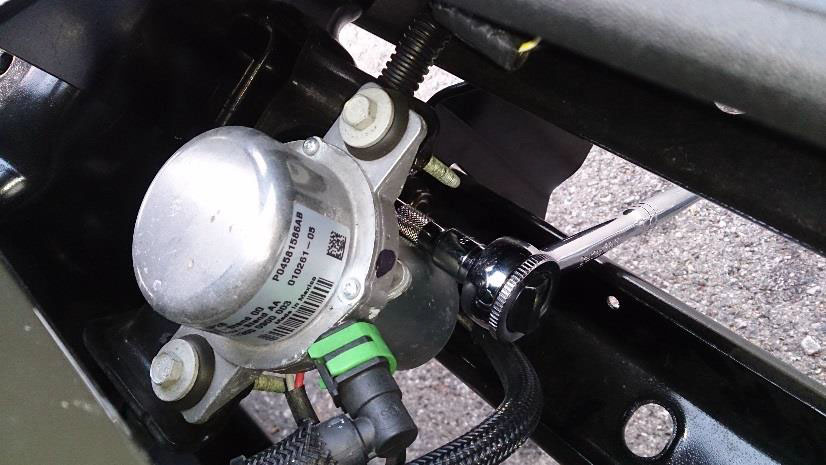
An extension is needed for the driver side. (Filler plate removed for visual.)
6. Reinstall the Lower Air Dam. The next step will lock the Air dam in place.
7. With assistance, lift and line up the grille guard holes with the holes in the mounting brackets. Using the rest of the 12-1.75mm x 30mm hex bolts, washers and nuts, secure the lower portion of the grille guard to the lower mounting brackets (3 bolts on each side). These can be secured using a 19mm socket wrench and an adjustable crescent wrench.
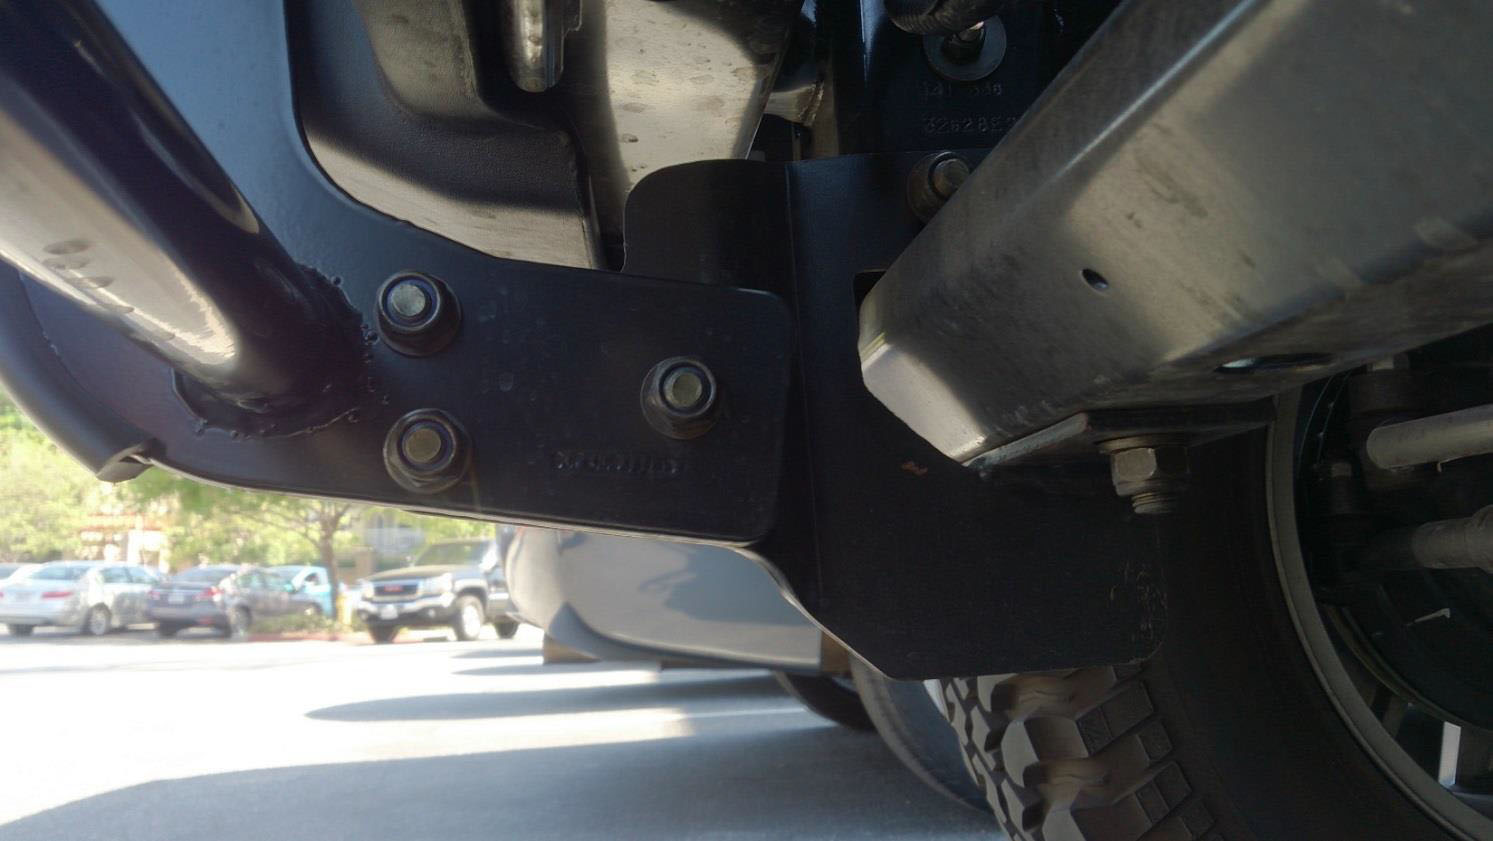
8. Next, use the 10-1.5mm bolts, nuts and washers to secure the top of the bumper to the top brackets. This can be secured using a 17mm socket wrench and an adjustable crescent wrench.
9. Revisit all nuts to ensure hardware is secure and tight.
Before:
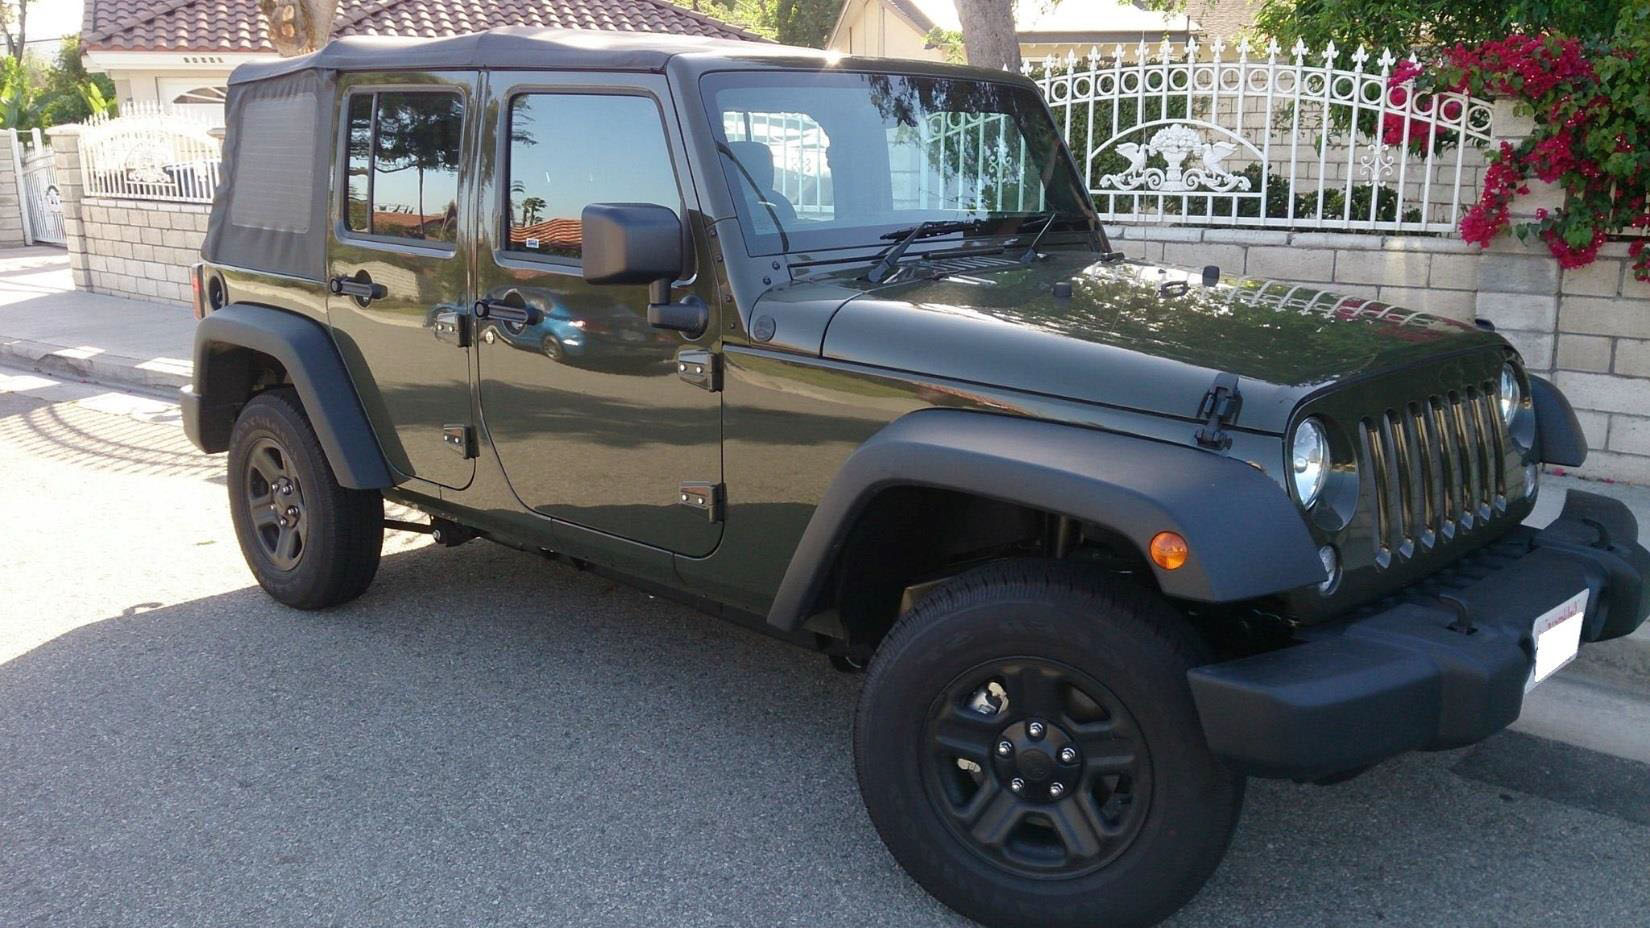
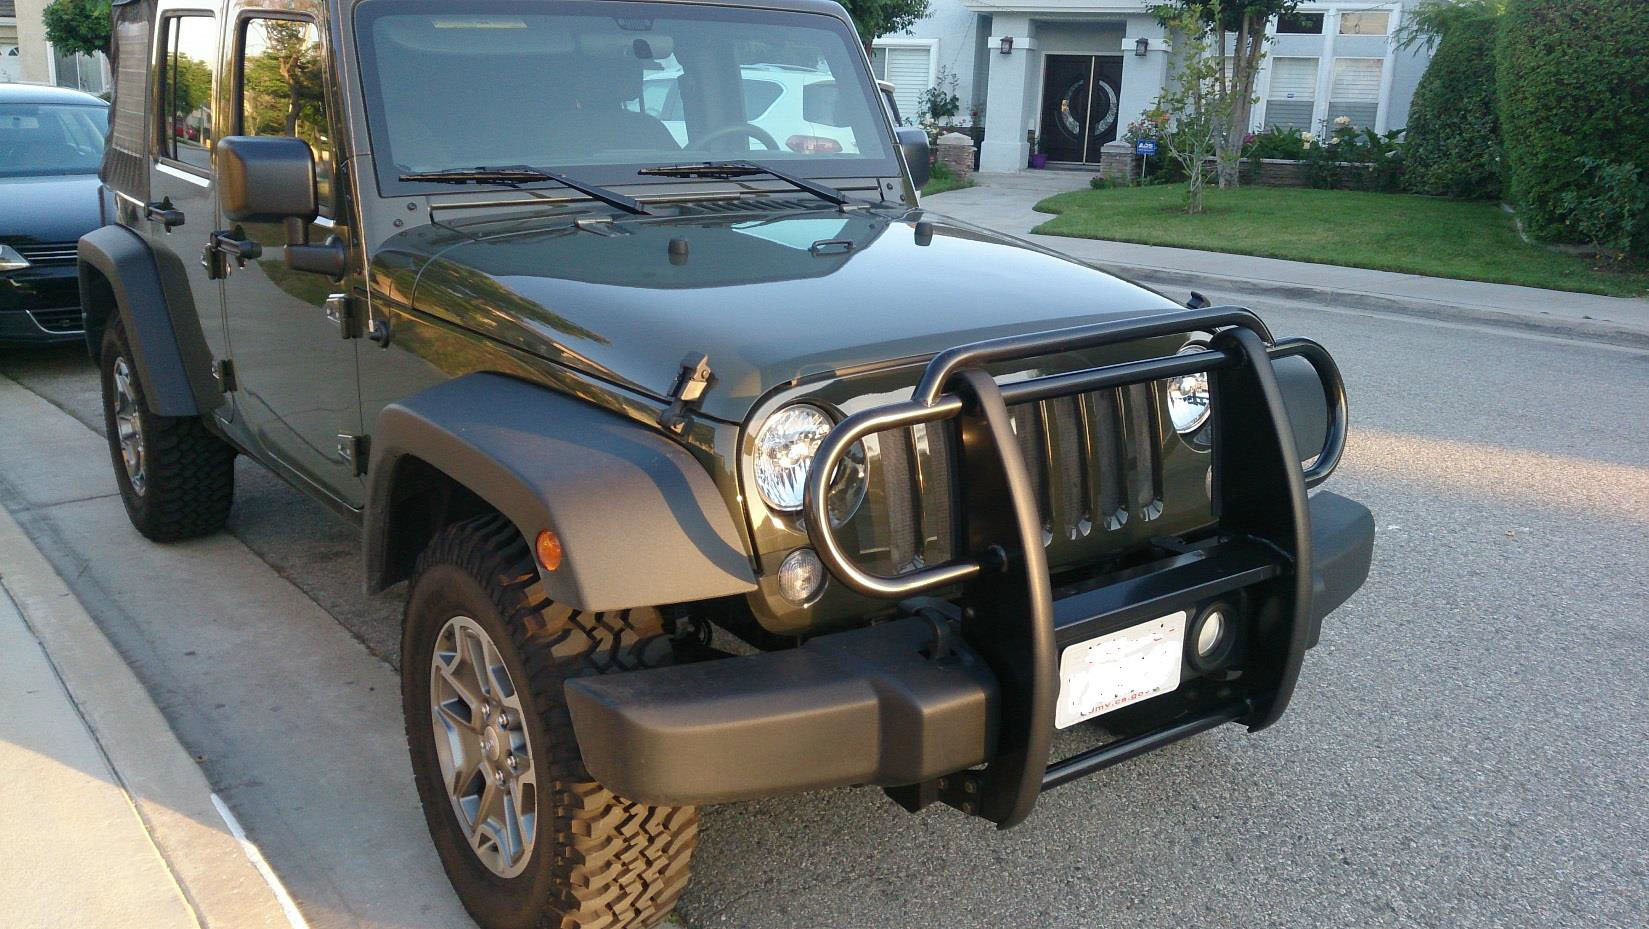
After:
Installation Instructions Written by ExtremeTerrain Customer Winston Huang 06/22/2015

