

Top Sellers for Wrangler
How to Install Raxiom Windshield Mounted Light Brackets (07-17 Wrangler JK) on your Jeep Wrangler
Installation Time
30 minutes
Tools Required
- Safety Glasses
- 3/8’’ Drive Ratchet
- 3/8’’ Drive Extension
- T40 Torx Socket 3/8’’ Driver for removal of windshield bracket bolts
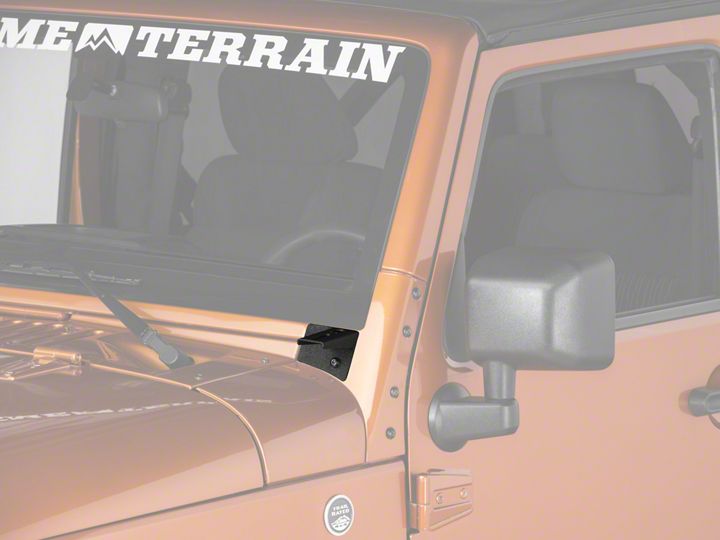
Shop Parts in this Guide
CONTENTS OF KIT:
PASSENGER SIDE BRACKET(1)
DRIVER SIDE BRACKET(1)
INSTALLATION INSTRUCTIONS:
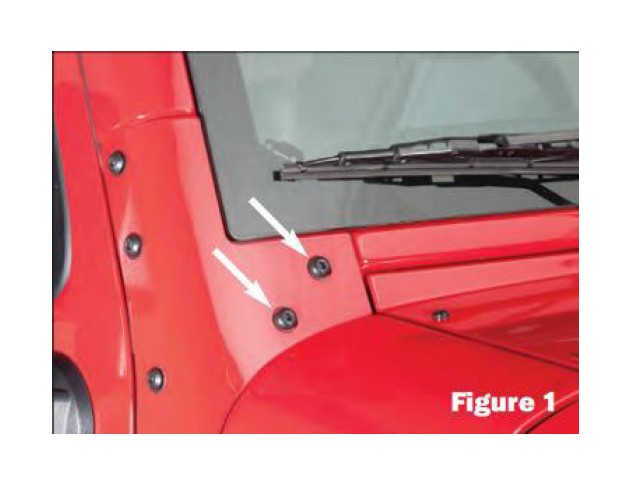
1. Locate Torx Bolts. Put on safety glasses. Locate passenger’s side front torx bolts located on the front of your windshield. See Figure 1.
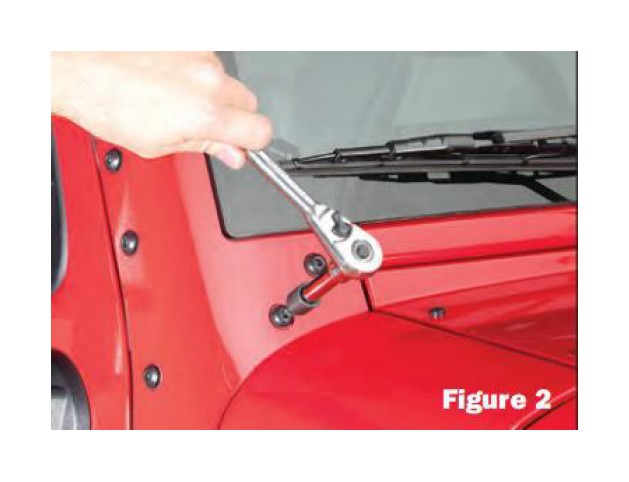
2. Remove Torx Bolts. Using a T40 Torx driver or socket, carefully remove the two located torx bolts. Set these aside for re-installation. See Figure 2.
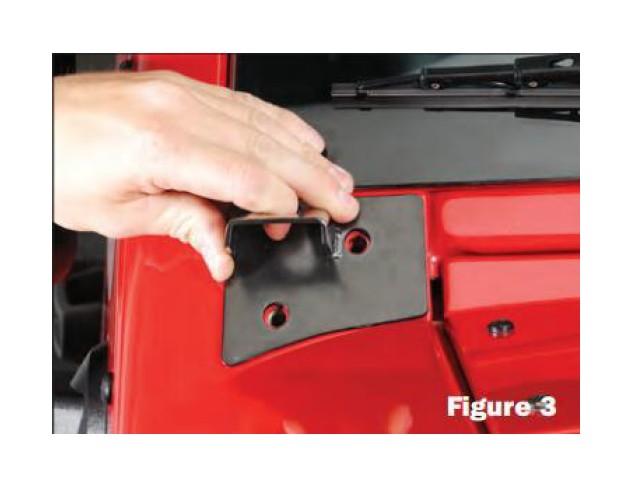
3. Position the Bracket. Position the passenger side windshield light bracket pre-drilled holes over the holes left from removing the torx screws. They should line up exactly.
4. The foam backing on the light bracket will protect the finish of your Jeep, so it must remain on product during installation. See Figure 3.
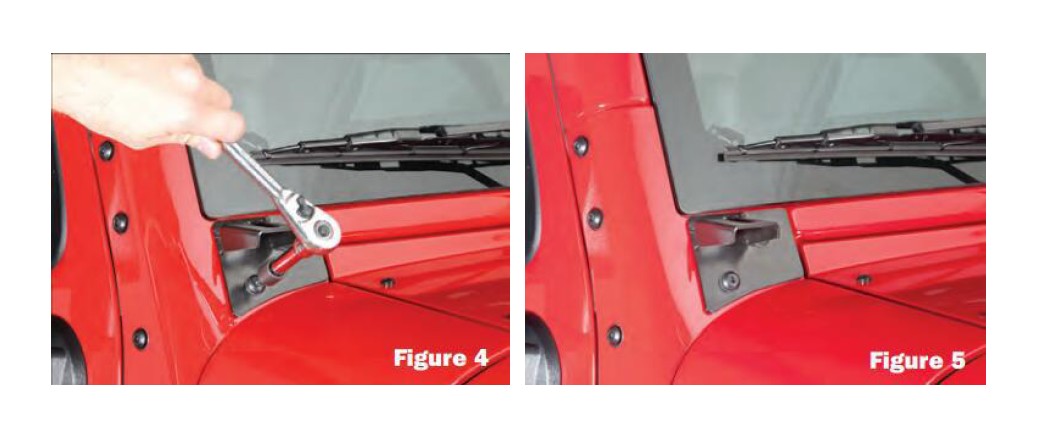
5. Replace the factory Torx bolts into the factory holes using a T40 torx driver or socket with an extension, See Figure 4 & 5. Repeat the procedure for the driver side.
6. The auxiliary lighting can now be bolted onto the light bracket and the wires run under the hood to complete the
lighting installation.


