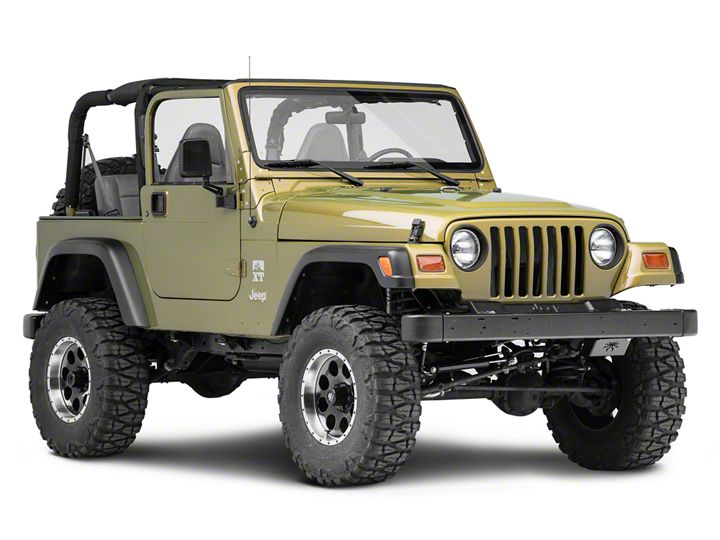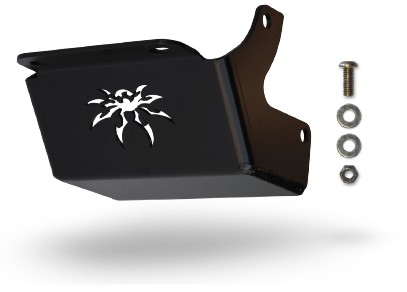

How to Install Poison Spyder Steering Box Skid Plate - Satin Black on your Wrangler
Tools Required
- T55 Torx wrench or socket with ratchet
- Drill motor
- 3/8” (YJ) or 1/2” (TJ or LJ) drill bit
- 7/32” (YJ) or 5/16” (TJ or LJ) hex key (Allen wrench) or socket with ratchet
- 9/16” (YJ) or 3/4” (TJ or LJ) end wrench or socket with ratchet

Shop Parts in this Guide
APPLICATIONS
These installation instructions apply to the following Poison Spyder products:

13-15-010 YJ Steering Box Skid
14-15-010 97-’02 TJ Steering Box Skid
14-15-020 03-’06 TJ Steering Box Skid
PARTS LIST (YJ)
(1) Steering Box Skid
(2) 3/8-16 X 1 button head cap screw
(4) 3/8 flat washer
(2) 3/8-16 nylon insert lock nut
PARTS LIST (TJ)
(1) Steering Box Skid
(1) 1/2-13 X 1 button head cap screw
(2) 1/2 flat washer
(1) 1/2-13 nylon insert lock nut
INSTALLATION PROCEDURE
1. Remove the lower torx bolt that holds the bumper in place on the driver’s side of the frame On the outside of the frame rail, remove the two forward bolts that hold the steering box in place (there are other bolts that hold the steering box in place, so there is no need to support the steering box).
2. Hold the steering box skid in place and thread all three bolts that were removed back into place. Torque these bolts to factory specs.
3. On the Steering Box Skid there is one more hole that is located to the far left (if you are looking at the front of the Jeep) that is flush with your OE bumper. Drill a 3/8” (YJ) or 1/2” (TJ & LJ) hole through the OE bumper using the hole in the skid plate as a template. Use the provided hardware to finish the installation.

